Hey wreckingball,
good to know someone is interested.
I had written up an extensive update post right before I had to leave town for work but right as I was doing a quick edit my comp froze up. Out of anger & frustration is just left it at that.
As for an update, between logistical challenges gathering the tools needed, transporting them up to the 3rd floor, the storm & about 3 other major ongoing projects around the house I've haven't been able to stampede this build down as quick or as with as much gusto as I had originally intended.
-
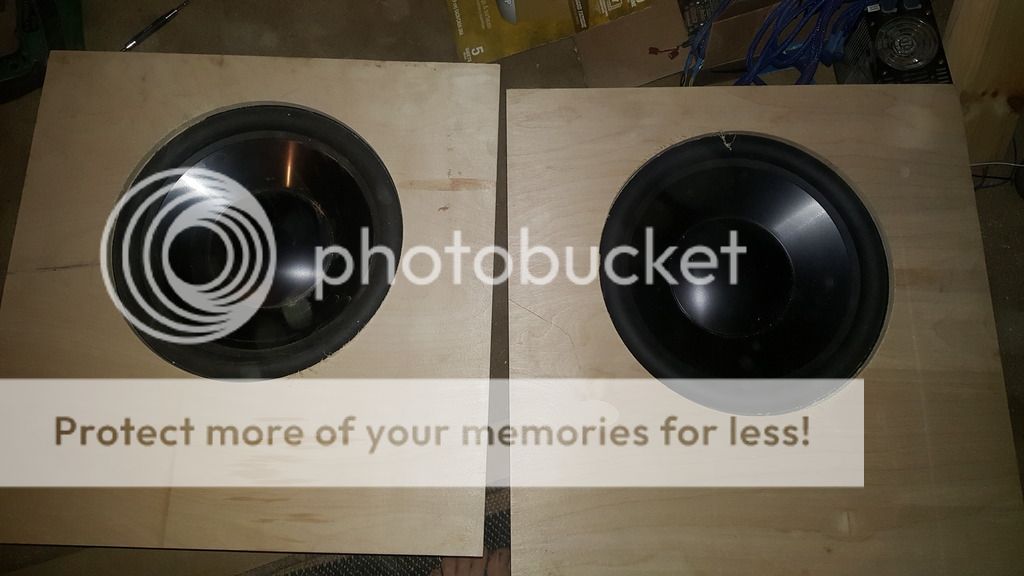
The driver's arrived in short order.
An externally hosted image should be here but it was not working when we last tested it.
I immediately unboxed them so I could gawk. These RF drivers are very nice, not only is the cone visually appealing but I ran them through a gauntlet of test tones around the 25-30 Hz range with voltages varying from 10-25v. They are incredibly linear all way up to perceived xmax, and even then the vent noise is minimal.
An externally hosted image should be here but it was not working when we last tested it.
As for the cabinets, I ended up processing 2 at a time as I realized that trying to build all 4 simultaneously was a stretch not only on my mental place keeping but on my resources.
I used a 4 ft straight edge and clamps as a guide jig to make the plunge cuts on the side panel nd finished with a the a 12 TPI blade in the jug saw. Didn't come out too shabby.
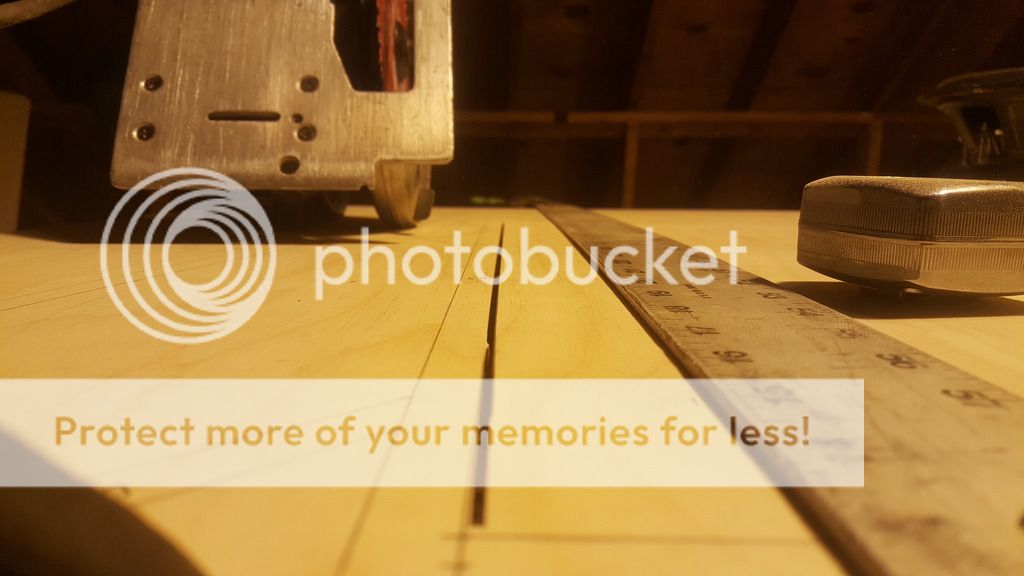
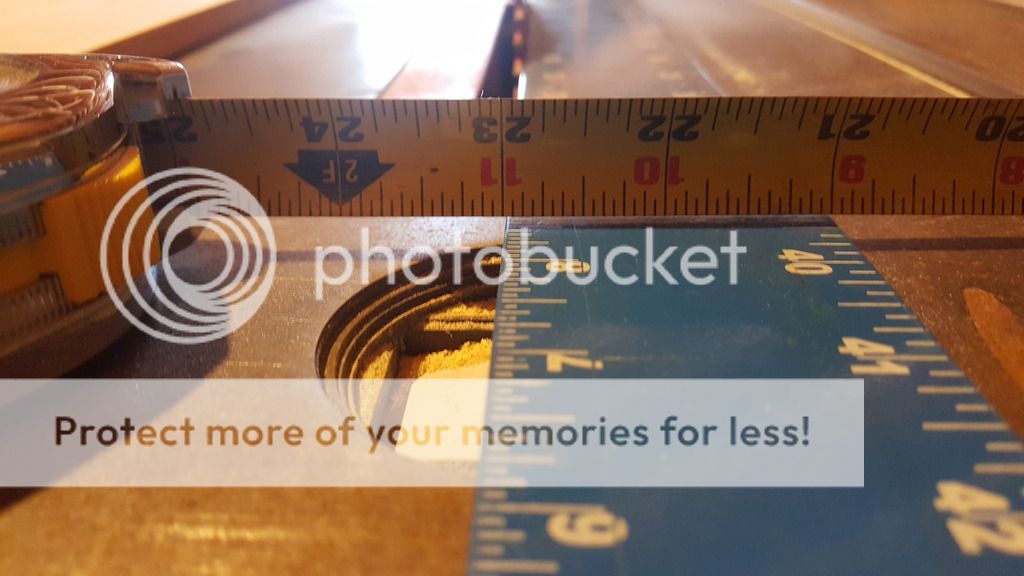
Of note, the fence on my dad's table saw is not trust worthy & I ended up with 22 7/8" wide internal panels after coming to realize that something was wrong after the fact, so I ended up shaving them down from 23"
From that point on I have been anal about making sure the fence is set perfectly square using the framing square and tape measure. Picture is from when I realize my issue after lining the cut panels up...
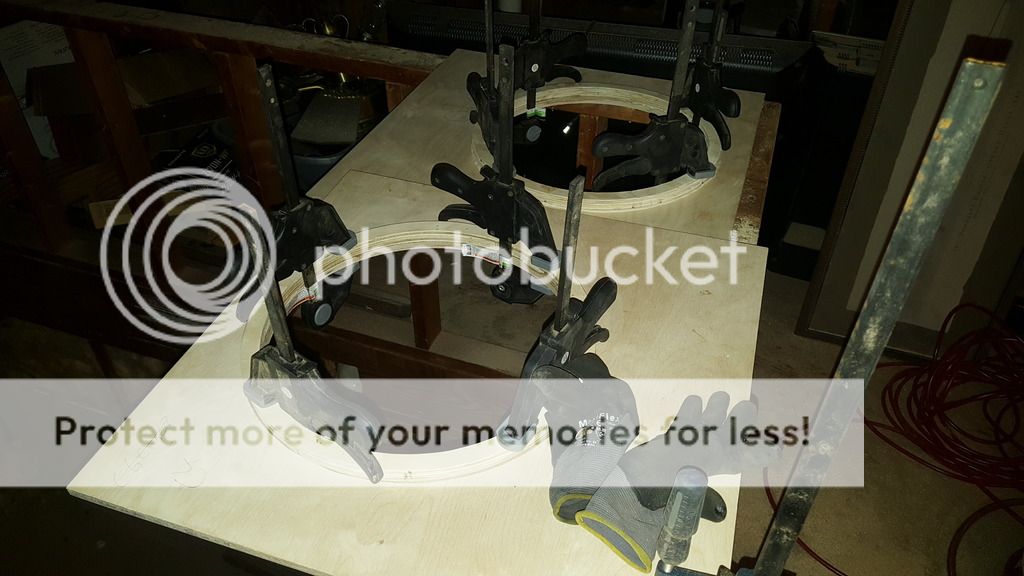
I am trying to avoid uses fasteners of any sort beyond those needed for the driver and access panel panel being as my goal is to build furniture quality cabinets so I picked up a cart full of HF clamps and as many squares as I could get my hands on. I am using titebond against the overwhelming conscientious of the good people on the BFM forums but I A) don't like working with PL B) find the opinion that it's impossible to make an air tight horn without as a challenege & C) don't see the need for it in this deign. Now on a bigger project, maybe. However I've had moderate success using titebond ultimate and I'm going to stick with what I know. ohh, and it's water soluble so clean up is a breeze.
Unfortunately, I ran out of time before the bit came in so everything is sitting at home waiting for me.
Dude seriously I would use PL or stop now. If the panels don't seal, especially the last side, all of your valuable time and effort will be pure waste.
I know the echo chamber here can be tiring on some things, but using PL is not one of them.
Use PL or stop, don't waste your time!
Dude seriously I would use PL or stop now. If the panels don't seal, especially the last side, all of your valuable time and effort will be pure waste.
I know the echo chamber here can be tiring on some things, but using PL is not one of them.
Use PL or stop, don't waste your time!
Well noted. It will be at minimum a week before I'm back home. Probably will end up going this route after discussion with another builder last night.
Well noted. It will be at minimum a week before I'm back home. Probably will end up going this route after discussion with another builder last night.
FYI, the Tuba HT I posted pictures of above was built using only Titebond glue, nor did I use any fasteners. When I started building it I was also informed by many on BFM's web board that it was "impossible" to built an airtight Tuba HT using Titebond. I did it anyway, because I'm stubborn like that.
Mine came out completely airtight, and this was confirmed to all with some impedance sweeps, so it is possible. Now with that being said, I have a good table saw and can make perfect cuts. I also have experience and technique from building LOTS of enclosures. Unless you are 100% confident in your abilities, using PL is probably the right thing to do, but decide that for yourself.
Biscuits?
If you used Brad nails and Titebond you will have small joint failures a few years in. Plywood shrinks and expands a fair bit between winter and summer.
And I have yet to see a wood glue that is rigid once set that can keep up with wood expansion and contraction.
Nice enclosure by the way!
Dyes tend to work a little easier on keeping your color equal and even.
If you have trouble you seal the surface of the birch with shellac and then wipe on a layer of dye when the shellac is still slightly tacky. It really evens out the color when you are having trouble.
No biscuits, no brads, just clamps.
I've never had a issue with glue joint failure due to expansion/contraction with Baltic birch and I've had enclosures sitting in the uninsulated area of my woodshop for years.
Last edited:
A glue joint with titebond is stronger then the wood but you have to have perfect cuts. It requires wood to wood contact. It does not fill gaps. Dados in the sides to receive the internal parts helps to increase glue surface. That said I added lots of screws to the folded horns I built.
I've been involved in custom cabinets and furniture work for almost 40 years.
End glued plywood to face glued plywood is not the same as a regular test piece hard maple to maple adhesion setup. The expansion and contraction is perpendicular to each other.
The dadoe will increase surface area a bit. If you made this with a deep enough cut you may end up the winner. In glueing up wood, surface area of the joint is the key to it's success.
For simple boxes like you have pictured I use PL premium. For bent laminations I use various types that are PVA based. Generally yellow glue types.
Properly setup with good joinery it does not show a glueline and has that little bit of give that everyone like so much.


Wow you are a brave man.
At least in Washington state the climate does not have massive swings in temperature like up here in Canada.
I'm going to guess you have never been to Eastern Washington. Its not like what you get on the West side of the Cascades. 100+ degrees in the summer, 0 degrees in the winter. 40+ degree temperature swings in a 24 hour period.
Honestly, you are the first person I've ever heard that had issues with PVA glue failing on baltic birch due to dimensional instability. AFAIK one of baltic birch plywood's main advantages is that it's dimensionally stable. Maybe the plywood in your area is different. I'm all for learning something new, if have had repeated issues I'd really like to try to understand why.
Actually drove through your area a few years back going to Denver from Vancouver.
But that does not qualify me to comment on your climate!
I think I spent maybe two ours in the month of October each way. I liked the area.
All wood expands and contracts. Even plywood. The theory is that with the perpendicular layers this all gets equalized. But if you wonder if this is really so make your self a box with butt joints and veneer it. Over time the end grain lines in the plywood will telegraph their way through the veneer.
And I have made a boat load of drawer boxes and such over the years in every conceivable fashion. The simple but joints eventually work.
I'm not saying joint failure.
I'm saying cracks. And loudspeakers depend on there being no cracks in order to operate as designed.
FYI, the Tuba HT I posted pictures of above was built using only Titebond glue, nor did I use any fasteners. When I started building it I was also informed by many on BFM's web board that it was "impossible" to built an airtight Tuba HT using Titebond. I did it anyway, because I'm stubborn like that.
Mine came out completely airtight, and this was confirmed to all with some impedance sweeps, so it is possible. Now with that being said, I have a good table saw and can make perfect cuts. I also have experience and technique from building LOTS of enclosures. Unless you are 100% confident in your abilities, using PL is probably the right thing to do, but decide that for yourself.
It was your thread, I believe an 18" wide version that inspired me to go this route. I'm overly confident in my ability to make straight cuts, probably to a fault.
However, I am anally checking every single panel for squareness, flushness & straightness after I cut it.
View attachment 576551
A single cabinet with the driver you used.
View attachment 576552
A four cabinet response in black with the single cabinet response in grey.
May I ask, is that a theoretical sim or measured response? That dip in the lower end is deplorable and frankly a little discouraging.
I'm building 4 for sheer tactile response, I love bass flutters.
I am also building these are a way to get familiar with laying out horns, my next project is 8 Othorn cabs, and then I'm still trying to source a proven design for pro level mid bass design. I've simmed a few idea i like in horn resp but I'm not entirely confident in my understanding of the ideal impulse response and phase curves yet.
That said, if my in room response is anything like what you posted when I', done then I'll probably be selling these cabs, these are aimed at studio use and I can't have a low-end response that looks like a pair of squirrels chasing each other around a damn tree
-Josh
It was your thread, I believe an 18" wide version that inspired me to go this route. I'm overly confident in my ability to make straight cuts, probably to a fault.
However, I am anally checking every single panel for squareness, flushness & straightness after I cut it.
May I ask, is that a theoretical sim or measured response? That dip in the lower end is deplorable and frankly a little discouraging.
I'm building 4 for sheer tactile response, I love bass flutters.
I am also building these are a way to get familiar with laying out horns, my next project is 8 Othorn cabs, and then I'm still trying to source a proven design for pro level mid bass design. I've simmed a few idea i like in horn resp but I'm not entirely confident in my understanding of the ideal impulse response and phase curves yet.
That said, if my in room response is anything like what you posted when I', done then I'll probably be selling these cabs, these are aimed at studio use and I can't have a low-end response that looks like a pair of squirrels chasing each other around a damn tree
-Josh
Well that is a simulation of the actual build information you would be working from.
Hornresp is actually pretty accurate. But anything that has a sharp null or peak is usually not as bad in practice.
The notch might not be as bad as simulated. But the lack of the ultra low end is due to a short path length on the horn.
Bill made some intelligent choices as to what to compromise for getting the biggest bang in a theater experience.
The rippled response is nothing to worry about.
I design low frequency horns with a purposed ripple limit of plus or minus 3 db. We really don't pick it up when listening to music. And an in room response is usually way worse than a simulation in terms of ripple.
BUMP! Just a heads up. I haven't dropped the ball. Alot of emergent work popped up & has had me away from home.
I've been back a little more than week and had a lot of loose ends to tie up but these are now my sole focus in life, besides maybe eating and sleeping.
More to come.")
-Josh
I've been back a little more than week and had a lot of loose ends to tie up but these are now my sole focus in life, besides maybe eating and sleeping.
More to come.
-Josh
Update!
I'm not sure which photos from my earlier posts are viewable & which are not. My apologies, Im still working out which file hosting site to go with. Ill post everything I have as close to chronological order as I can.
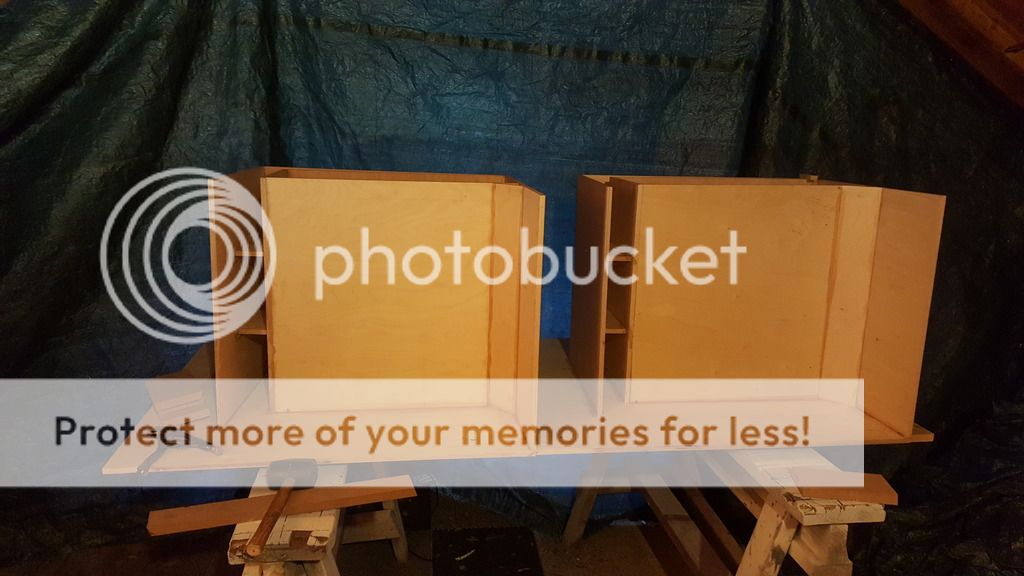
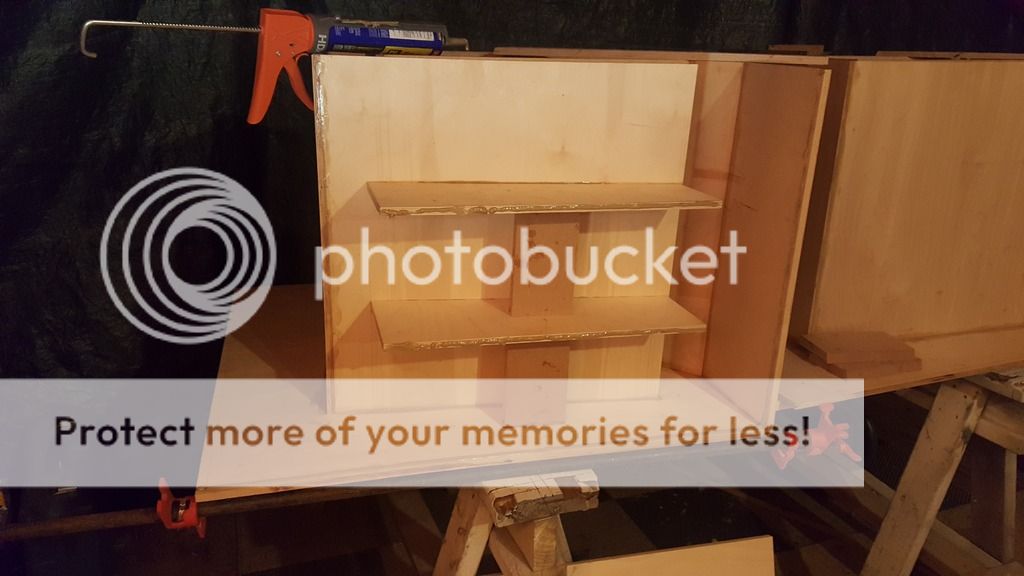
Anyways, I'm nearly done with the first 2 cabinets, just have to put on the last side panel and associated braces, since these braces are the visible braces Im going to incorporate a mild concave radius into them.
Anyways, time for the pictures!
Flashback to when I first got that beast to a table saw up to the 3rd floor, between that & carrying all the plywood up that day was a workout!
I made it a point to keep the first few panels square
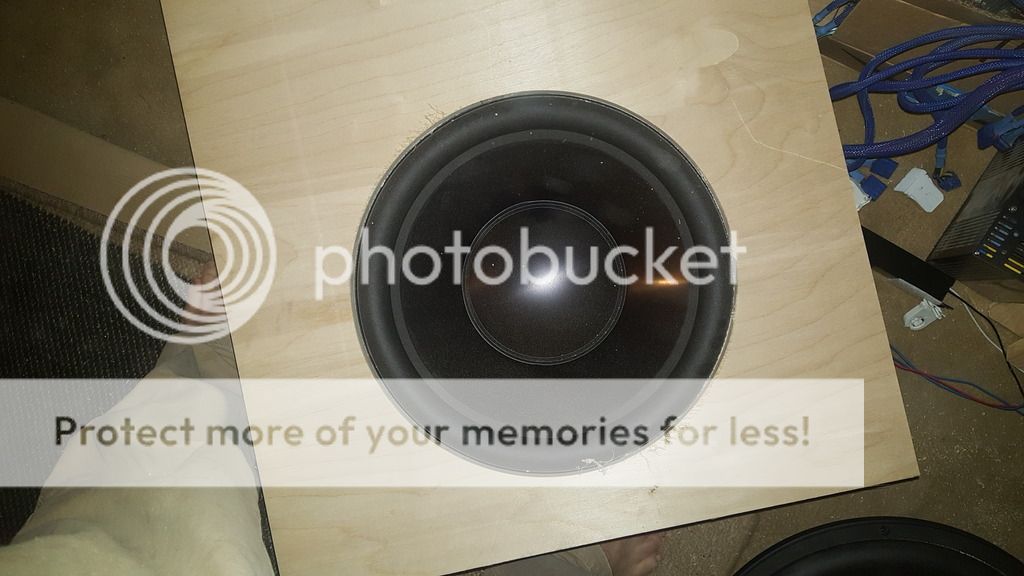
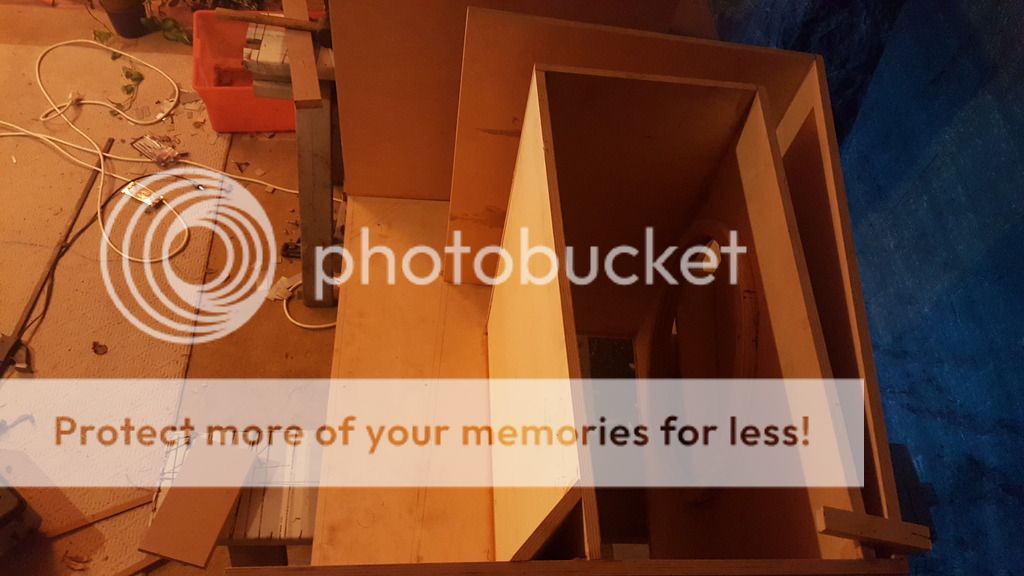
I used a piece of 3/4" to make a mounting spacer on the inside of the rear chamber in lieu of the suggested mounting "tabs" which not only gives me total piece of mind in the rigidity of the baffle but it meant i didn't have to mess with modifying the first pair of braces.
a 13 15/16" cutout was perfect!
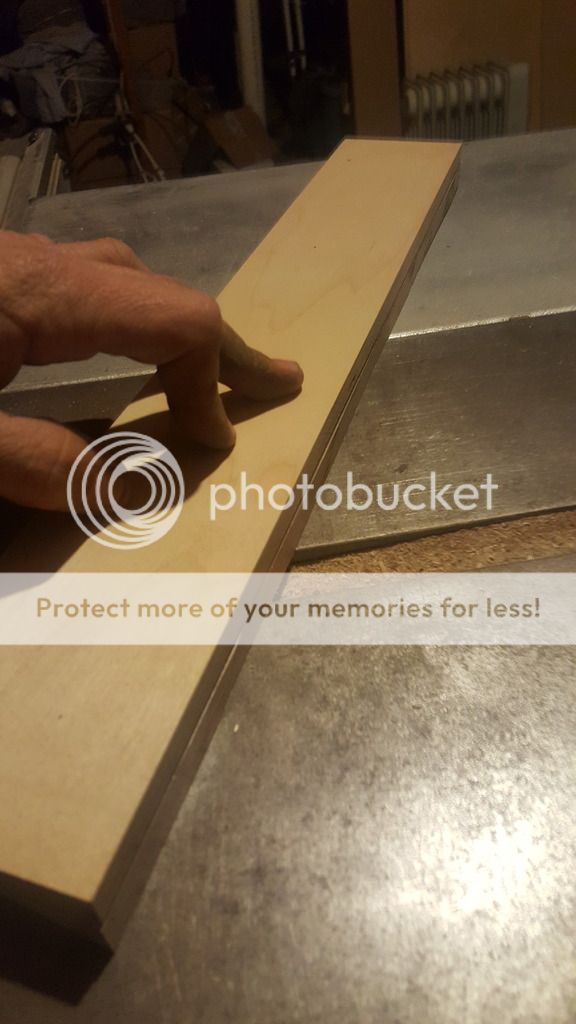
I found cutting the braces free hand on the tablesaw to be fairly accurate & hasslefree.
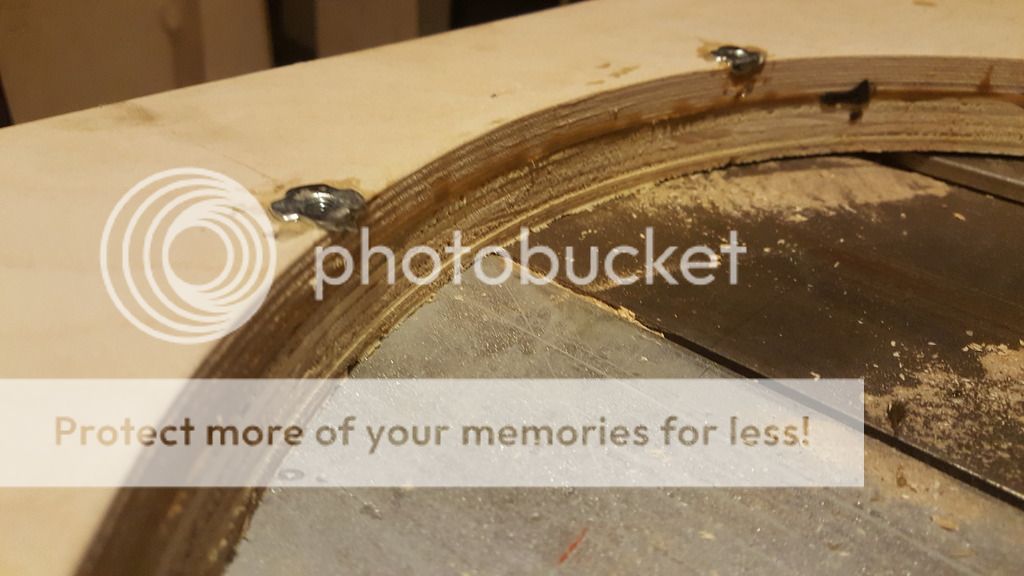
I didn't have the foresight to order hurricane nuts so I wound up opting for ludicrously overpriced m5 t-nuts.
Since Ive learned the hard way what a pain it is having a t-nut spin out I did my damn best to prevent that from happening again. Superglue and I bent edges over. They aren't moving.
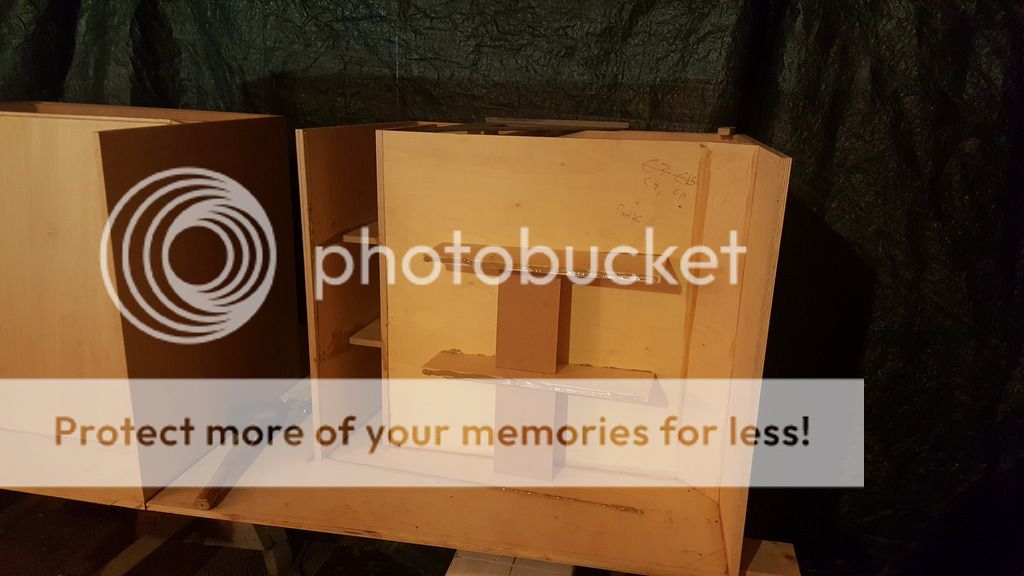
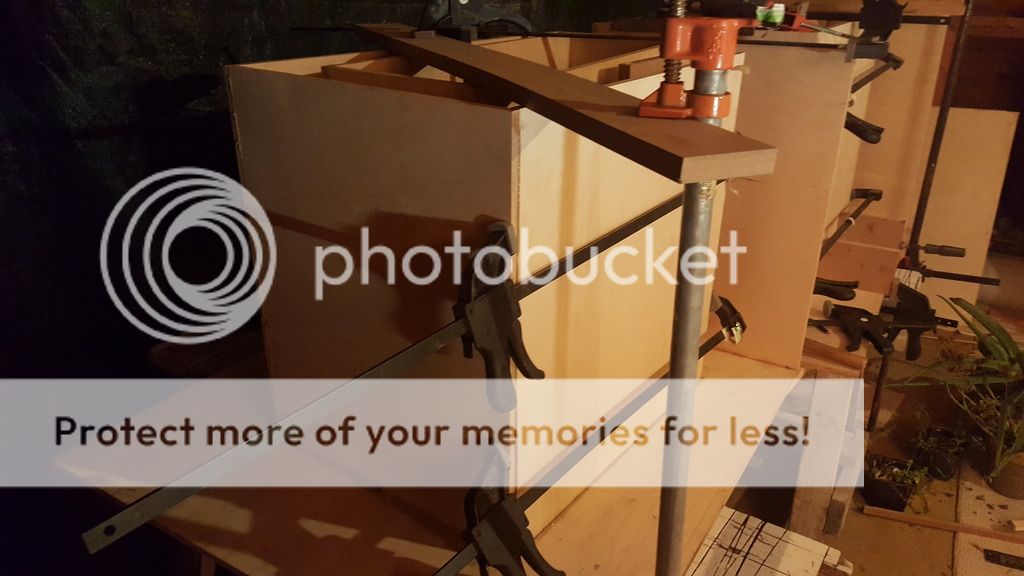
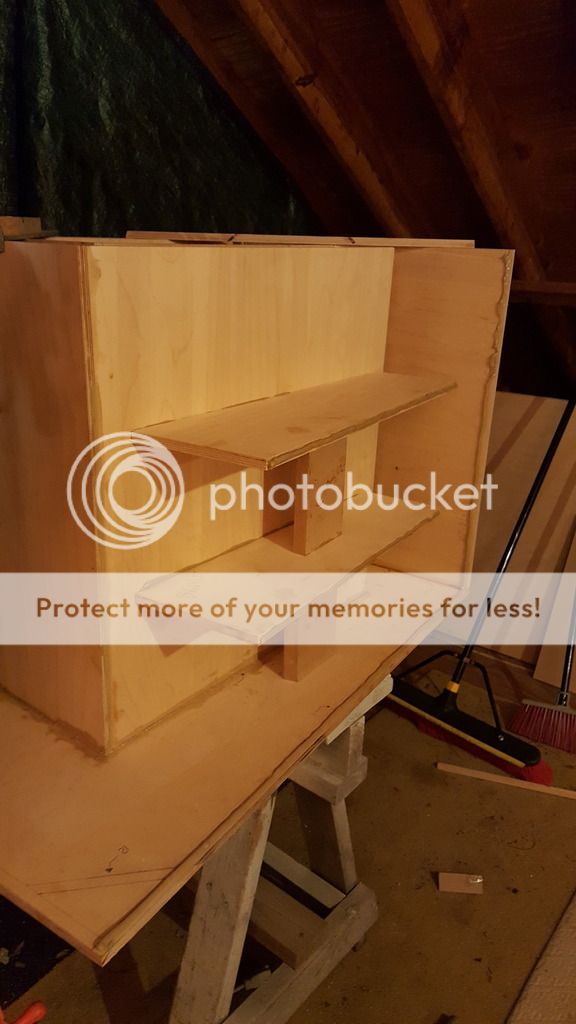
Picking back up the pace, getting the baffle mounted was the first panel I got in place in more than a month.
From this point, the only inhibitor was letting the glue set.
Yes I know my place is a mess..
I'm not sure which photos from my earlier posts are viewable & which are not. My apologies, Im still working out which file hosting site to go with. Ill post everything I have as close to chronological order as I can.
Anyways, I'm nearly done with the first 2 cabinets, just have to put on the last side panel and associated braces, since these braces are the visible braces Im going to incorporate a mild concave radius into them.
Anyways, time for the pictures!
Flashback to when I first got that beast to a table saw up to the 3rd floor, between that & carrying all the plywood up that day was a workout!
I made it a point to keep the first few panels square
I used a piece of 3/4" to make a mounting spacer on the inside of the rear chamber in lieu of the suggested mounting "tabs" which not only gives me total piece of mind in the rigidity of the baffle but it meant i didn't have to mess with modifying the first pair of braces.
a 13 15/16" cutout was perfect!
I found cutting the braces free hand on the tablesaw to be fairly accurate & hasslefree.
I didn't have the foresight to order hurricane nuts so I wound up opting for ludicrously overpriced m5 t-nuts.
Since Ive learned the hard way what a pain it is having a t-nut spin out I did my damn best to prevent that from happening again. Superglue and I bent edges over. They aren't moving.
Picking back up the pace, getting the baffle mounted was the first panel I got in place in more than a month.
From this point, the only inhibitor was letting the glue set.
Yes I know my place is a mess..
Last edited:
Hi SunGazer,
Your photos are not showing up, I tried IE 11 and Google Chrome.
Regards,
Sorry, I noticed that, disregard that post.I hit admin limit trying to edit.
Well I've been making a ton of progress as of late. I'm finding that by fitting, gluing & clamping a panel/braces first thing when I wake up it allows enough time for the glue to set so that I can remove the clamps with not ill effect after 12 hours. Therefore, knocking out consecutive panels in a single day is very plausible. I'm nearly done with the first 2 cabinets, just have to put on the last side panel and associated braces, since these braces are the visible braces Im going to incorporate a mild concave radius into them.
Anyways, time for the pictures! I apologize for previous posts have spotty picture privileges, turns out good ole' photobucket has been and will continue to be the most trouble free host.
I used a piece of 3/4" to make a mounting spacer on the inside of the rear chamber in lieu of the suggested mounting "tabs" which not only gives me total piece of mind in the rigidity of the baffle but it meant i didn't have to mess with modifying the first pair of braces.
a 13 15/16" cutout was perfect!
I didn't have the foresight to order hurricane nuts so I wound up opting for ludicrously overpriced m5 t-nuts; Ive learned the hard way what a pain it is having a t-nut spin out I did my damn best to prevent that from happening again. Superglue and I bent edges over. They aren't moving.
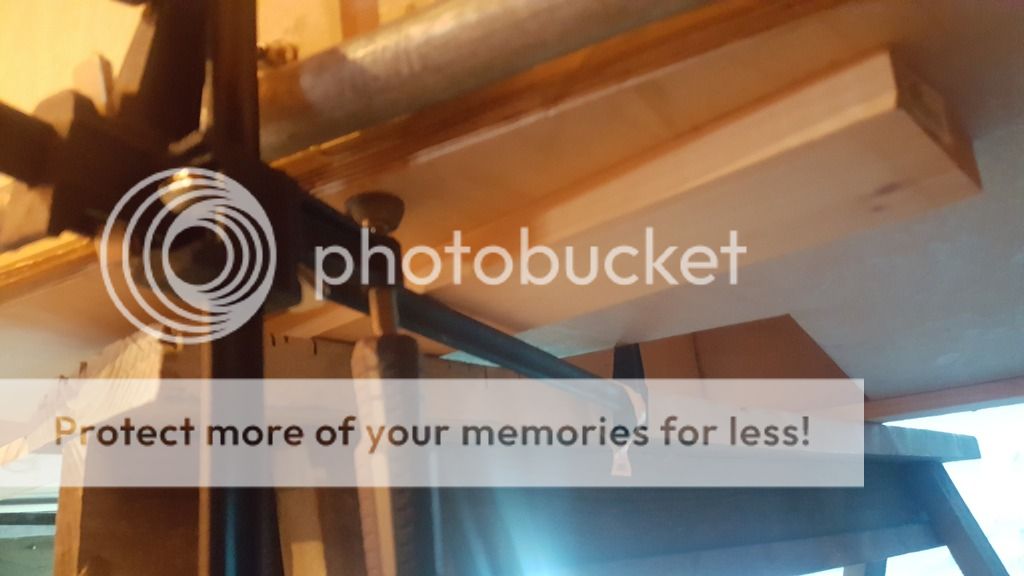
I took my time & handcut the braces, the bottom piece is my freehand edge, a steady hand goes a long way.
Picking up the pace, getting the baffle mounted was the first panel I got in place in more than a month.
An externally hosted image should be here but it was not working when we last tested it.
I forgot to document the next two panels, which is unfortunate because I was proud of the clamping needed in order secure those inner most panels down and level with the side panel. However, once I finished panel 7 & the associated braces the excitement started to build.
Ready for #8
Clamps everywhere!
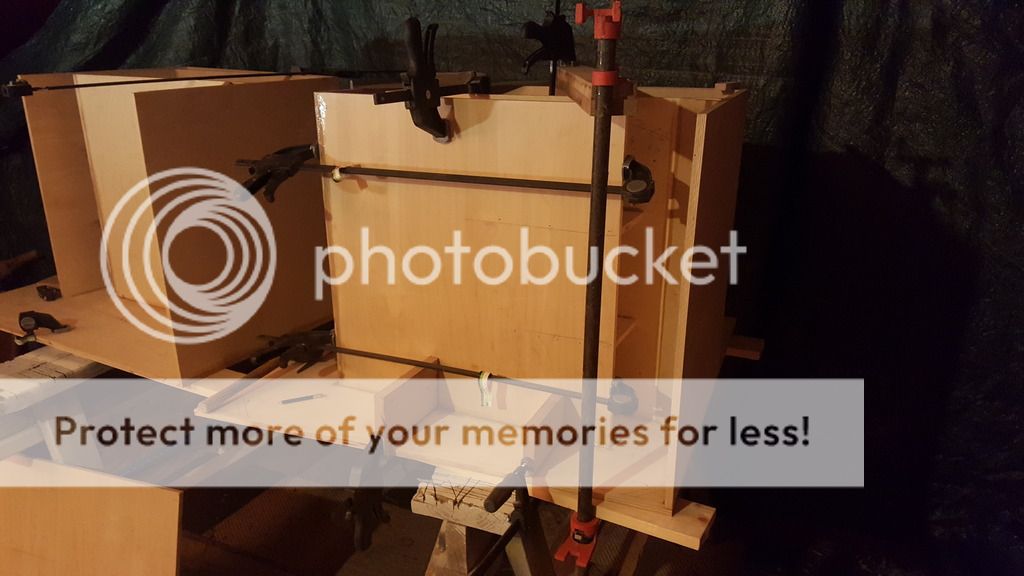
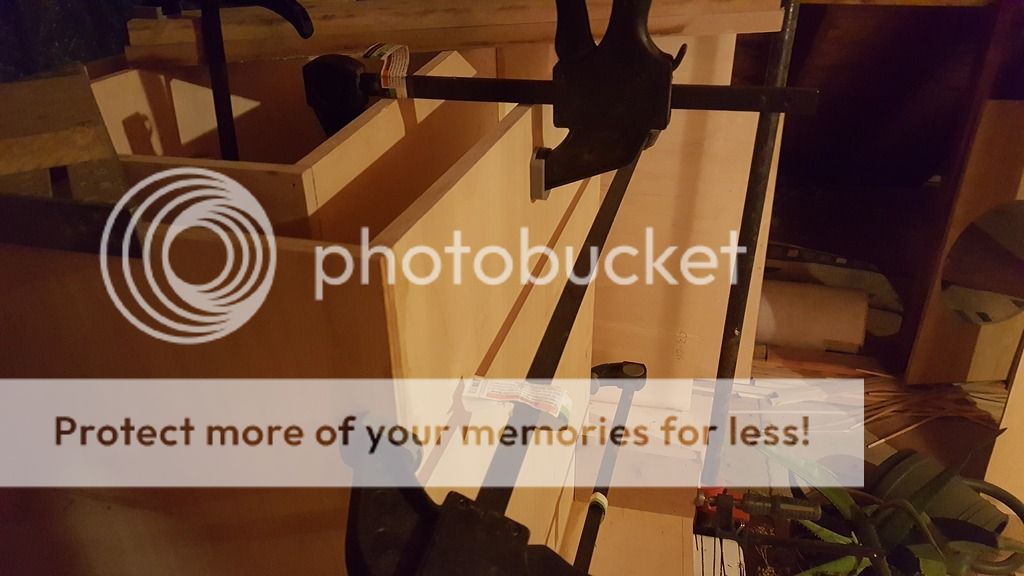
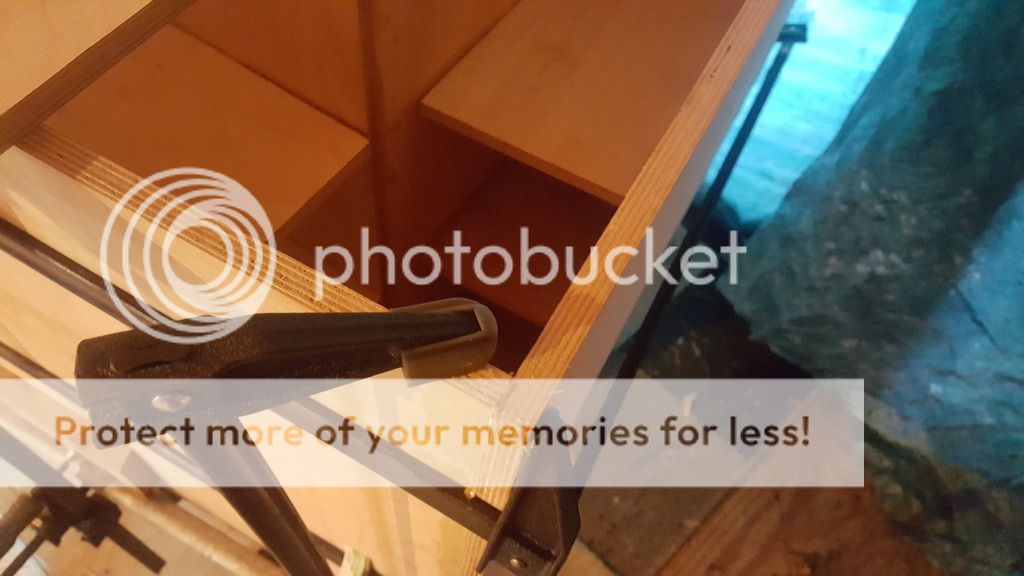
Beveling the clamp blocks helped minimize glue grabbing the spacer while everything set up.
[IMGhttp://i1268.photobucket.com/albums/jj566/Horizon_Productions/20161211_182005_zpstsha8m3c.jpg[/IMG]
Despite checking twice I somehow make an error in my layout, but no harm no foul.
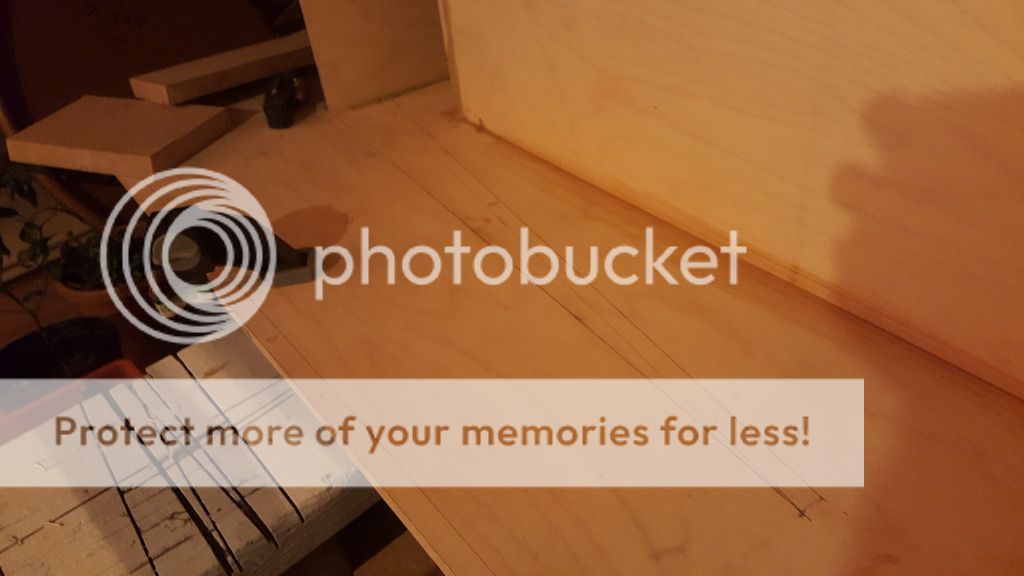
With the interior panels done, it's downhill!
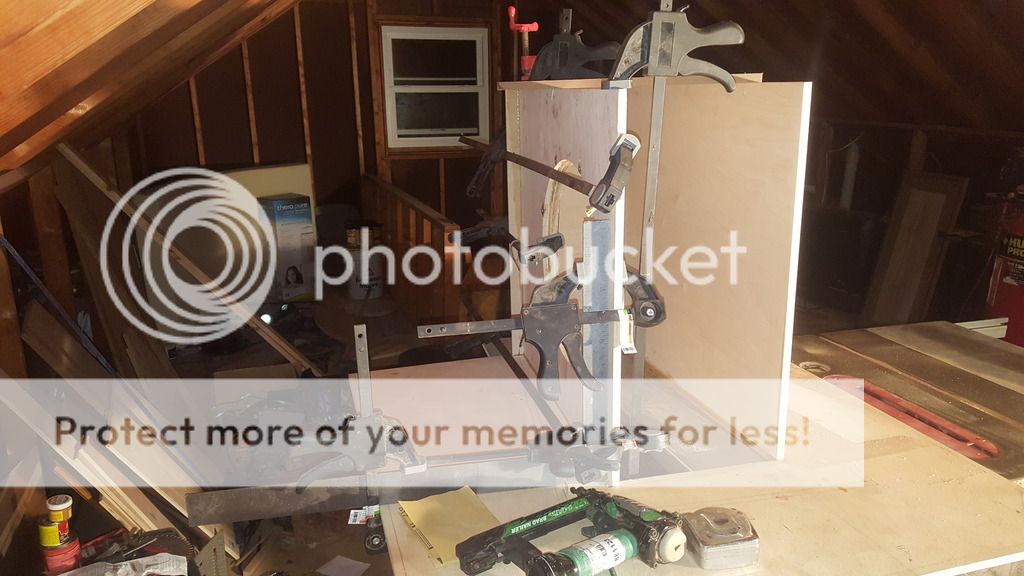
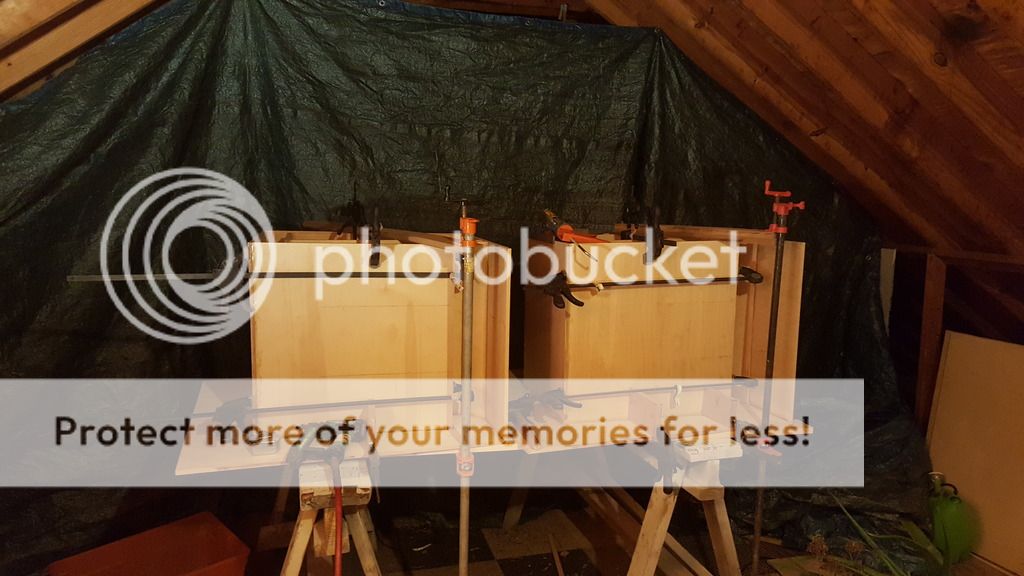
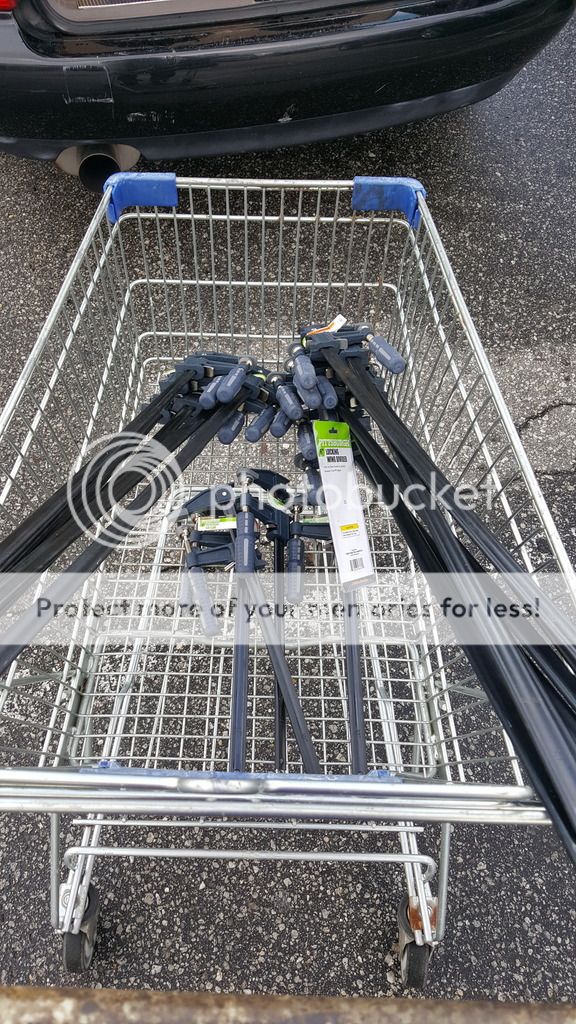
This is this morning, I didn't have enough clamps to properly secure the panel on the other cab..

I cleaned Harbor Freight out, the bar style clamps work great.
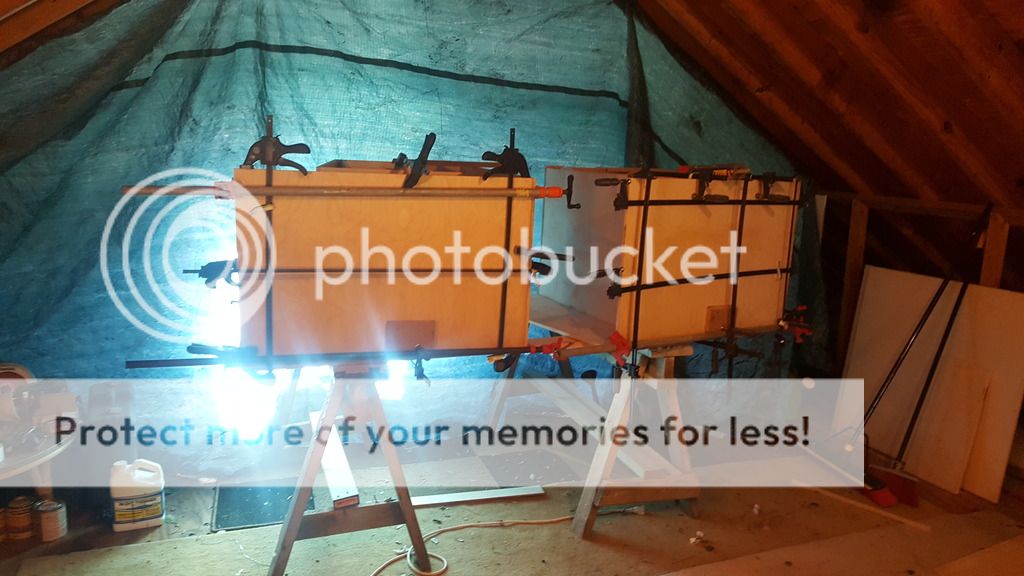
So, that's where I'm at now.
Going to have to start figuring out how I want to finish & testing on some scraps.
Needless to say, I'm very excited!
After hearing as much about the output these things are capable it's starting to dawn on me that 4 may going overboard but I'm commited to this project now.
Since I finally set the work area my work has improved termendously. Looking forward to finishing these two and grinding out the next 2!
Stay tuned
-Josh
Last edited:
- Status
- This old topic is closed. If you want to reopen this topic, contact a moderator using the "Report Post" button.
- Home
- Loudspeakers
- Subwoofers
- Quad Tuba HT Build Log