Nice clean work.
Sent from my SAMSUNG-SM-N910A using Tapatalk
Thanks!
Advancements regarding this "sequel' of the project
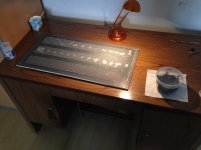
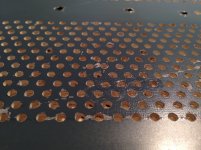
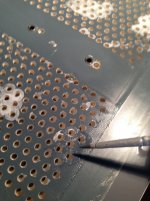
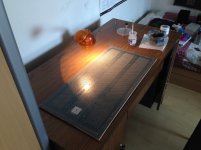
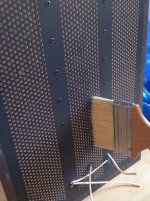
Hand-sanded the iron parts and finally, have it painted professionally. This time, they left some wax in the box, so the paint isn't that flush at the linings as at the other speaker's transformer boxie.
Hand-sanded the iron parts and finally, have it painted professionally. This time, they left some wax in the box, so the paint isn't that flush at the linings as at the other speaker's transformer boxie.
An externally hosted image should be here but it was not working when we last tested it.
An externally hosted image should be here but it was not working when we last tested it.
An externally hosted image should be here but it was not working when we last tested it.
An externally hosted image should be here but it was not working when we last tested it.
An externally hosted image should be here but it was not working when we last tested it.
An externally hosted image should be here but it was not working when we last tested it.
screws...
I wanted to throw out these, but realised that this is different thread size than Metric, so cleaned them thoroughly. Hot water and vinegar can do wonders. This time, these bolts were coated with something to keep them from corrosion. The other speaker's wasn't.
I will now use a little oil to avoid corrosion.
An externally hosted image should be here but it was not working when we last tested it.
The cleaned up tagboards with NOS turret solder posts&Ti screws
An externally hosted image should be here but it was not working when we last tested it.
Bass panel's dustcover frames
This was the most annoying and tiring part yet. I do not have the right place to do it with the least hassle, so I done it with my raw physical strength and with some sandpapers.
I tried out my mahagony mordant on it to lessen the wood's natural bright yellow color. I think, I will use it on all the 6 frames later.
This was the most annoying and tiring part yet. I do not have the right place to do it with the least hassle, so I done it with my raw physical strength and with some sandpapers.
An externally hosted image should be here but it was not working when we last tested it.
I tried out my mahagony mordant on it to lessen the wood's natural bright yellow color. I think, I will use it on all the 6 frames later.
An externally hosted image should be here but it was not working when we last tested it.
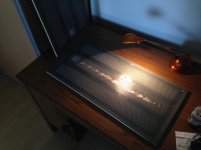
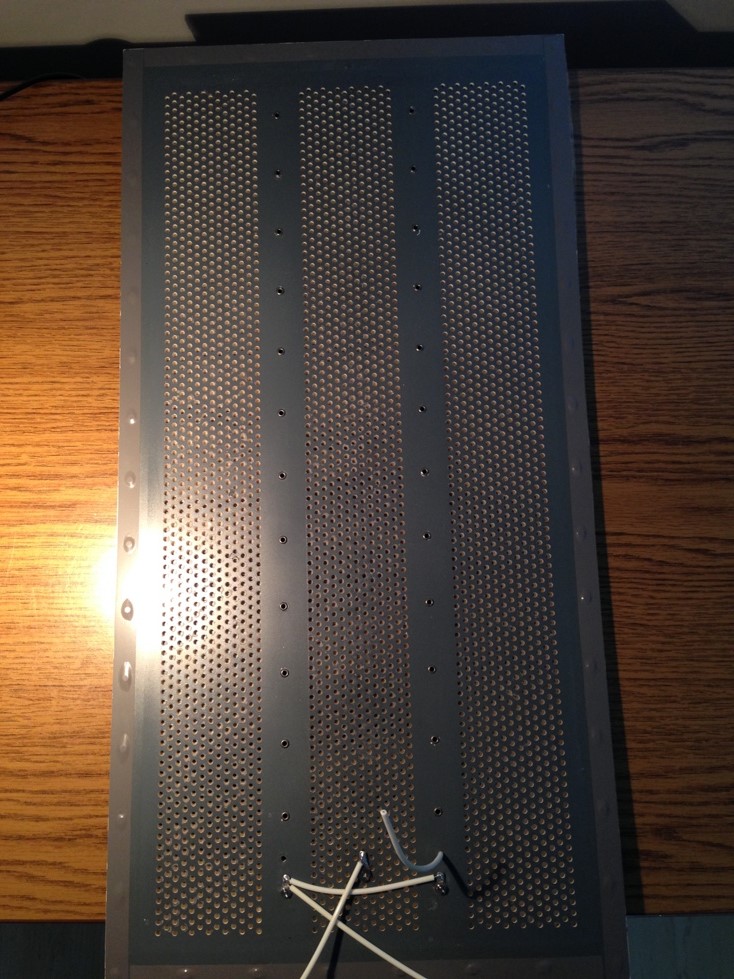
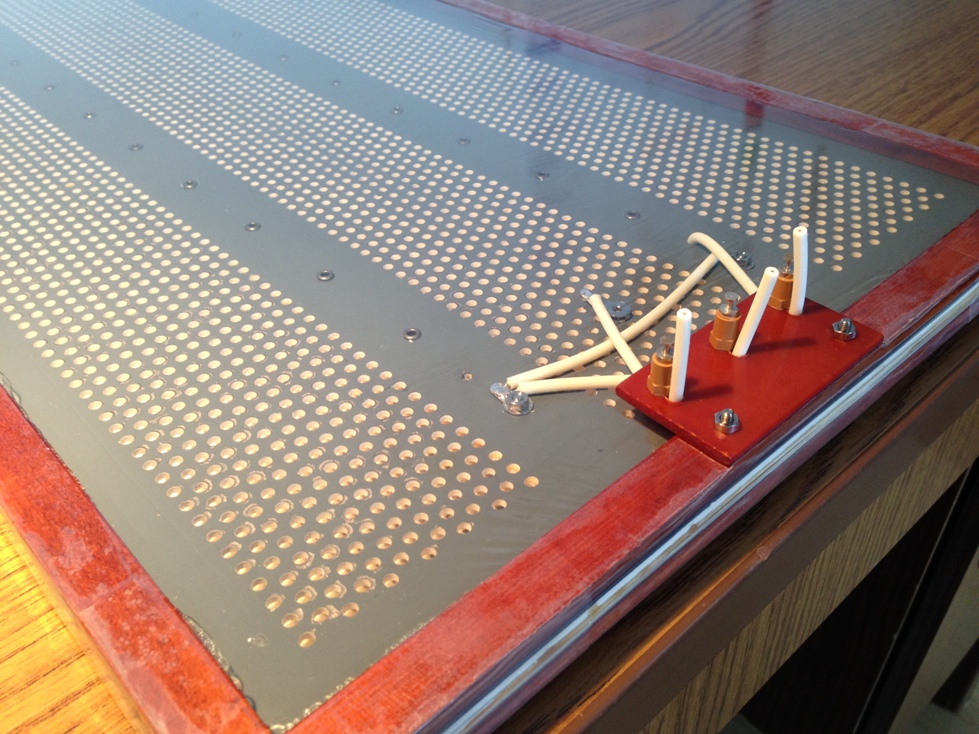
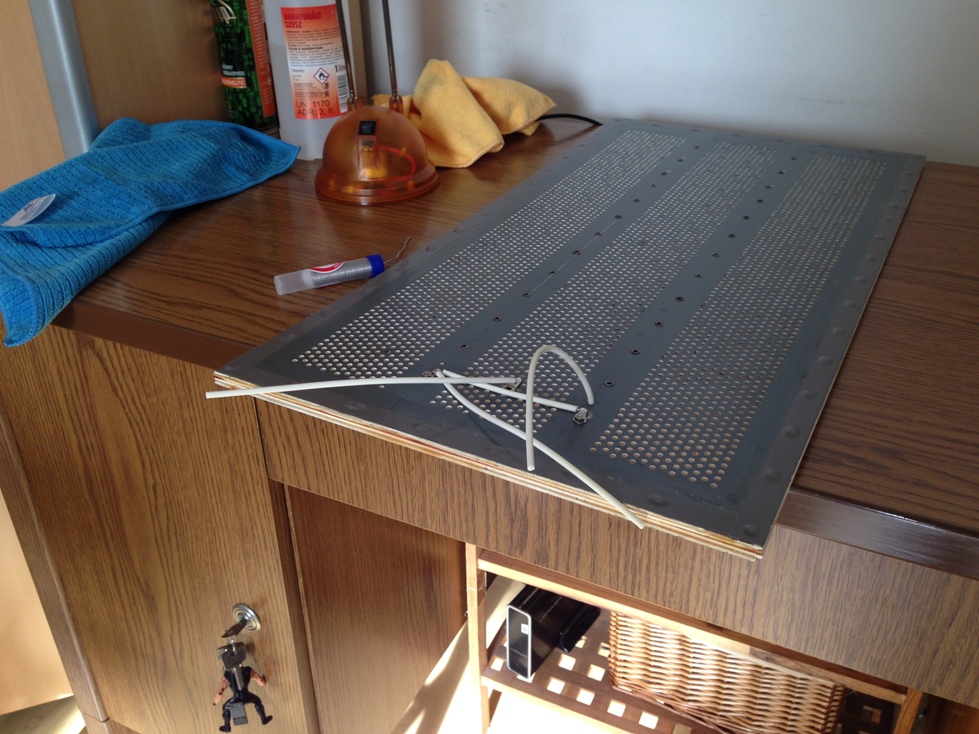
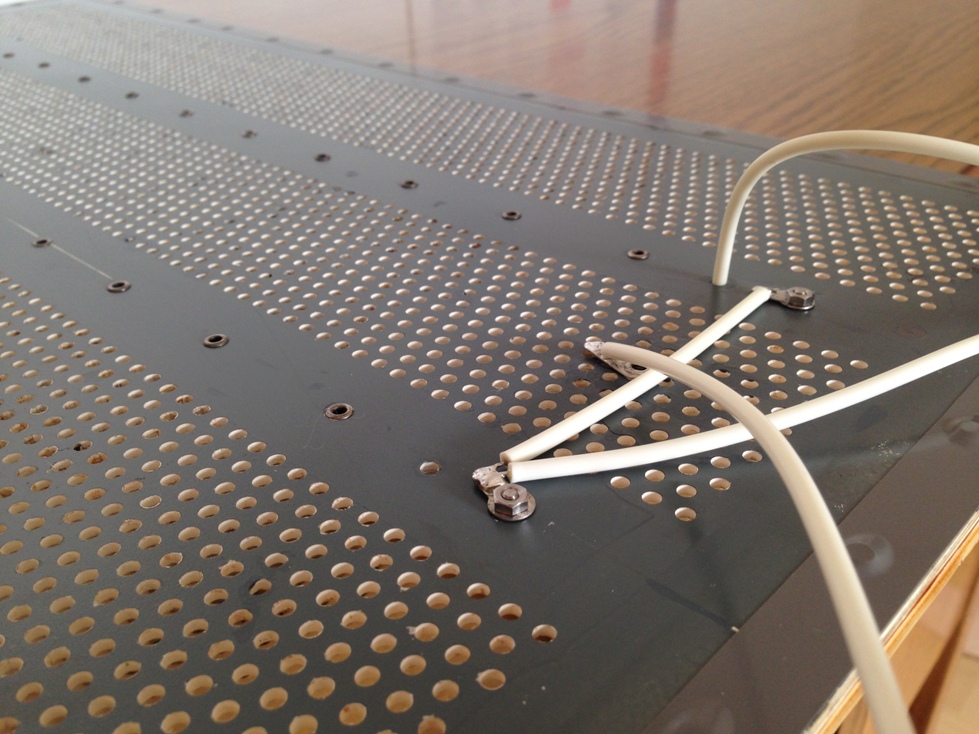
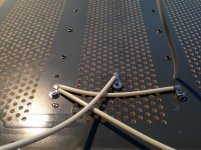
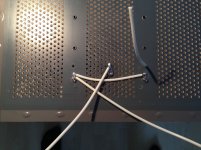
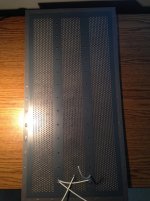
treble panel
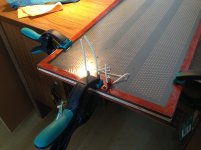
I cleaned the panel with white cement (removed the insulating tape this time as it was sooo old) and 70% alcohol, removed the wiring completely, and soldered some reused but good quality wires from an another treble panel.
The dust cover is just on it temporary, as I will use my mahagony on it.
I cleaned the panel with white cement (removed the insulating tape this time as it was sooo old) and 70% alcohol, removed the wiring completely, and soldered some reused but good quality wires from an another treble panel.
The dust cover is just on it temporary, as I will use my mahagony on it.
An externally hosted image should be here but it was not working when we last tested it.
An externally hosted image should be here but it was not working when we last tested it.
An externally hosted image should be here but it was not working when we last tested it.
An externally hosted image should be here but it was not working when we last tested it.
An externally hosted image should be here but it was not working when we last tested it.
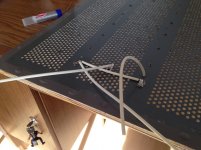
little work on the frame
I know, it is useless, but done some cosmetical work on the frames (lovely to do a work on something that is not even on display, ha-ha, but anyway)
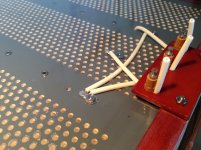
First, I cut a bit off from these protruding supporting pins as they were too long that the treble panel rather sat on those pins than the wood support itself. I used my sandpaper again to remove the zig-zags from these hardwood supports.
I know, it is useless, but done some cosmetical work on the frames (lovely to do a work on something that is not even on display, ha-ha, but anyway)
First, I cut a bit off from these protruding supporting pins as they were too long that the treble panel rather sat on those pins than the wood support itself. I used my sandpaper again to remove the zig-zags from these hardwood supports.
An externally hosted image should be here but it was not working when we last tested it.
An externally hosted image should be here but it was not working when we last tested it.
An externally hosted image should be here but it was not working when we last tested it.
An externally hosted image should be here but it was not working when we last tested it.
Before I would use a good drip free spray paint and then into the oven at low heat for a few hours. Now my metal work and welding projects get a spray paint and hang out in the hot Thailand sun a few hours and it's a better finish than the oven. Glad that you are taking your time to do it right.Hand-sanded the iron parts and finally, have it painted professionally. This time, they left some wax in the box, so the paint isn't that flush at the linings as at the other speaker's transformer boxie.
An externally hosted image should be here but it was not working when we last tested it.
An externally hosted image should be here but it was not working when we last tested it.
An externally hosted image should be here but it was not working when we last tested it.
An externally hosted image should be here but it was not working when we last tested it.
An externally hosted image should be here but it was not working when we last tested it.
Sent from my SAMSUNG-SM-N910A using Tapatalk
Yes, I would gladly did the same, but the paint job by a powder coating company was relatively cheap and hassle free so I opted for that. I really do not have the right accessories for this quality of work on iron based materials however the wooden frame was painted by me at the other speaker, and I am pleased with the result.
Before I would use a good drip free spray paint and then into the oven at low heat for a few hours. Now my metal work and welding projects get a spray paint and hang out in the hot Thailand sun a few hours and it's a better finish than the oven. Glad that you are taking your time to do it right.
Sent from my SAMSUNG-SM-N910A using Tapatalk
The show must go on . . .
Today, I had time for some 'delicate' work. At least, I thought that it would be delicate.
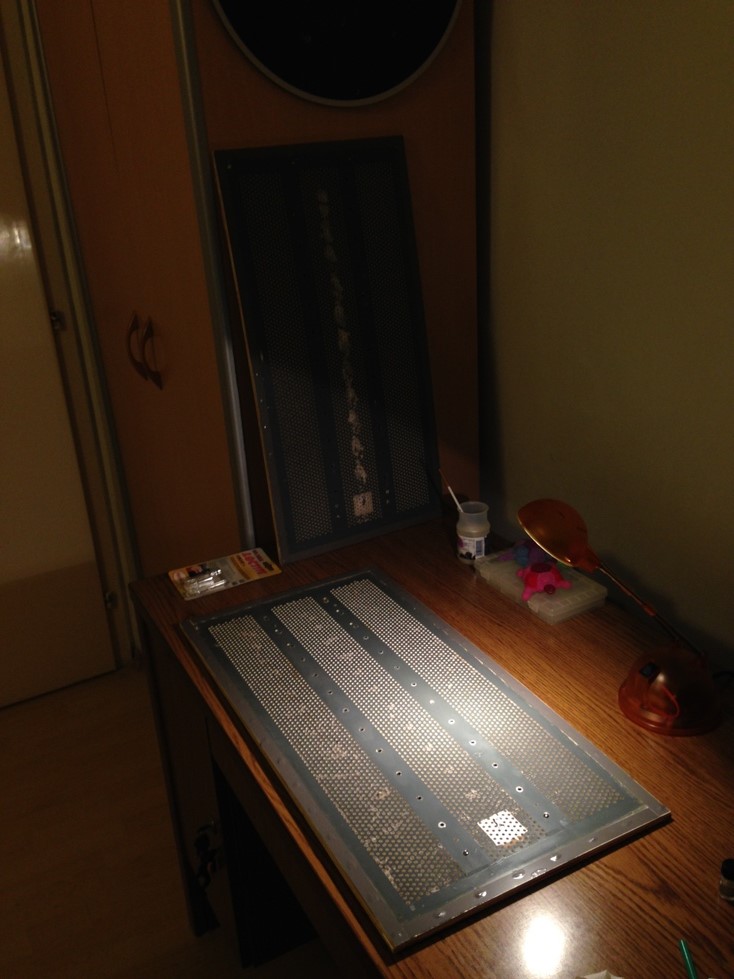
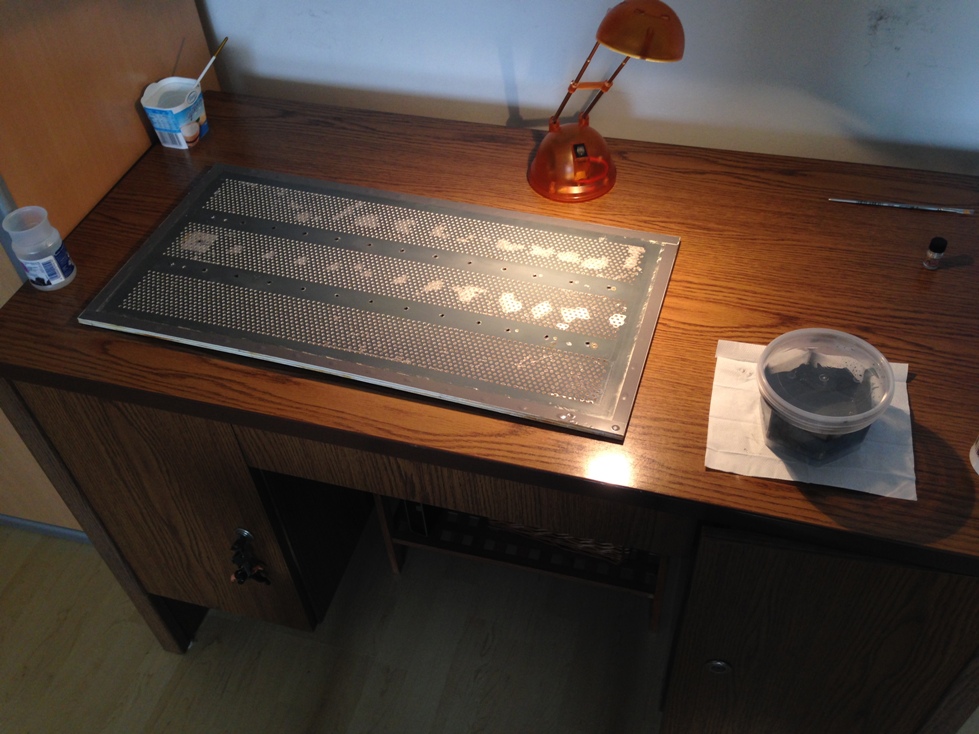
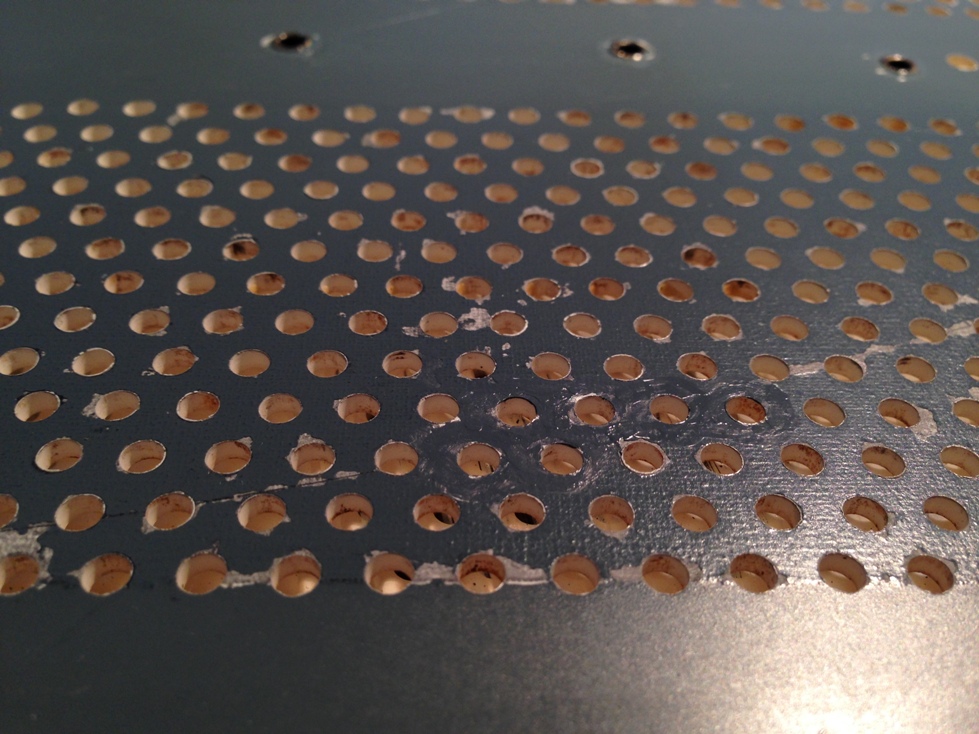
I managed to source the same insulating tape again I used for the other bass panels with good outcome (the color nearly match the panel's) so I wanted to do the perimeter and to check the continuity at the stator tags and repair if necessary the recently acquired silver paints.
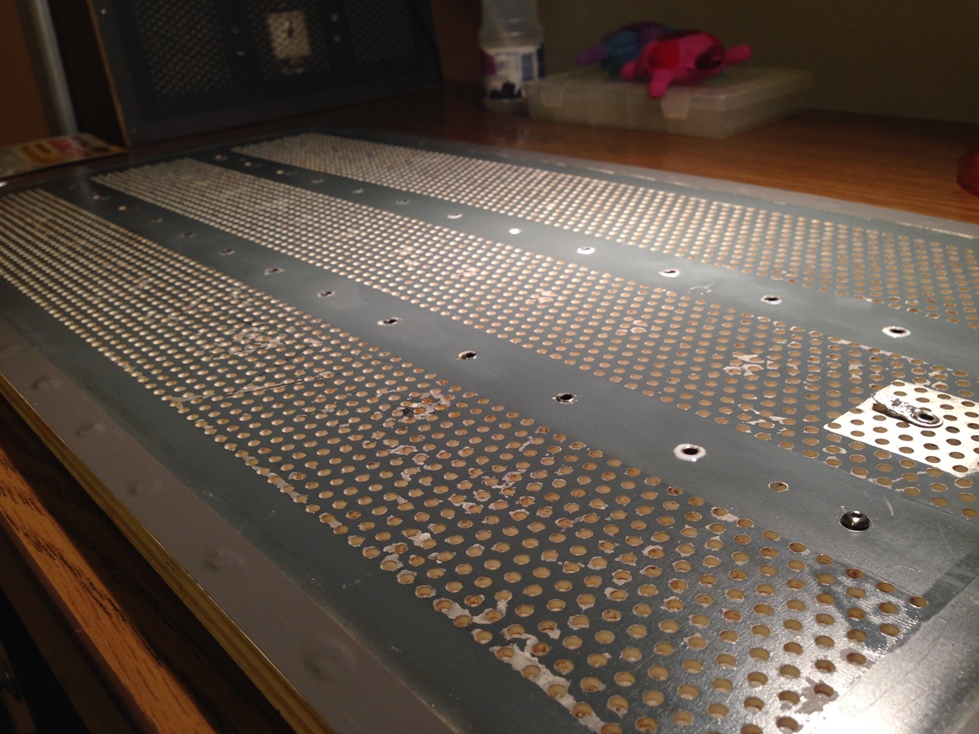
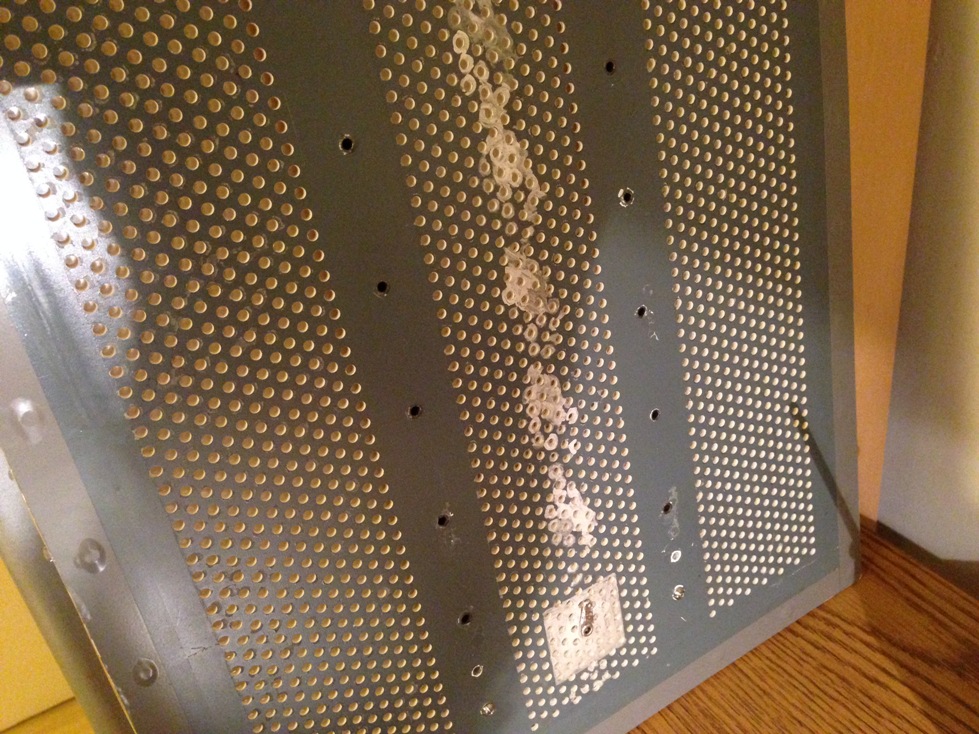
I found almost all the rivets at this silly panel moving around, so I used my hot glue to affix them.
It doesn't look good at all, but who cares, these won't resonate any more, and still repairable if I would be about to take it apart some time in the future. However, this panel now looks like that it had endured some rought time....
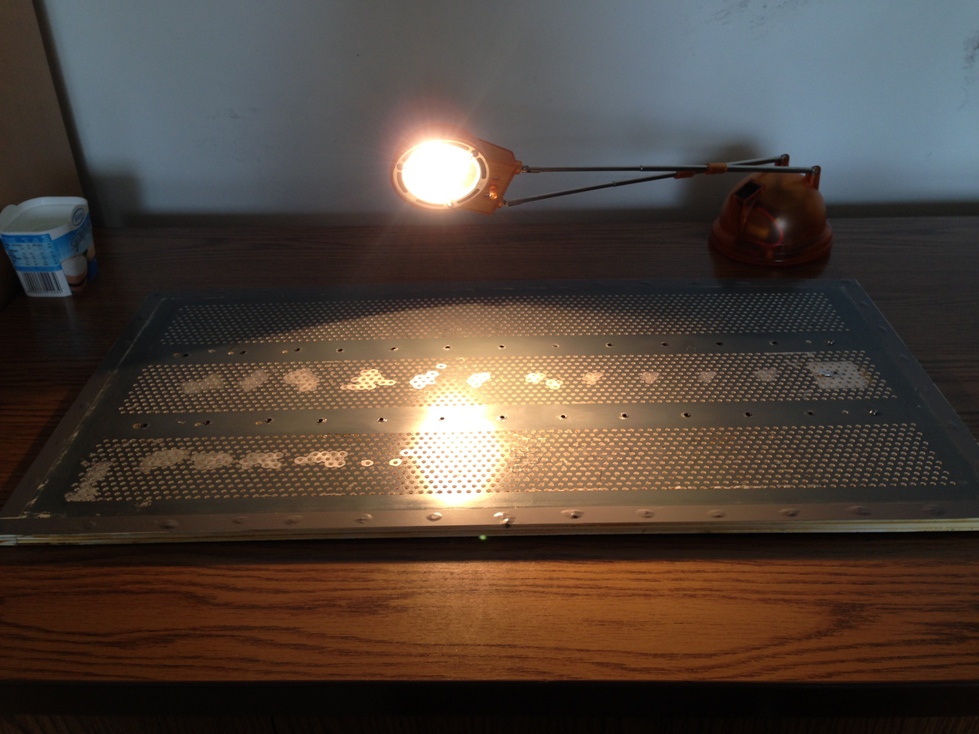
Next step was to check the continuity again. Both panels were bad sadly... (I didn't do anything to them only vacuumed the with a brush)
One panel was bad at the back stator and the other one was at the front stator.
I used the silver defogger paint with luck.
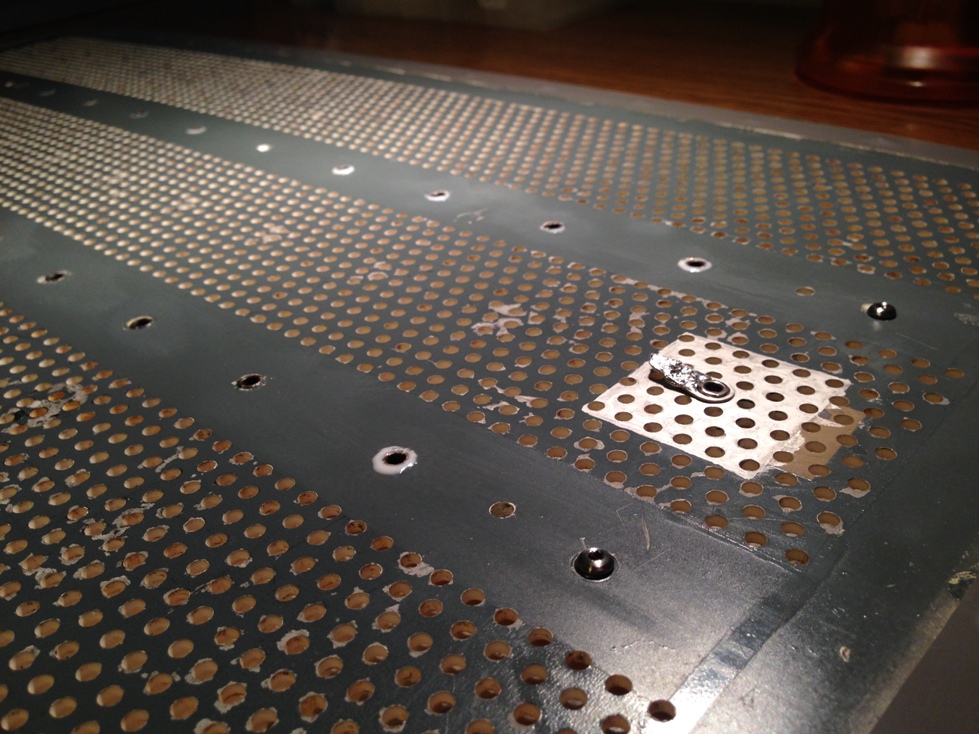
I wanted to remove the old wiring from the tags. I used a wet hanky with success at the other speaker as for heatsink. But at this one it turned out to be a bad idea. I managed to melt off a solder tag succesfully... However, this side was one of the broken ones, so it was barely there.
I was a bit desperate, but I had found a solution that was ugly but worked.
I removed one of the tags from the installment that could be found at the bottom of the speaker for earthing. This tag looked exactly the same as the riveted one so I used it and a M4 screw to secure it to the stator again.
This was for today. Looks great, arent they?
Today, I had time for some 'delicate' work. At least, I thought that it would be delicate.
I managed to source the same insulating tape again I used for the other bass panels with good outcome (the color nearly match the panel's) so I wanted to do the perimeter and to check the continuity at the stator tags and repair if necessary the recently acquired silver paints.
An externally hosted image should be here but it was not working when we last tested it.
An externally hosted image should be here but it was not working when we last tested it.
I found almost all the rivets at this silly panel moving around, so I used my hot glue to affix them.
An externally hosted image should be here but it was not working when we last tested it.
An externally hosted image should be here but it was not working when we last tested it.
It doesn't look good at all, but who cares, these won't resonate any more, and still repairable if I would be about to take it apart some time in the future. However, this panel now looks like that it had endured some rought time....
Next step was to check the continuity again. Both panels were bad sadly... (I didn't do anything to them only vacuumed the with a brush)
One panel was bad at the back stator and the other one was at the front stator.
I used the silver defogger paint with luck.
An externally hosted image should be here but it was not working when we last tested it.
An externally hosted image should be here but it was not working when we last tested it.
An externally hosted image should be here but it was not working when we last tested it.
I wanted to remove the old wiring from the tags. I used a wet hanky with success at the other speaker as for heatsink. But at this one it turned out to be a bad idea. I managed to melt off a solder tag succesfully...
However, this side was one of the broken ones, so it was barely there.An externally hosted image should be here but it was not working when we last tested it.
An externally hosted image should be here but it was not working when we last tested it.
An externally hosted image should be here but it was not working when we last tested it.
I was a bit desperate, but I had found a solution that was ugly but worked.
I removed one of the tags from the installment that could be found at the bottom of the speaker for earthing. This tag looked exactly the same as the riveted one so I used it and a M4 screw to secure it to the stator again.
An externally hosted image should be here but it was not working when we last tested it.
An externally hosted image should be here but it was not working when we last tested it.
An externally hosted image should be here but it was not working when we last tested it.
An externally hosted image should be here but it was not working when we last tested it.
This was for today. Looks great, arent they?
An externally hosted image should be here but it was not working when we last tested it.
An externally hosted image should be here but it was not working when we last tested it.
An externally hosted image should be here but it was not working when we last tested it.
An externally hosted image should be here but it was not working when we last tested it.
assembling the audiotransformer and the EHT
I had time for to do these two. I used silver-plated solid copper wire insulated with heat-shrink tube for the connections.
I used up 3 beeswax-cubes for refilling the bin.
I had time for to do these two. I used silver-plated solid copper wire insulated with heat-shrink tube for the connections.
I used up 3 beeswax-cubes for refilling the bin.
An externally hosted image should be here but it was not working when we last tested it.
An externally hosted image should be here but it was not working when we last tested it.
An externally hosted image should be here but it was not working when we last tested it.
An externally hosted image should be here but it was not working when we last tested it.
An externally hosted image should be here but it was not working when we last tested it.
An externally hosted image should be here but it was not working when we last tested it.
An externally hosted image should be here but it was not working when we last tested it.
An externally hosted image should be here but it was not working when we last tested it.
An externally hosted image should be here but it was not working when we last tested it.
Last edited:
Sanded, painted and glued the dustcovers, and completed the treble panel
An externally hosted image should be here but it was not working when we last tested it.
An externally hosted image should be here but it was not working when we last tested it.
An externally hosted image should be here but it was not working when we last tested it.
An externally hosted image should be here but it was not working when we last tested it.
An externally hosted image should be here but it was not working when we last tested it.
An externally hosted image should be here but it was not working when we last tested it.
An externally hosted image should be here but it was not working when we last tested it.
An externally hosted image should be here but it was not working when we last tested it.
An externally hosted image should be here but it was not working when we last tested it.
An externally hosted image should be here but it was not working when we last tested it.
An externally hosted image should be here but it was not working when we last tested it.
An externally hosted image should be here but it was not working when we last tested it.
An externally hosted image should be here but it was not working when we last tested it.
An externally hosted image should be here but it was not working when we last tested it.
An externally hosted image should be here but it was not working when we last tested it.
An externally hosted image should be here but it was not working when we last tested it.
An externally hosted image should be here but it was not working when we last tested it.
An externally hosted image should be here but it was not working when we last tested it.
An externally hosted image should be here but it was not working when we last tested it.
An externally hosted image should be here but it was not working when we last tested it.
An externally hosted image should be here but it was not working when we last tested it.
An externally hosted image should be here but it was not working when we last tested it.
Really clean work. Coming along good.
Hey, thank you!
Unfortunately, the glue still not the best for glueing the treble section's mylar as it doesn't bond well to it, and at some places the PE-tape peels the foil off the wooden frame, but these will be under the basses perimeter, so I do not really care. At the bass panel's hostaphan it sticks very good. I was told that I should use PVA glue, but I think it isn't a very good idea as it sticks rigid, and if I have to redo the dustcovering process again due to a puncture or wrap on the film, it would be a real work to remove the residues of the PVA glue. This inner tube repair glue is relatively easy to be removed from the frame after it has dried.
Wrapping the panels . . .
I managed to somehow 'repair' the flake-offs with conductive paint (defogger kit) and I covered it with O.K. ornamental result with mixed grey spray paint.
All made by hand with a RG595 fine brush.
Needless to say that this way very time consuming. I took 1 day to paint and an another one to redo the dustcovers and do the neccessary soldering.
Attachments
-
 IMG_5827.JPG126.9 KB · Views: 247
 -
 IMG_5831.JPG301.4 KB · Views: 343
 -
 IMG_5832.JPG300.3 KB · Views: 254
 -
 IMG_5834.JPG295.2 KB · Views: 272
 -
 IMG_5837.JPG245.5 KB · Views: 361
 -
 IMG_5839.JPG273.7 KB · Views: 255
 -
 IMG_5841.JPG168.3 KB · Views: 253
 -
 IMG_5843.JPG230.6 KB · Views: 272
 -
 IMG_5844.JPG251.2 KB · Views: 290
 -
 IMG_5847.JPG245.9 KB · Views: 349
Pictures: after the 'painted' panels dried, they were ready for wrapping in clingfilm. Before wrapping, I vacuumed and brushed them for almost an hour to remove the tiniest bit of paint flakes both from the stators and the diaphragm, too. First, I washed down the stators with a cloth and alcohol, then brushed and vacuumed them. The brush has long enough hair (and soft) to reach down to the diaphragm, so I removed the most with the utmost care.
A forumer told me that it's time to split the panels, and remove the diaphragm and redo all the paint and the conductive stripes on the stators. I am in a good hope that it isn't necessary still. I currently do not have the knowledge and time for such a tough task (and forgot to mention the money).


A forumer told me that it's time to split the panels, and remove the diaphragm and redo all the paint and the conductive stripes on the stators. I am in a good hope that it isn't necessary still. I currently do not have the knowledge and time for such a tough task (and forgot to mention the money).
Attachments
-
 IMG_5855.JPG296.9 KB · Views: 264
 -
 IMG_5857.JPG310.8 KB · Views: 243
 -
 IMG_5859.JPG216.1 KB · Views: 277
 -
 IMG_5860.JPG249 KB · Views: 313
 -
 IMG_5861.JPG276.3 KB · Views: 259
 -
 IMG_5865.JPG334 KB · Views: 256
 -
 IMG_5867.JPG280.9 KB · Views: 369
 -
 IMG_5868.JPG293.3 KB · Views: 265
 -
 IMG_5869.JPG270.4 KB · Views: 269
 -
 IMG_5874.JPG274.3 KB · Views: 242
- Status
- This old topic is closed. If you want to reopen this topic, contact a moderator using the "Report Post" button.
- Home
- Loudspeakers
- Planars & Exotics
- QUAD ESL 57 A little work on the loudspeaker "B"