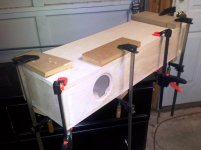
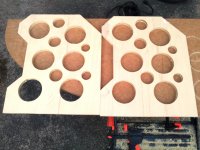
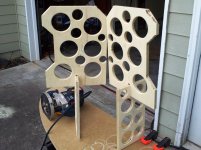
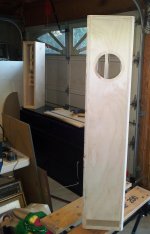
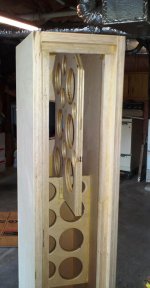
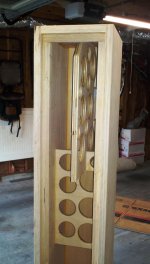
Here are some pictures from my most resent build. Glue up and a few pictures of the brace. Yes the brace does take a lot of time to build. Hopefully it was worth it.
Attachments
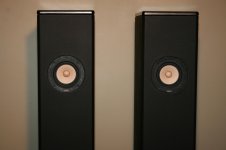
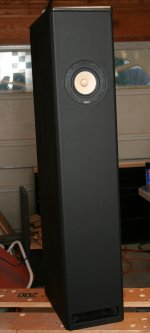
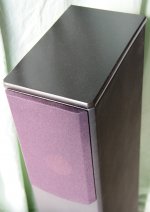
I wrapped them in black vinyl. First time I have ever done anything like this. Next time will be easier.
Attachments
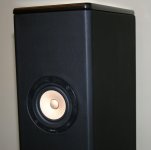
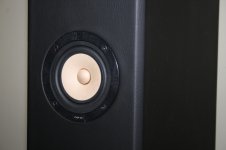
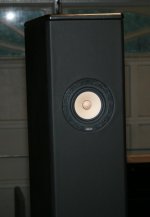

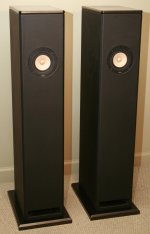
Last ones. Enjoy. I have not have a chance to sit and listen yet, but it is amazing the sound that can come from such a small driver.
Attachments
Hello Malibujeff,
Good looking project and nicely made.
The standard of fit and finish is becoming top draw giving branded products a run for their money.
If you have the time, can you post some pics of the equipment you used. Any build information and advice you can give would help newer Diyers.
Cheers
Mark.
Good looking project and nicely made.
The standard of fit and finish is becoming top draw giving branded products a run for their money.
If you have the time, can you post some pics of the equipment you used. Any build information and advice you can give would help newer Diyers.
Cheers
Mark.
Hello Malibujeff,
If you have the time, can you post some pics of the equipment you used. Any build information and advice you can give would help newer Diyers.
Cheers
Mark.
Thanks Mark!
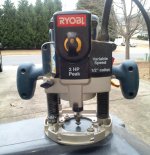
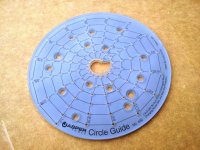
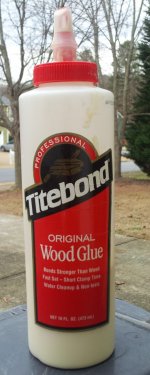
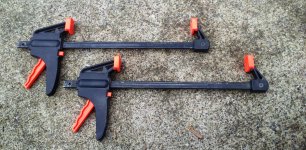
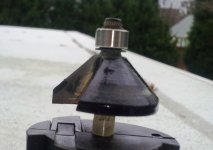
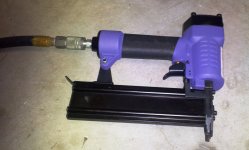
No special tools here, just the basics. I have a Craftsman Table saw that I used to cut everything. I used a nail gun with some small brads to keep the sides from sliding around during glue up. This works well if you don't have the tools to use dowels or biscuits. Here are a few picks. First is a Ryobi plunge router. Next, the Jasper circle guide used to cut the hole in the baffle. I use Titebond glue for my projects with great success. Must have multiple clamps. The more the better! The forth pic is the 45 degree router bit used on the back side of the baffle. And last, it the brad nail gun.
Attachments
Stuffing reccomendations
Hey all,
I do have some questions about the stuffing. I started off with the recommended amount called for in the plans. The plans called for 14.5 ounces (406g) so they are packed pretty good from the top down to the top of the vent.
Can someone describe what I should hear if I start removing some of the stuffing? Or adding more? More bass, less bass, tighter bass, muddy bass, etc... The speakers now have about 100 hours on them and I want to start fine tuning them.
Thanks,
Jeff
That's a beautiful build. Make sure to post pics in the Pensil Pics thread! How did you finish the back? This definitely gave me incentive to do a vinyl wrap build myself. LOVE the look!
Scott
EDIT: just saw you posted a couple pics in the thread already. Feel free to post more though")
Scott
EDIT: just saw you posted a couple pics in the thread already. Feel free to post more though
Last edited:

That's a beautiful build. Make sure to post pics in the Pensil Pics thread! How did you finish the back? This definitely gave me incentive to do a vinyl wrap build myself. LOVE the look!
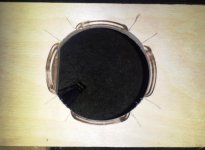
Sorry it took so long to reply, been super busy. Here is the only picture I took after I wrapped the vinyl. I have about half of the stuffing installed here. I pulled it around and used staples to make sure it held tight. Probably overkill, but I always tend to do that in my builds. I painted the back black and when installed, it hides the staples, etc...
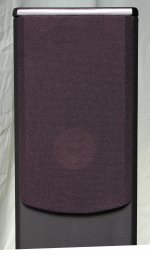
I finally finished the grills a few days ago. Here are a few more pictures. The grill cloth is black. Not sure why the picture makes it look different.
I have really enjoyed listening to these over the last week. With a sub taking care of the lows, it really does sound good...really good.
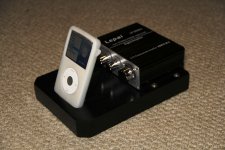
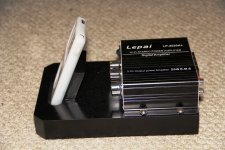
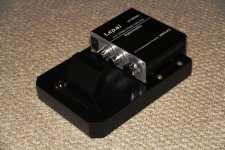
Tomorrow, I am giving them away to the HOPE Center for their conference room. They have been using a cheap clock radio and it's time they had something that sounds good. I'm using a small Lepai amp. See the pic below for the little amp mount I made. It has a place in front to hold an iPod.
My next build will be a FH Mk3 using a pair of A7.3's I have here that are ready to go. I'm working with a local shop to CNC cut the cabinets. I'm hoping to be able to offer some flat packs here in the South if things work out. The shop has been really busy with bigger projects, so they have not been able to get to it. If the FH Mk3 sound better than these Pensil's it's going to be awesome.
I have really enjoyed listening to these over the last week. With a sub taking care of the lows, it really does sound good...really good.
Tomorrow, I am giving them away to the HOPE Center for their conference room. They have been using a cheap clock radio and it's time they had something that sounds good. I'm using a small Lepai amp. See the pic below for the little amp mount I made. It has a place in front to hold an iPod.
My next build will be a FH Mk3 using a pair of A7.3's I have here that are ready to go. I'm working with a local shop to CNC cut the cabinets. I'm hoping to be able to offer some flat packs here in the South if things work out. The shop has been really busy with bigger projects, so they have not been able to get to it. If the FH Mk3 sound better than these Pensil's it's going to be awesome.
Attachments

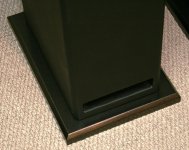
The top is help on with a few wood screws from the inside. For the bottoms I used small tee nuts I had on had.They look great! So are both the tops and bottoms removable as well? I really want to do a Vinyl build now!!
Scott
- Status
- This old topic is closed. If you want to reopen this topic, contact a moderator using the "Report Post" button.
- Home
- More Vendors...
- Planet 10 hifi
- Pensil P70.3 build