Here's a bothering problem I'm searching a solution for. I've been an audio transformer coil winder since three years. I'm putting a lot of light around the winding process to follow the tiniest details and constantly watch over the wire for crossovers, especially with ultra fine ones.
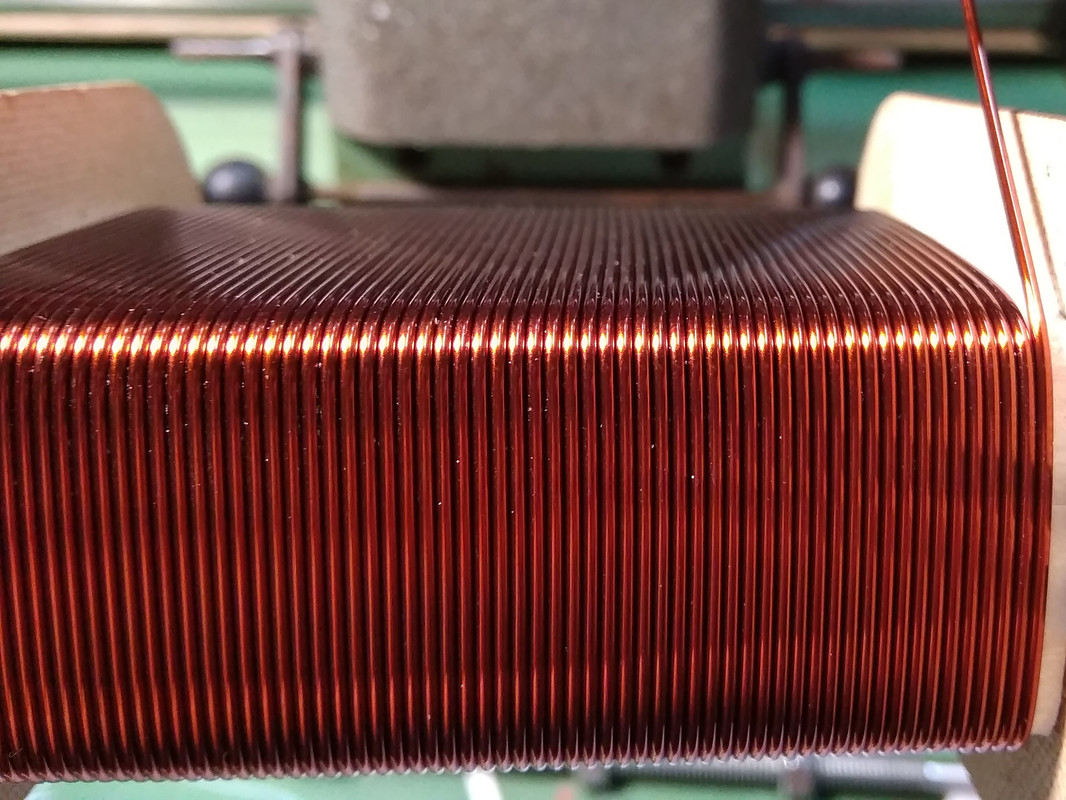
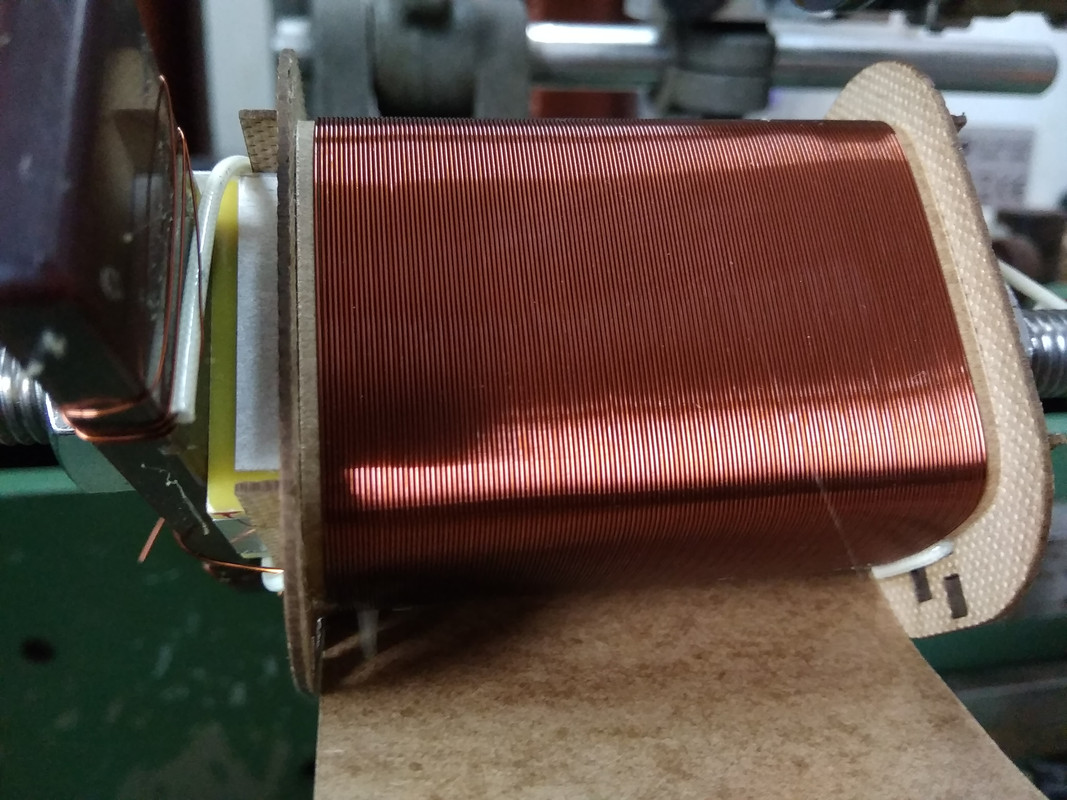
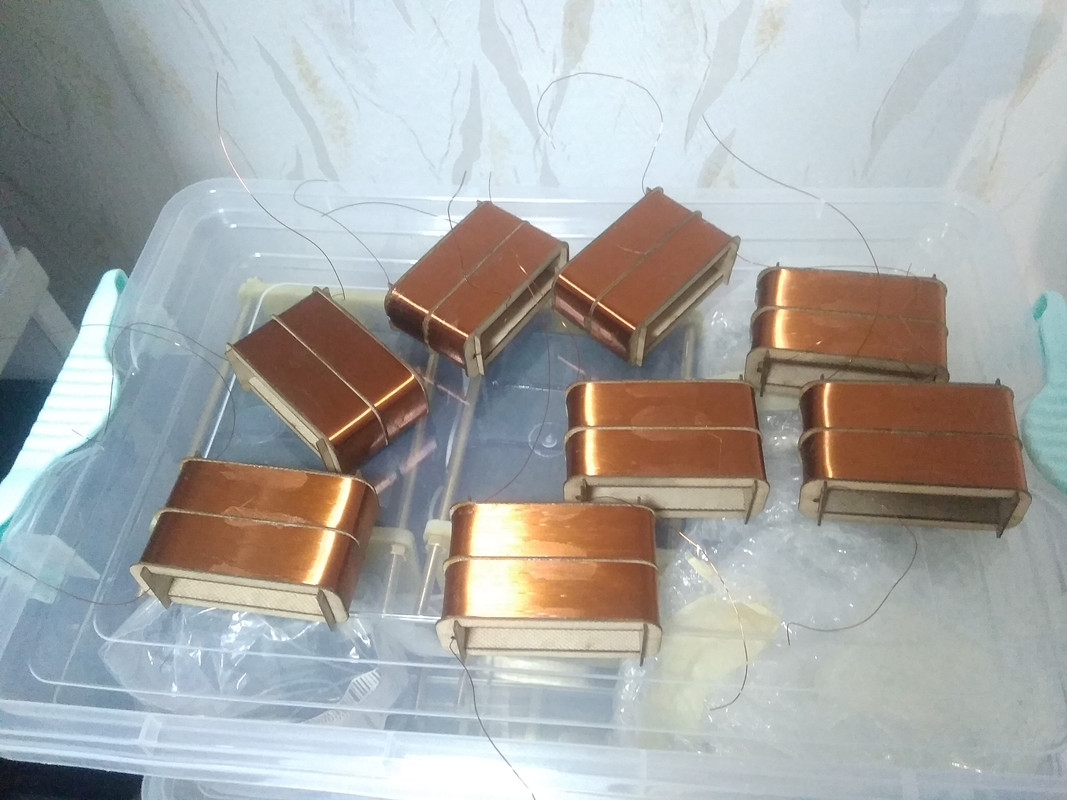
The coils are rectangular and there are surface glares from the magnet wire copper layer directly into the eyes while the coil rotates. This becomes really taxing on the nervous system when one has to wind thousands of carefully placed turns per day.
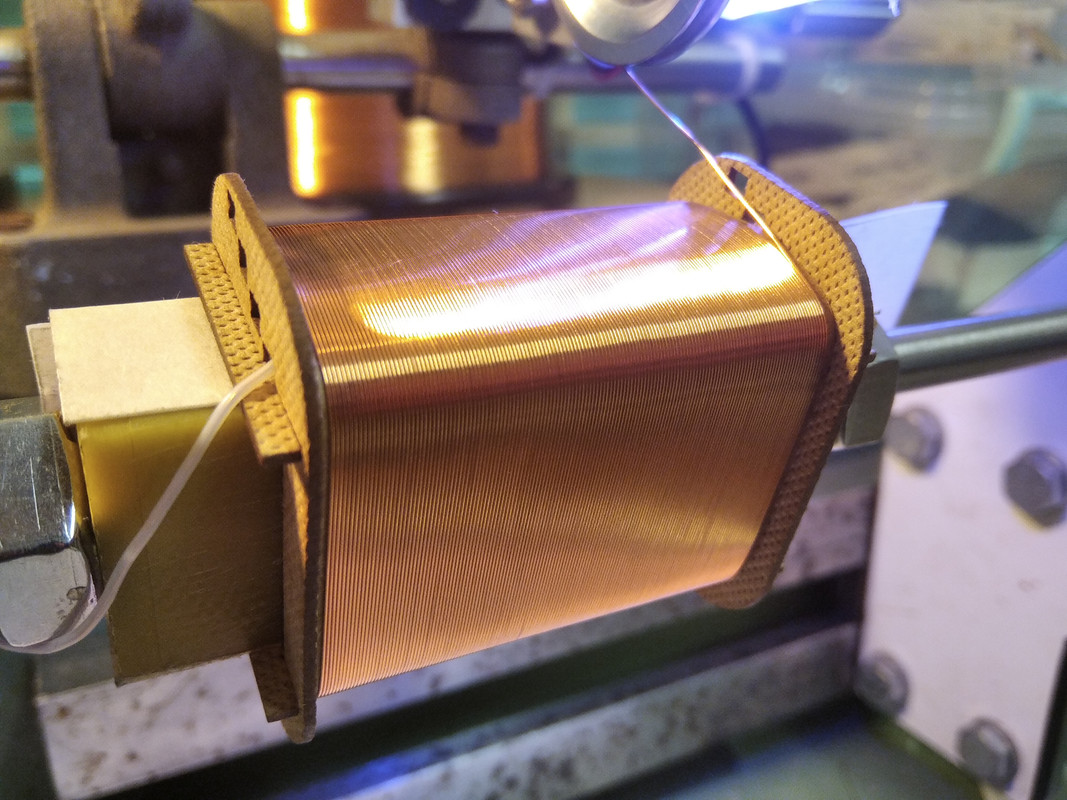
You can slightly get the idea of the glare, which is visible on the top part of the coil
One thought I will be trying soon are polarized anti glare glasses.
Do you think of any other tips?
The coils are rectangular and there are surface glares from the magnet wire copper layer directly into the eyes while the coil rotates. This becomes really taxing on the nervous system when one has to wind thousands of carefully placed turns per day.
You can slightly get the idea of the glare, which is visible on the top part of the coil
One thought I will be trying soon are polarized anti glare glasses.
Do you think of any other tips?
Last edited:
I can probably explain this:
Are you seeing the coil or the Sun reflected on it?
In fact, you should never look at the sun. Only its reflection.
Zen Koan #29: Parable of No Water, No Moon – Buddhist Teaching on the Present Moment – The Talkative Man
But both are illusion. Live in the present moment.
Are you seeing the coil or the Sun reflected on it?
In fact, you should never look at the sun. Only its reflection.
Zen Koan #29: Parable of No Water, No Moon – Buddhist Teaching on the Present Moment – The Talkative Man
But both are illusion. Live in the present moment.
I'd be tempted to make the light source as large as possible, as seen by the coil. You can try this easily by firing a bright light through a piece of A3 paper that is suspended fairly close to the coil. This trick works well in photography for reducing contrast.
Yes or buy a photographic reflector such as those used for portraiture. I have one which has a golden side for warmer in-fill lighting and a white side for soft light. Reflected light would help reduce the glare I think.
Any more pretty coil pics..?
+1 on the strong but **diffused** light shining over the coil.
You need the *opposite* from a spot/point source which is easily modulated by a rotating shiny surface.
Best light source is to be inside a white silk tent illuminated from the outside which will kill any modulation because light comes uniformly from all directions.
hard to do literally but anything which approcahes that will be better than current situation.
Some ideas.
A couple of them perfect and justified in a photographic studio, impractical on a winding bench, but guess two side by side wide area diffused lights will help you a lot.
Avoid one on the opposite side of the coil:


By the way, BEAUTIFUL coils!!!!!!!!!
You need the *opposite* from a spot/point source which is easily modulated by a rotating shiny surface.
Best light source is to be inside a white silk tent illuminated from the outside which will kill any modulation because light comes uniformly from all directions.
hard to do literally but anything which approcahes that will be better than current situation.
Some ideas.
A couple of them perfect and justified in a photographic studio, impractical on a winding bench, but guess two side by side wide area diffused lights will help you a lot.
Avoid one on the opposite side of the coil:
By the way, BEAUTIFUL coils!!!!!!!!!
Hey guys, a lot of valuable tips, thanks a lot!
At first I tried with a lighting towards the white ceiling to get it disperse back, but I needed a lot of power to get acceptably light on the coil.
JMFahey, the best practical idea sounds to be the two point lightning from both sides.
I see no problem building up a two point jig. There is free space for lightning mounting that will not hurt the labour process.
Playing with polarizing filters, why not as well?
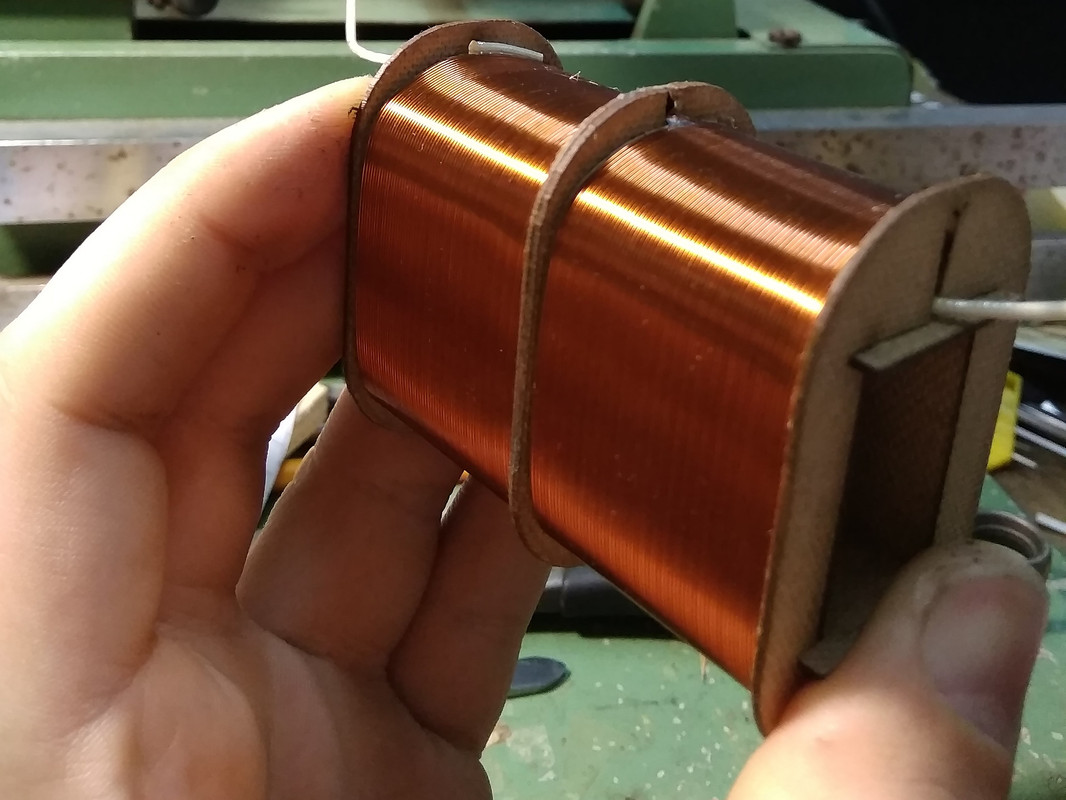
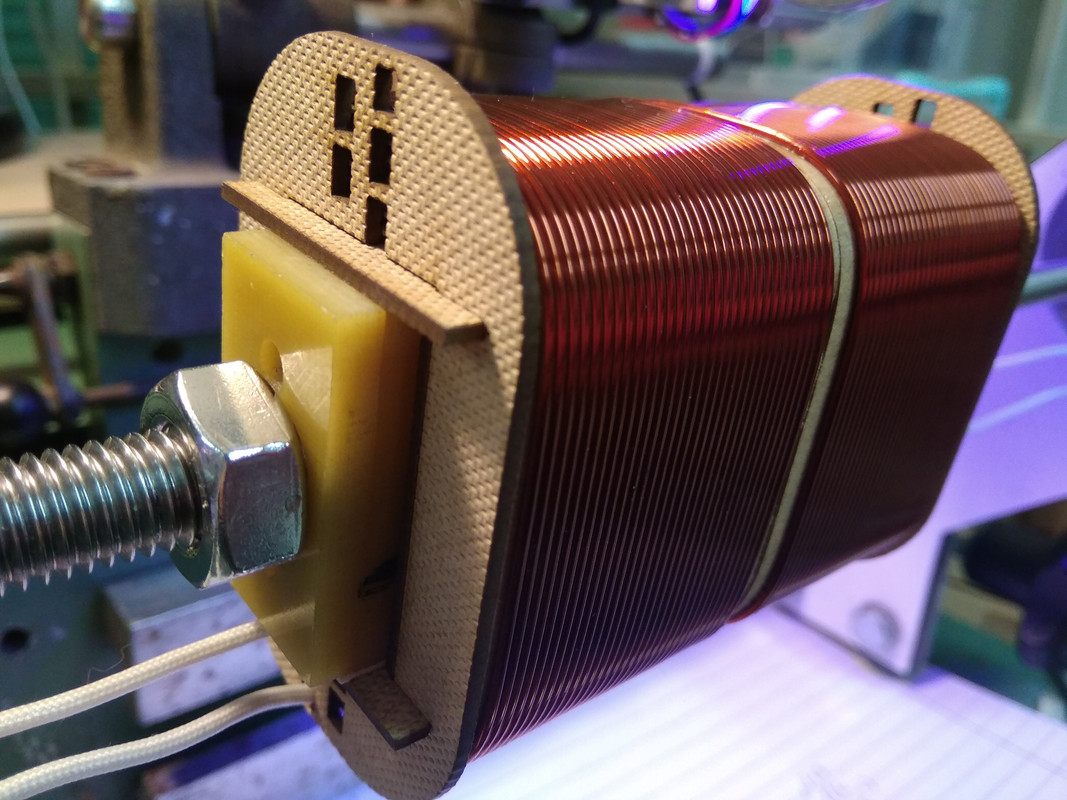
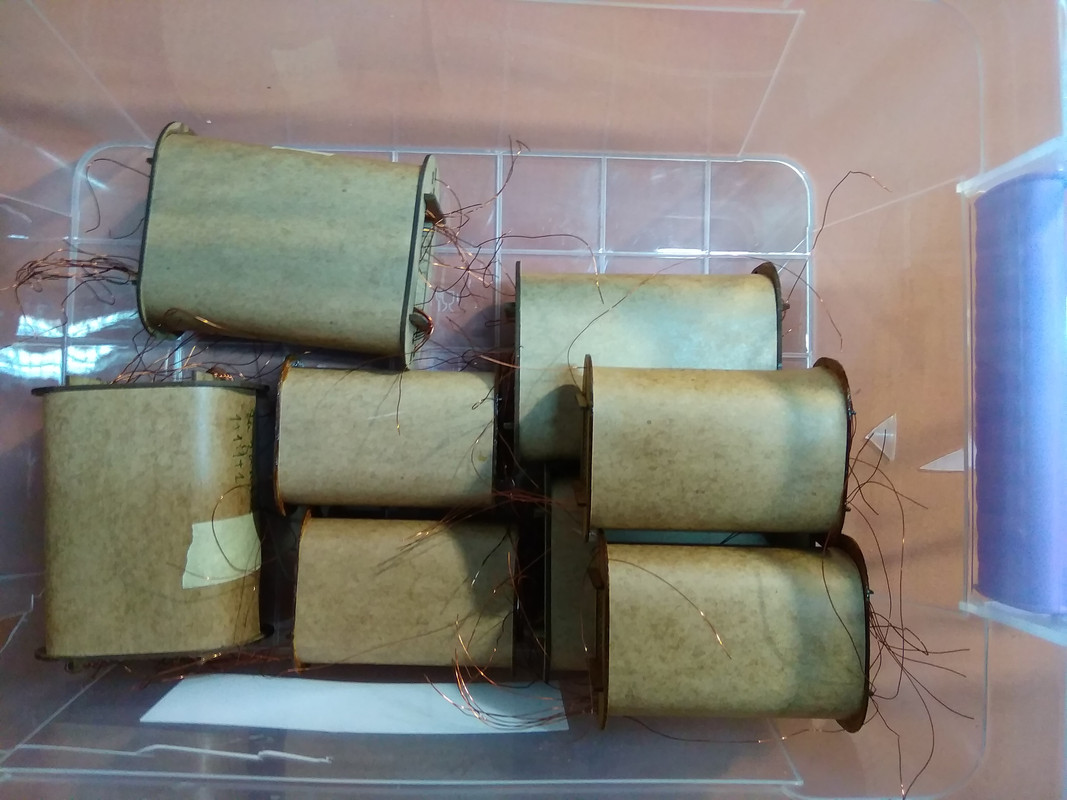
Here's a small token of gratitude for you guys! Coils


At first I tried with a lighting towards the white ceiling to get it disperse back, but I needed a lot of power to get acceptably light on the coil.
JMFahey, the best practical idea sounds to be the two point lightning from both sides.
I see no problem building up a two point jig. There is free space for lightning mounting that will not hurt the labour process.
Playing with polarizing filters, why not as well?
Here's a small token of gratitude for you guys! Coils
BEAUTIFUL coils
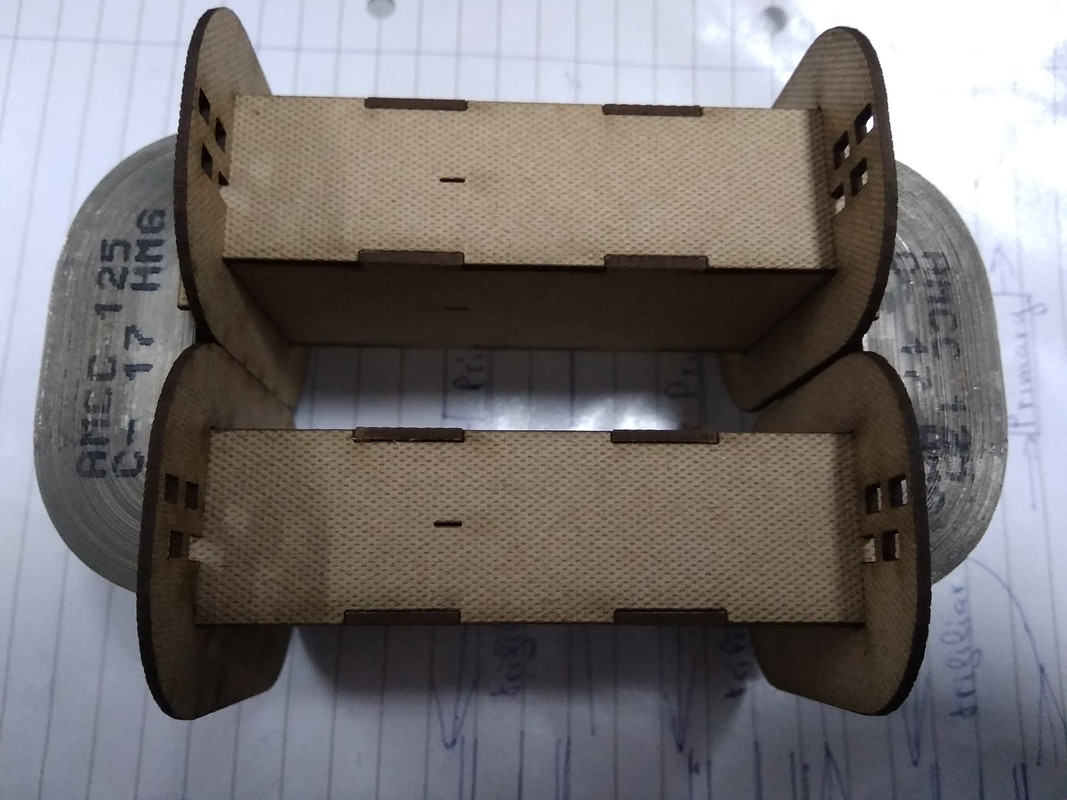
Just curious: are those fiberboard/hardboard bobbin holders a ready made commercial product or you make them yourself?
Never saw anything like that.
When making production stuff I always design around off the shelf products to simplify my life, so standard commercial plastic bobbins are the norm, but a few times when needing odd sizes (generally when servicing/rewinding foreign made stuff) I have improvised coil formers out of Pressphan "cardboard", but nothing like that.
Thanks!
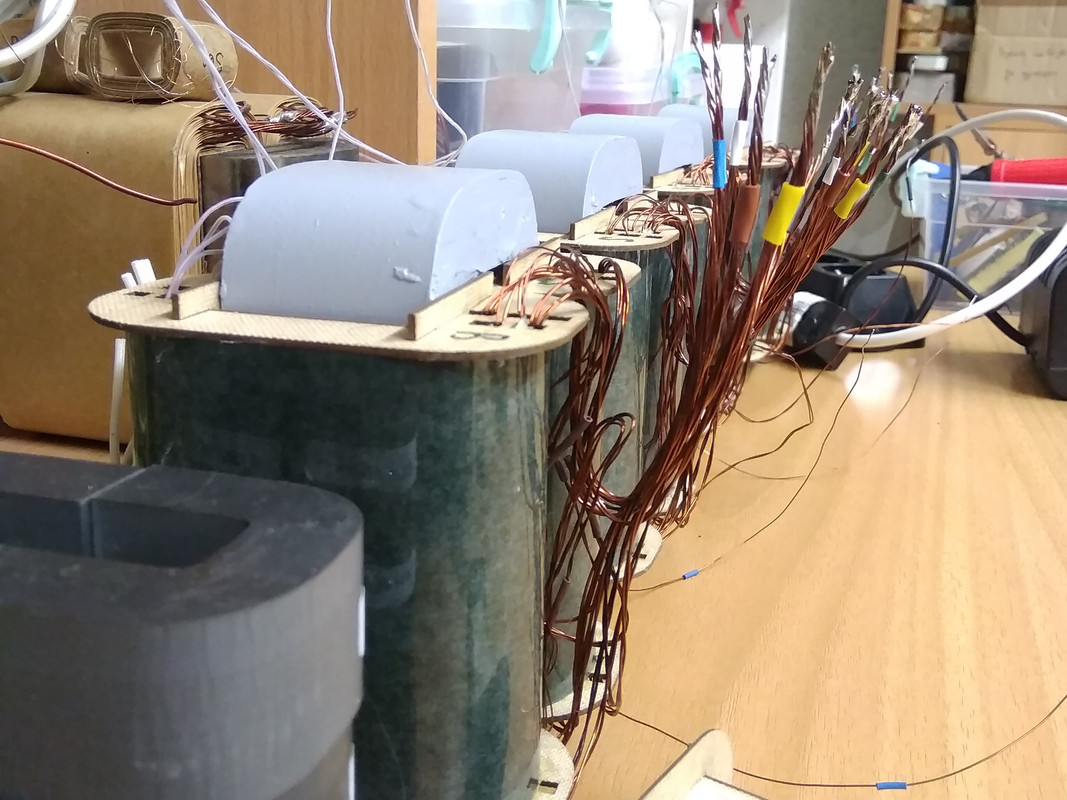
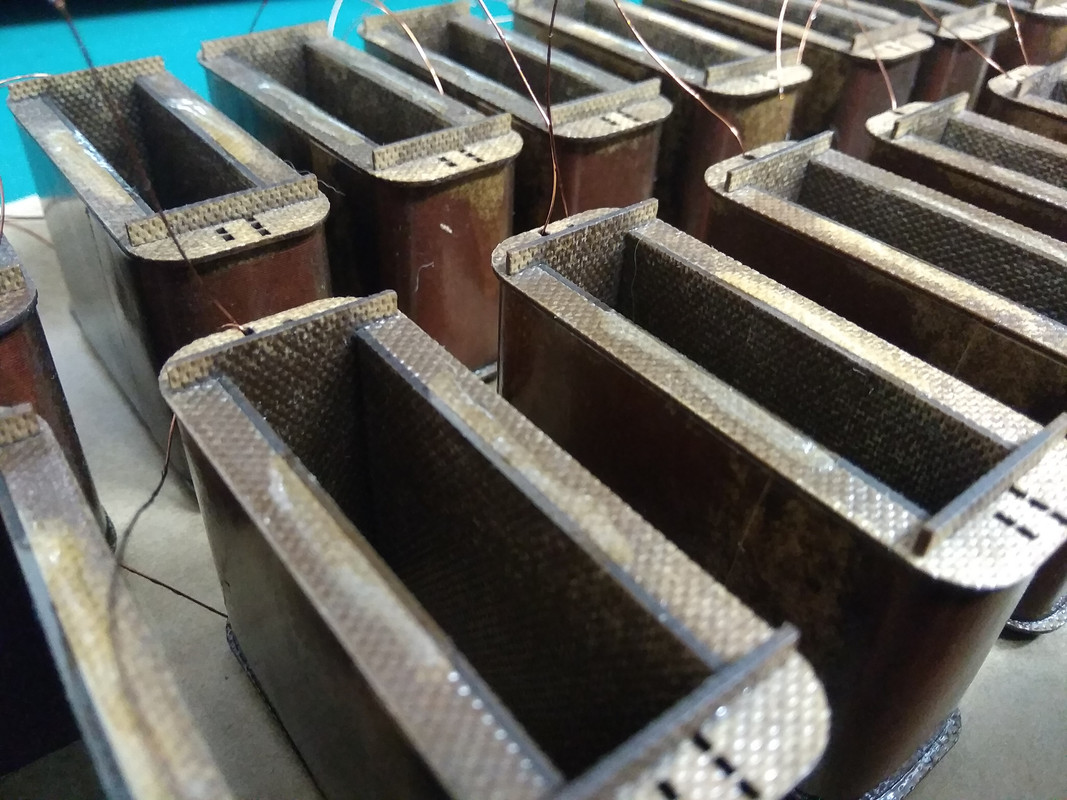
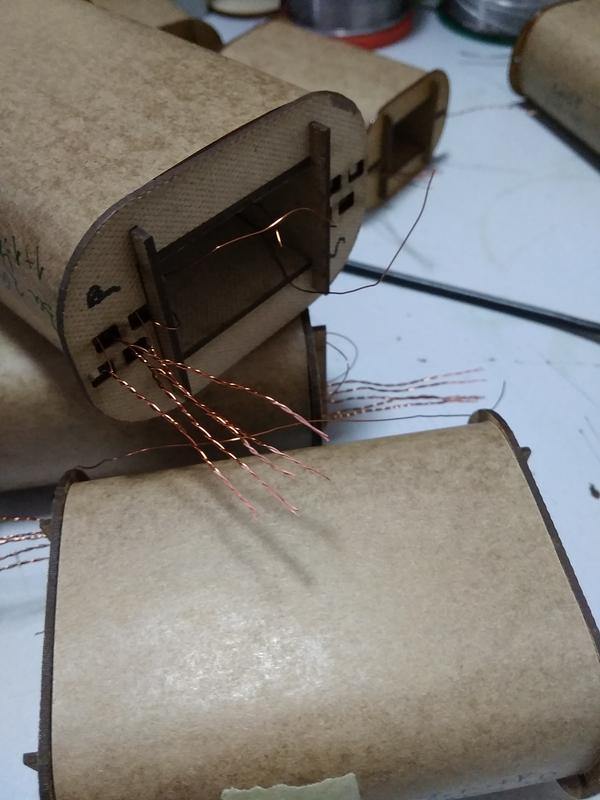
Most of the mandrels (bobbin holders) are made from CNC cut glass composite board pieces, then epoxy glued by me. This is the cheapest way I could find to design a mandrel. You can observe they have two smaller holes next to the center main hole. Their purpose is for clamping by inserting two threaded rods while the glue cures. You can even observe that some smaller ones with a sandwich style of assembly have their rods remained inside due to the impossibility to remove, and cut off.
Most of the mandrels (bobbin holders) are made from CNC cut glass composite board pieces, then epoxy glued by me. This is the cheapest way I could find to design a mandrel. You can observe they have two smaller holes next to the center main hole. Their purpose is for clamping by inserting two threaded rods while the glue cures. You can even observe that some smaller ones with a sandwich style of assembly have their rods remained inside due to the impossibility to remove, and cut off.
Last edited:
Excellent.
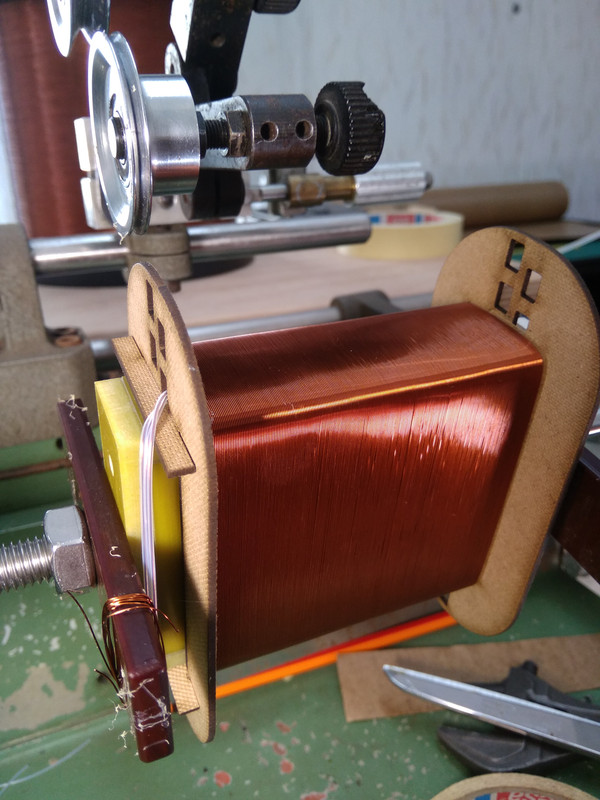
I notice quite a bunch of production in the background; are you custom winding for others?
Or for own consumption?
Small World, last night I wound 7 PTs for my 100W Guitar/Bass heads but those are very simple, single tapped secondary 220V to 30+30VA 2,5A , on standard plastic bobbins.
I notice quite a bunch of production in the background; are you custom winding for others?
Or for own consumption?
Small World, last night I wound 7 PTs for my 100W Guitar/Bass heads but those are very simple, single tapped secondary 220V to 30+30VA 2,5A , on standard plastic bobbins.
Very nice!
I have been winding PT and OPT using separated bobbins, and old RS EI transformer kits in 20, 50 and 100VA.
I typically use a semi-wet layup, of one layer, then painting on varnish to fix.
I plan 0.1mm Kapton or Polyamide film between primary and secondary.
Have you any advice in that regard?
I haven't got a chance to test my creations yet, but I stopped to make my own bobbin from 0.5-1mm GRP, 1.5mm pressboard.
Since making the bobbins I have stopped- this may give me the impetus to continue!
I'm actually making a living out of selling them, targeting the DIY high-end markets, so prices are on the high side.
I'm also winding for my own tube projects. At this point though, I scarcely have time for this.
@mondogenerator,
Watch out, 0.1mm is very thin and can result in high capacitance in P/S barriers with the most voltage potential difference.
Capacitance vs gradient decreases in a square way.
Patrick Turner gives excellent tips on transformer winding and they're explained quite simply on his website.
In tube output transformers, where secondary reflected impedance is low, the most troublesome capacitance to watch out for is between the primary to secondary layers. Primary to primary is extremely small and often neglected, where it decreases with the number of horizontal layers and the number of horizontal sections.
Building your own bobbins gives a unique freedom!
Of course, Patrick Turner's site is brilliant! I'd forgotten about it.
I understand capacitance is larger with a thinner insulating layer, I felt 0.1mm wasnt all that thin, obviously I didn't think long enough (or try and calculate roughly by the coil layer area.) I have various scraps of nomex, mylar, kapton, so thicker intertwining insulation is possible.
Lighting is awkward, I agree, and I find a light place at an acute angle helps.
To this end I use a light above the coil winder, and a small LED head torch. I try to wind orthocyclic, (I think that's the term) with a crossover each layer. I cant work with less than 0.3mm, without a lens! Without a head torch, I get sloppy at 0.3mm.
Thanks for your reminder of Patrick Turner's website, brilliant looking coils, and inspiration indeed!
- Status
- This old topic is closed. If you want to reopen this topic, contact a moderator using the "Report Post" button.
- Home
- Member Areas
- The Lounge
- Flickering glare from coil winding.