You're welcome! Yeah, easy to overthink it sometimes, though if not going to be satisfied with 'close enough' there's always measuring impedance plots or back when I had way more mechanical measuring devices than electrical ones I used a dial indicator set-up for setting engine piston TDC [top dead center], so always sympathetic towards the more demanding/xxxx xxxxxxxxx types ") among us.
among us.
GM
among us. GM
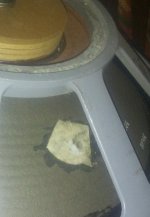
Well it turns out the old JBL PR had a tear in the cone of just under 3/4" so I get to try my hand at a cone repair before I can experiment.
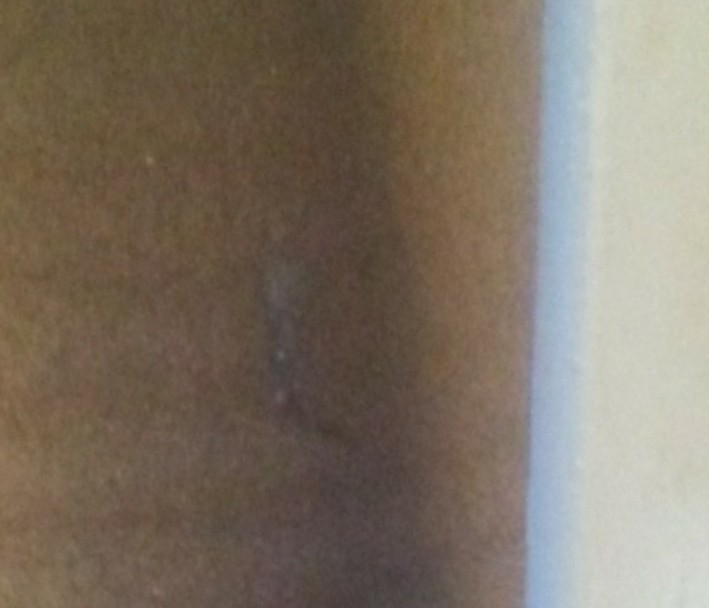
I cut out a small bit of coffee filter and soaked it in some diluted elmer's wood glue. I lined up the edges of the tear and applied the patch to the rear of the cone. I then took a toothpick dipped in the glue mixture and used it to carefully form the patch to the cone surface periodically adding more glue solution until I thought it was all sealed well.

Now will let it cure for a few days and try it out on my next day off.
I cut out a small bit of coffee filter and soaked it in some diluted elmer's wood glue. I lined up the edges of the tear and applied the patch to the rear of the cone. I then took a toothpick dipped in the glue mixture and used it to carefully form the patch to the cone surface periodically adding more glue solution until I thought it was all sealed well.
Now will let it cure for a few days and try it out on my next day off.
Attachments


Why don´t you just measure with a microphone? You don´t need an expensive hardware, any cheap desktop mic plugged into your sound card will do, because you only want to compare different setup´s /weight´s on the radiator.
BOOM Microphone for Desktop/Laptop (3.5mm-Jack)--Brand NEW | eBay
You don´t have to use ebay, most local computer shops have them for 5 US$
These cheap mic´s usualy all use electred capsules that go down to 20 Hz and are pretty linear up to 10.000Hz.
It gets even cheaper when you source a MC2000 or comparable electret capsule and glue it in a lenght of plastic or aluminum pipe. There should be enough DIYS ideas published.
For compareing different measurement plots and finding a maximum they are fine. As long as you don´t compare with percission measurements others made, anything is fine.
Forget bout fancy calibration, even the best, linear mic will not measure "real speaker response" because you don´t have a non reflecting measurement room.
So a great part of any home measuring is allways the room.
Only compare what you have recorded at the same place with the same settings and compare these plot´s and you will be fine.
Impedance measurements with just one resistor as "extra hardware" also give you a good idea about the low end tuning, best is to use both, electric and acustic.
The speaker-test utility in Linux didn't cut it as below about 30Hz or so the tone didn't change so I pulled up my virtual organ software (jOrgan) and loaded the big 107 voice American Classic Organ disposition along with the calf rack spectrum analyzer. Using the 32' open stop gave me the range I needed.
Looks like it is tuned to about 27 Hz. Plenty for the 16' pipes but it really unloads badly by 16Hz. Playing a youtube of the Passacaglia and Fuguw in C Minor it did an admirable job but I think I will try to tune it a little lower for protection.
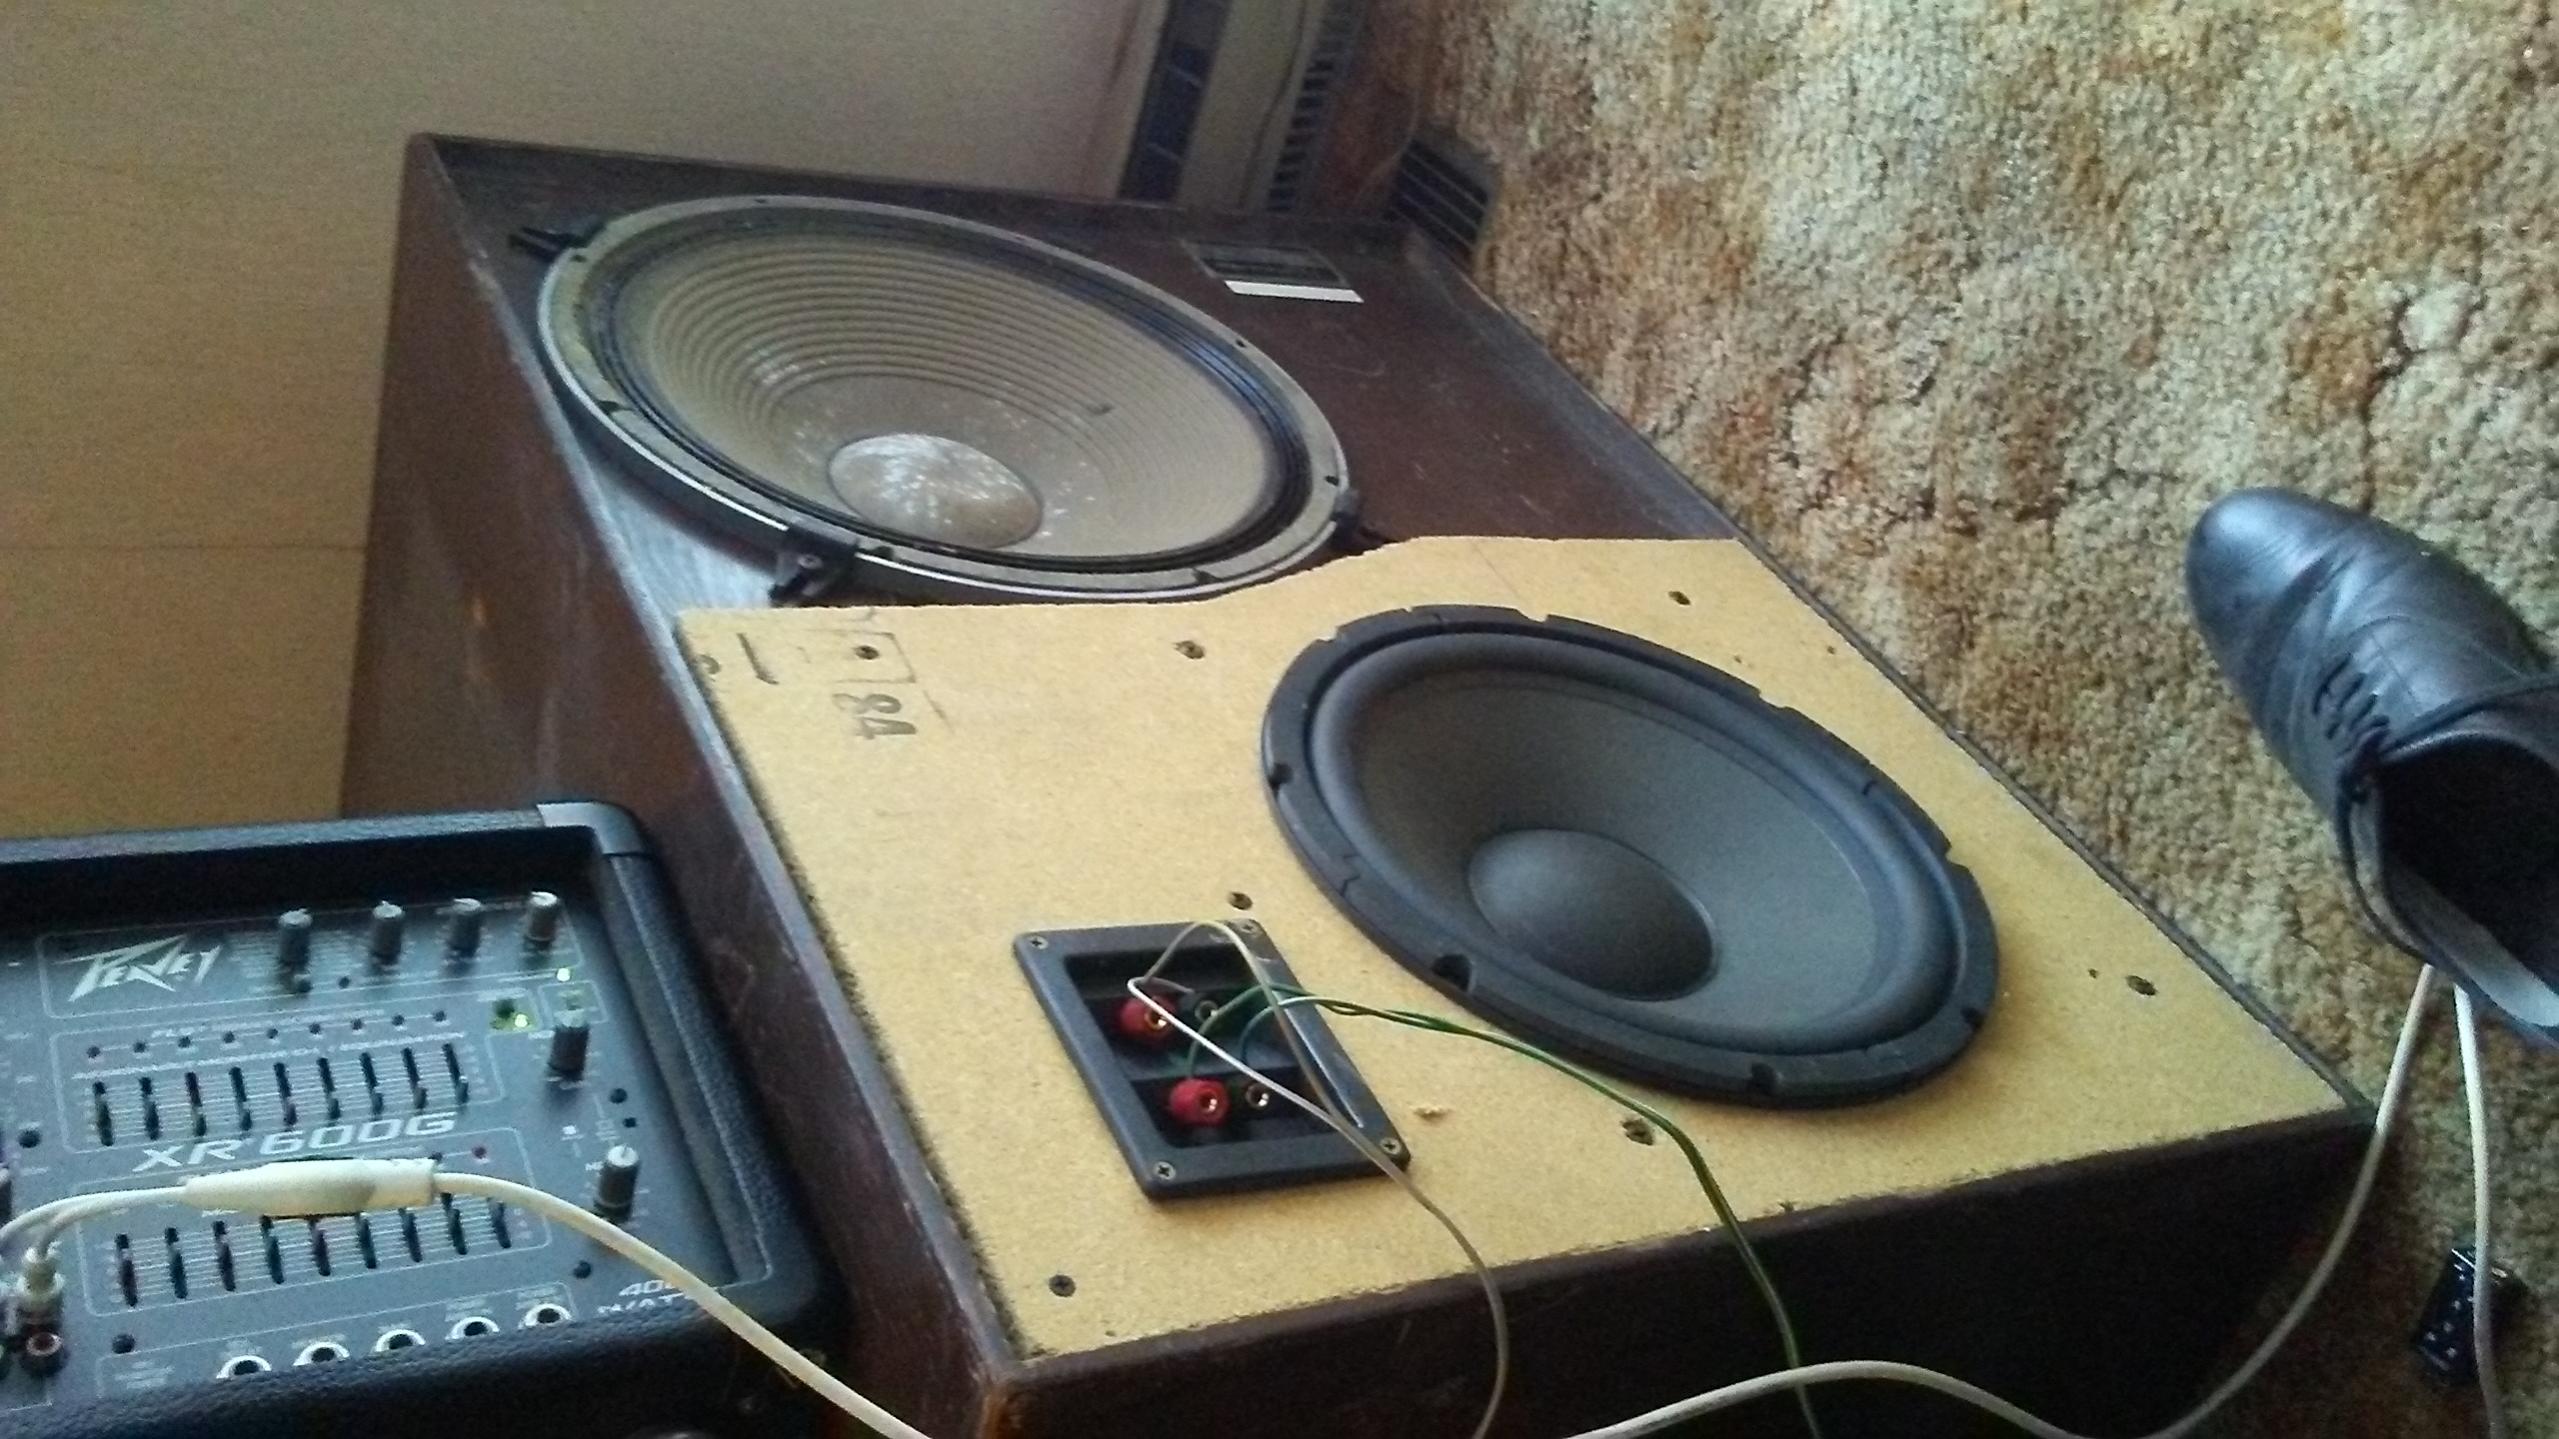
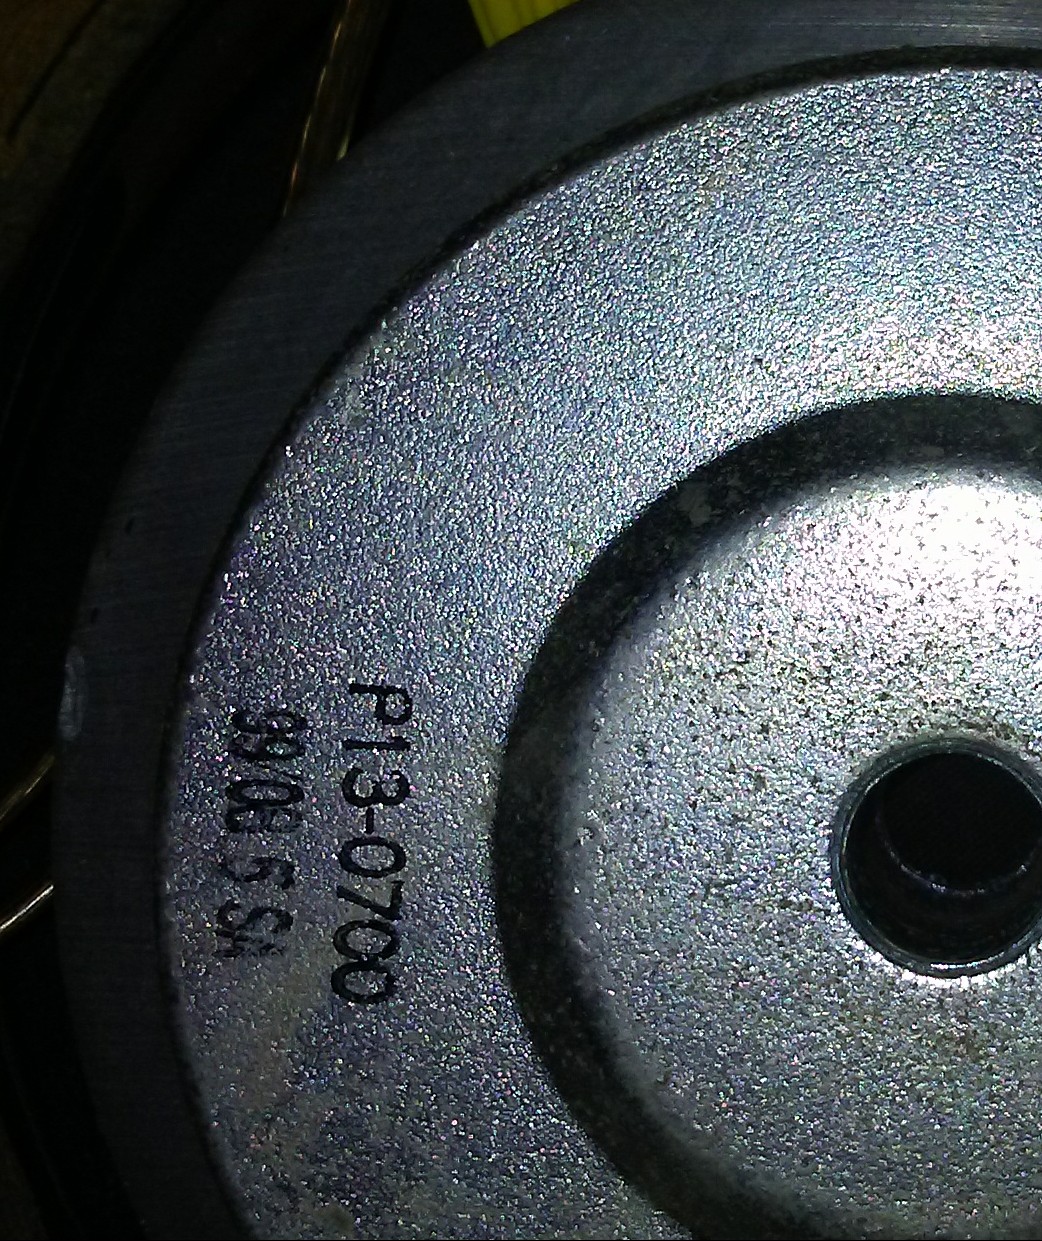
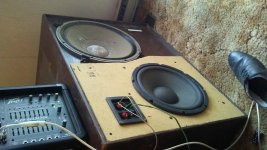
The active driver is an inexpensive 12" unit from parts express (I think a Goldwood) but the label has long since disappeared ao I am not sure which model so can't sim it. The numbers stamped on the back shown below.
Looks like it is tuned to about 27 Hz. Plenty for the 16' pipes but it really unloads badly by 16Hz. Playing a youtube of the Passacaglia and Fuguw in C Minor it did an admirable job but I think I will try to tune it a little lower for protection.
The active driver is an inexpensive 12" unit from parts express (I think a Goldwood) but the label has long since disappeared ao I am not sure which model so can't sim it. The numbers stamped on the back shown below.
Attachments

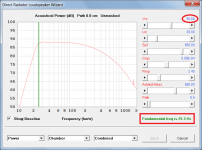
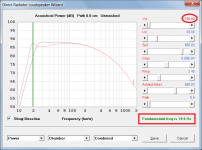
Another question, does changing the box volume affect the PR tuning in the same way (direction) as it would in a ported box?
Yes. As shown in the attachments, increasing the box volume will reduce the fundamental frequency of a passive radiator system.
Attachments
As I tuned it lower it got.more difficult to determine fb by eye but I think I have it in the upper teens now. Before moving from A to G resulted in a huge increase in displacement. Now it just gradually increases slightly from about E to C (16Hz). Later I may measure a little.lower to see if I ended up over shooting 16 but it seems workable now.
I cut some discs out of some scrap material that I have lying about which turned out to be almost identical in weight to the oem discs.
Without a longer screw I was unable to add more than two.disks so.I cut a larger center hole in a third so that the washer would pass through it and then glued it to the last disk. In all I was able to add about 35g.
I played full range music of various types, including heavy organ, through it for.several hours and watched cone movement and it seemed to do fine. I will do some more testing Tuesday. Then it is time to get busy bracing as the factory box is almost 8ft^3 of fairly thin plywood with no bracing.
- Status
- This old topic is closed. If you want to reopen this topic, contact a moderator using the "Report Post" button.
- Home
- Loudspeakers
- Subwoofers
- setting PR tuning frequency experimentally