why?
no need for that , especially if he change interconnects and reflow some solder joints

no need for that , especially if he change interconnects and reflow some solder joints
An externally hosted image should be here but it was not working when we last tested it.
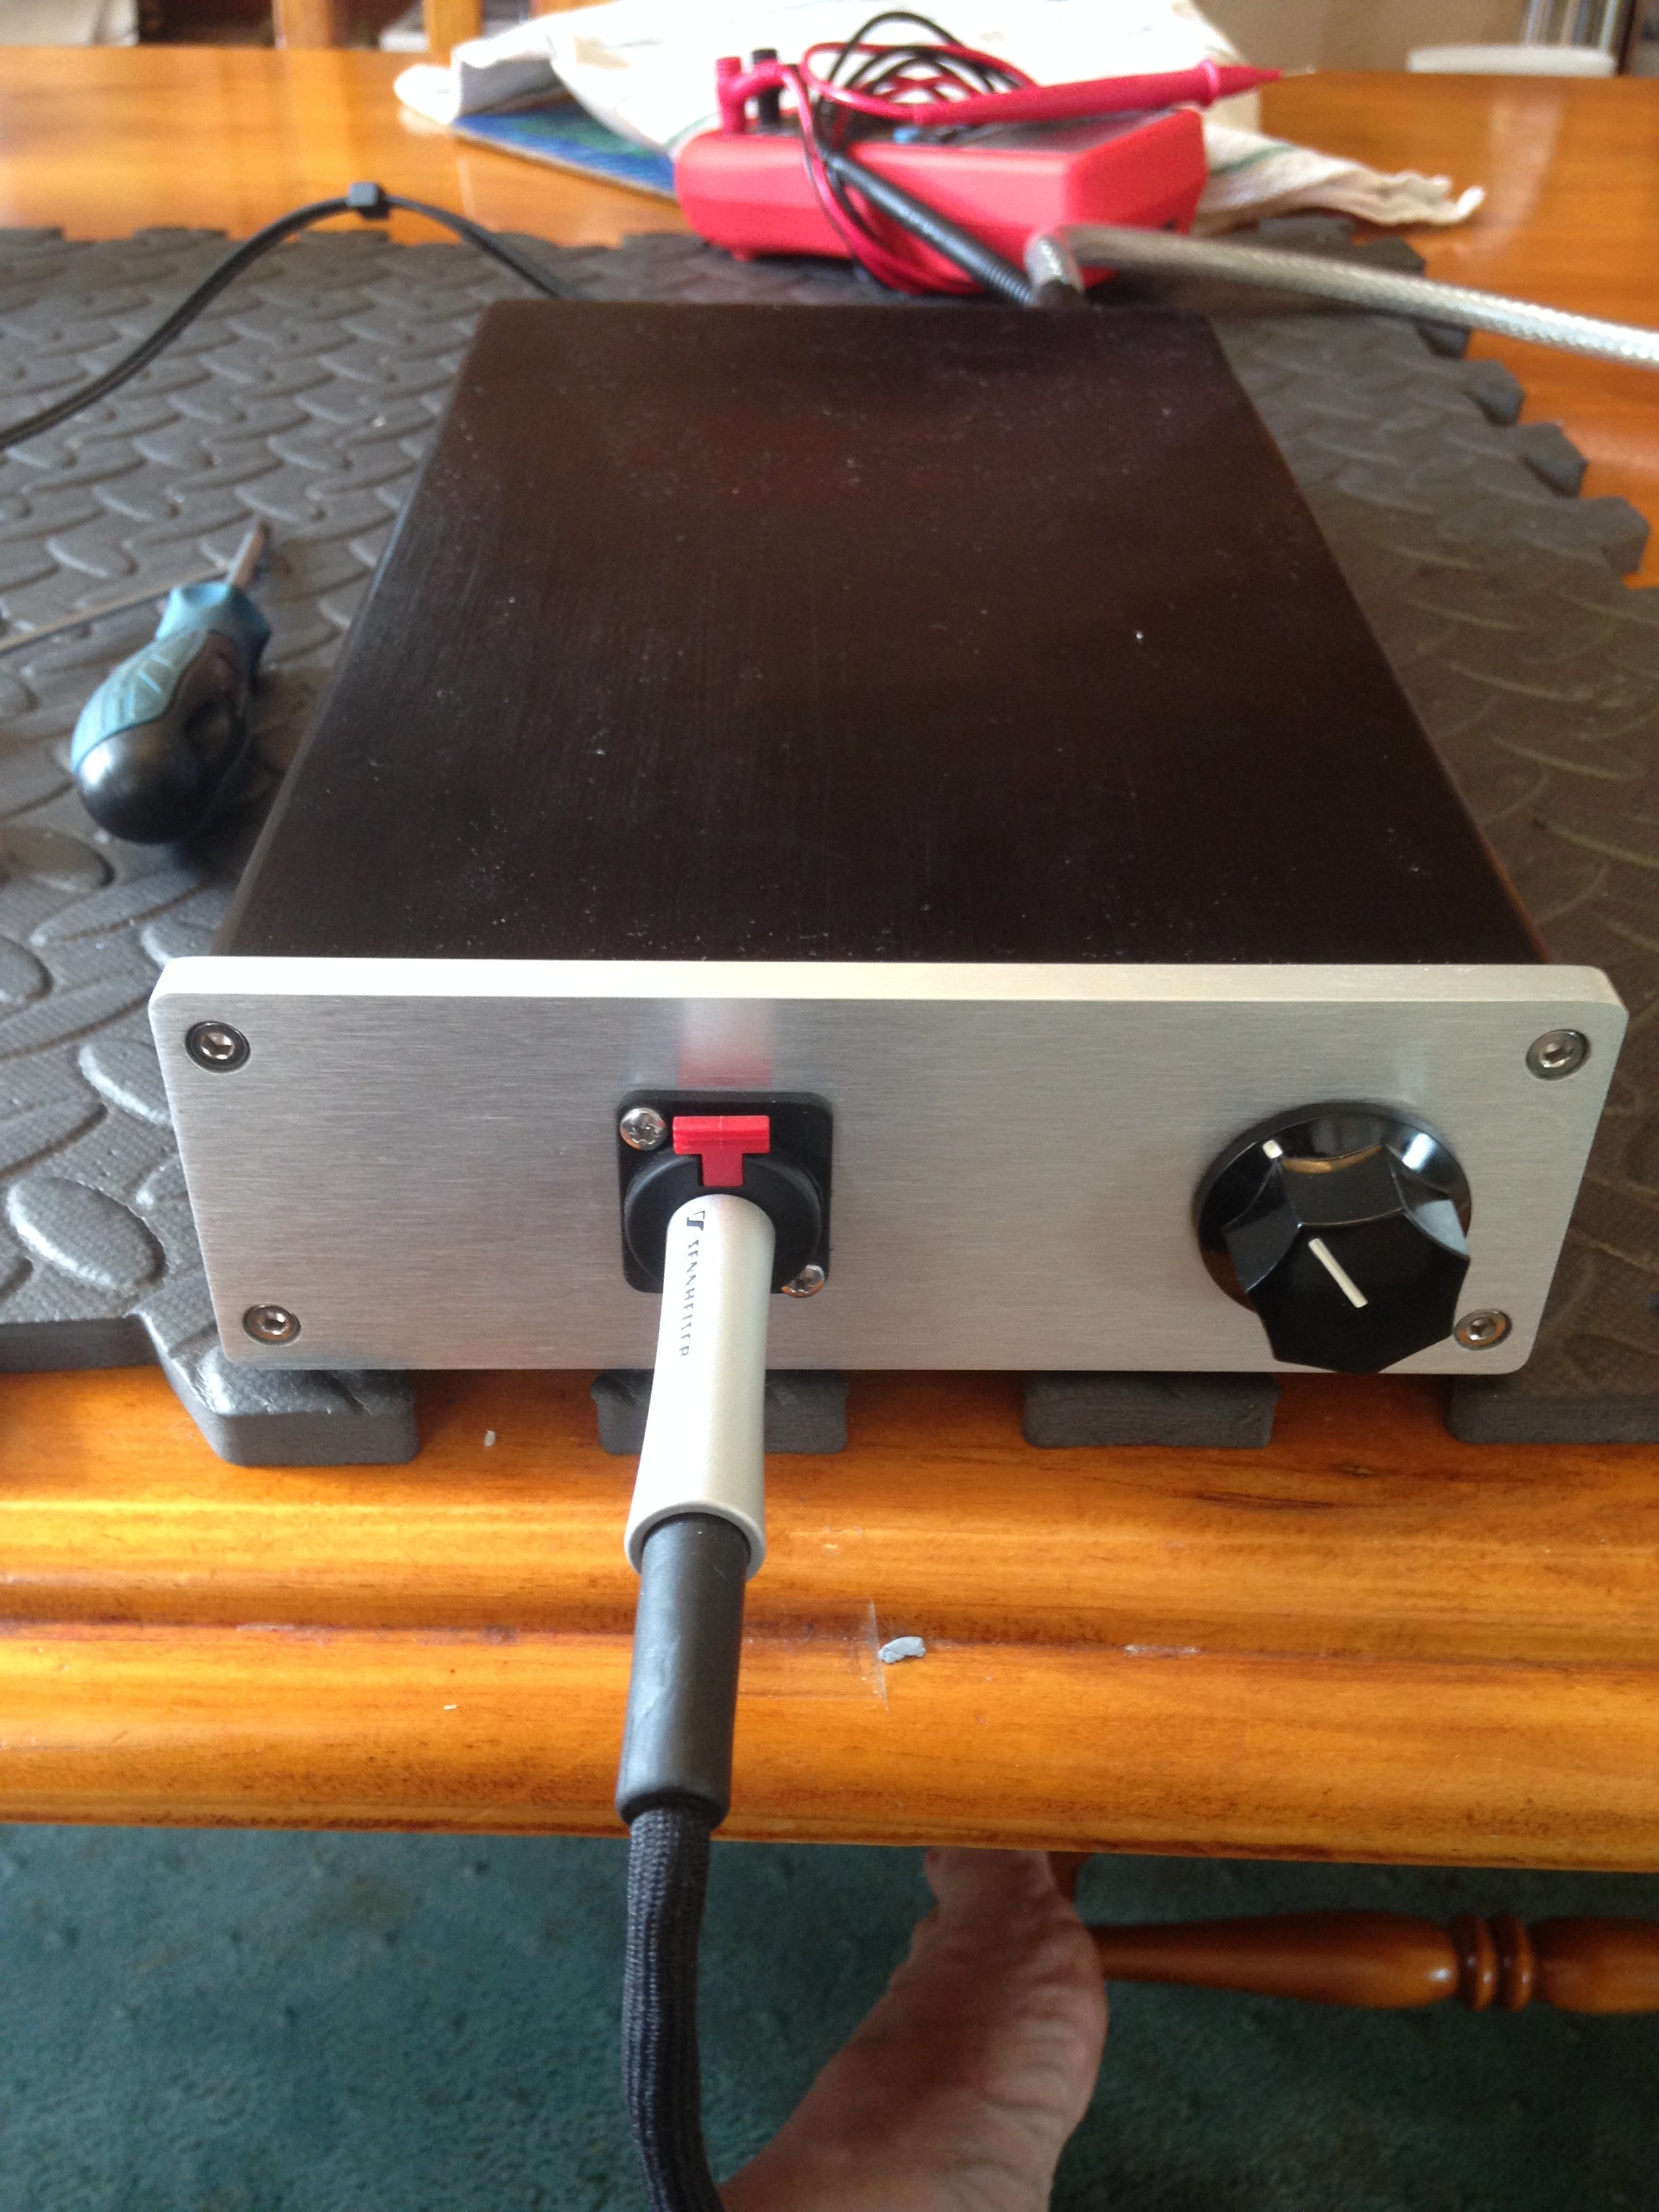
working ! Thanks GWWolfman
GW Wolfman;
Thank you for responding to my post several pages back .
Thank you again X 10 in fact .
I really appreciate it as now my WHAMMY is working and sounds wonderful with my Beyer Phones.
I checked over my work but completely had a brain cramp regarding the switch voltage . Duh !
Now it temporarily is operating with no switch until I correct the situation.
Quote:
Originally Posted by kevinr View Post
I'm just finishing up my project and had a question.
My chassis power cable has an AC Live fused black wire, Green wire Ground to star washer on Chassis and a white Neutral wire .
In the Build Guide it states; if you add a power switch " Switch the Live Lead " in Bold type.
The AC Live Pad is the one closer to the Middle of the PCB per the build guide notes.
I purchased a 3 terminal SPST switch with LED marked with terminals symbols Power , ACC, and Ground.
TOGGLE SWITCH BLUE ILLUMINATED ON/OFF SPST 3P SPADE TERMINALS 25A 12VDC #662051 | eBay
I don't want to damage my PCB and just want to make sure the ACC and Ground Symbol terminals on the power switch will be connected to the WHAMMY PCB AC Pads correctly. I know the fused Live wire goes to the Power terminal on the switch.
Thanks
@kevinr I’m new to all this but I didn’t see the AC rating for the switch in the listing, but considering it’s rated at 12VDC I’m not sure it’s safe to switch 120VAC; at least I wouldn’t without confirmation.
Typically a switch's DC Voltage (VDC) rating is always lower than the AC Voltage (VAC) rating at the same current (Amps) rating. For example, a 30v DC switch is usually rated for 250v AC. With that said, I would only expect a 12v DC switch to be rated to 100 VAC. If I had no choice, I and would only feel confident using a 20v DC or better switch if I had no choices with a VAC rating.
Either way, with no AC rating provided, you do so at your own risk, just a general statement.
Don't use that 12v switch, I am pretty sure it won't be able to handle it(for long).
Last edited:
Case Quest!
I just spray painted my case and am waiting for it to dry before final assembly. The case I choose (same as HiGHFLYiN9s') was a major PITA to install the board on the bottom of the case. I did that because I didn't want screws on the top. Major error on my part. Once I put the thing together, it will not be coming apart. I should have mounted the board like HiGHFLYiN9s did, except for my purposes, countersunk screws would have worked. Live and learn!
At any rate, I will likely finish this one up, live with it for a while, then want to make another so I can experiment with parts. That means I will need another case/chassis/enclosure!
Being the kind of guy I am, I research until my wife never ever ever wants to hear about it again, then I research some more (quietly), then I get something.") I started a google sheet with some case ideas, and I always appreciate input. Here's the Google Sheet.
I started a google sheet with some case ideas, and I always appreciate input. Here's the Google Sheet.
Comments welcome.
I just spray painted my case and am waiting for it to dry before final assembly. The case I choose (same as HiGHFLYiN9s') was a major PITA to install the board on the bottom of the case. I did that because I didn't want screws on the top. Major error on my part. Once I put the thing together, it will not be coming apart. I should have mounted the board like HiGHFLYiN9s did, except for my purposes, countersunk screws would have worked. Live and learn!
At any rate, I will likely finish this one up, live with it for a while, then want to make another so I can experiment with parts. That means I will need another case/chassis/enclosure!
Being the kind of guy I am, I research until my wife never ever ever wants to hear about it again, then I research some more (quietly), then I get something.
I started a google sheet with some case ideas, and I always appreciate input. Here's the Google Sheet.Comments welcome.
...I research until my wife never ever ever wants to hear about it again, then I research some more (quietly), then I get something.
Comments welcome.
LOL, you too huh? XD
Thanks for the sheet, I'll see if any other ideas come to mind. For the moment I'm going to try the Hammond enclosure because I can get it done very (relatively) quickly.
Case Quest!
I just spray painted my case and am waiting for it to dry before final assembly. The case I choose (same as HiGHFLYiN9s') was a major PITA to install the board on the bottom of the case. I did that because I didn't want screws on the top. Major error on my part. Once I put the thing together, it will not be coming apart. I should have mounted the board like HiGHFLYiN9s did, except for my purposes, countersunk screws would have worked. Live and learn!
At any rate, I will likely finish this one up, live with it for a while, then want to make another so I can experiment with parts. That means I will need another case/chassis/enclosure!
Being the kind of guy I am, I research until my wife never ever ever wants to hear about it again, then I research some more (quietly), then I get something.
Comments welcome.
The Aliexpress 1706 worked well for me its not such a tight fit as the Hammond length ways. The pcb will also slot in one of the internal groves on one side but is just a quarter inch to narrow to reach the grove on the opposite side so two small stand offs are required.
Length ways the enclosure is two and half inches longer than the pcb which I suspect would allow easier fitting of the IEC inlet that came with your kit
1706 all aluminum amplifier chassis / preamplifier case / DAC / AMP Enclosure / case / DIY box (172*60*251mm)-in Amplifier from Consumer Electronics on Aliexpress.com | Alibaba Group

Last edited:
Think i'm going to get this case just wide enough with a little extra room at the back for power connectors.
http:///it.aliexpress.com/item/Full-Aluminum-amplifier-chassis-Pre-amp-chassis-AMP-case-Enclosure-headphone-amp-case-Box-DIY-168/2033917180.html?spm=a2g0y.search0104.3.124.688b18e7f6VhYd&ws_ab_test=searchweb0_0,searchweb201602_1_10065_10068_10130_10547_319_317_10548_10696_10192_10190_453_10084_454_10083_433_10618_431_10307_10820_10301_10821_10303_537_536_10059_10884_10887_100031_321_322_10103,searchweb201603_59,ppcSwitch_0&algo_expid=f54168e7-1244-43ff-89ae-df87a115ad5c-20&algo_pvid=f54168e7-1244-43ff-89ae-df87a115ad5c&transAbTest=ae803_3
http:///it.aliexpress.com/item/Full-Aluminum-amplifier-chassis-Pre-amp-chassis-AMP-case-Enclosure-headphone-amp-case-Box-DIY-168/2033917180.html?spm=a2g0y.search0104.3.124.688b18e7f6VhYd&ws_ab_test=searchweb0_0,searchweb201602_1_10065_10068_10130_10547_319_317_10548_10696_10192_10190_453_10084_454_10083_433_10618_431_10307_10820_10301_10821_10303_537_536_10059_10884_10887_100031_321_322_10103,searchweb201603_59,ppcSwitch_0&algo_expid=f54168e7-1244-43ff-89ae-df87a115ad5c-20&algo_pvid=f54168e7-1244-43ff-89ae-df87a115ad5c&transAbTest=ae803_3

Haven't started my build yet (hopefully soon) - but I've got a lot of room where I'm planning to put this & don't mind largish boxes. I simply picked up a Bud Al Chassis 12"x10"x3". I figured this would give lots of room to place things. After some really cramped guitar amp chassis that I've done, lots of room is a good thing.
Rich
Rich
And then there is the 1907. that one is 190x305x70mm. That gives you a litte more room.
Nice, thanks. Added to the sheet
Hello everyone. Two quick questions:
Thanks! Just gathering ideas.
- What's the manufacturer and part number of the 1/4" TRS audio jack included in the kit?
- In addition to running a second set of RCA jacks in parallel with the headphone jack (with 100 ohm resistors on the hot leads to prevent oscillation), can I run a third set as a bypass set? Do I just tap directly off the inputs? Do I need anything else, like 100 ohm resistors? Lastly, can I tie all RCA grounds to the same ground bus with the final end going to the safety cap anchored on ground?
Thanks! Just gathering ideas.
Hello,
First of all, thanks a lot Wayne for this project.
I am not an expert, 8 years ago I did an aleph 30 so this is my 2nd Pass. Just some questions,
* I am going to put an OPA1642 (soldered in a dip socket).
* Configuration red led with 15v regulator
* NO C7 and C2 100PF
The opamp isn’t a bipolar, so about C27 and C26 (22uf), should I put them? I am asking because I saw that Wayne recommended them for an OPA2134 configuration.
Thank you very very much!
Tony
- Home
- Amplifiers
- Pass Labs
- "WHAMMY" Pass DIY headphone amp guide