Yes. The LF come from the back of the speaker/wall behind it, so you can effectively sit that much closer.
dave
Ok then, so what would be the suggested minimum listening distance from the Vulcan?
Last edited:
Yes. The LF come from the back of the speaker/wall behind it, so you can effectively sit that much closer.
Really, one can sit in the near-field, but as you note, there's the room to consider, so if the speakers are in an odd harmonic one ideally needs to listen at an odd harmonic and same for even harmonics, making this the minimum distance.
GM

")


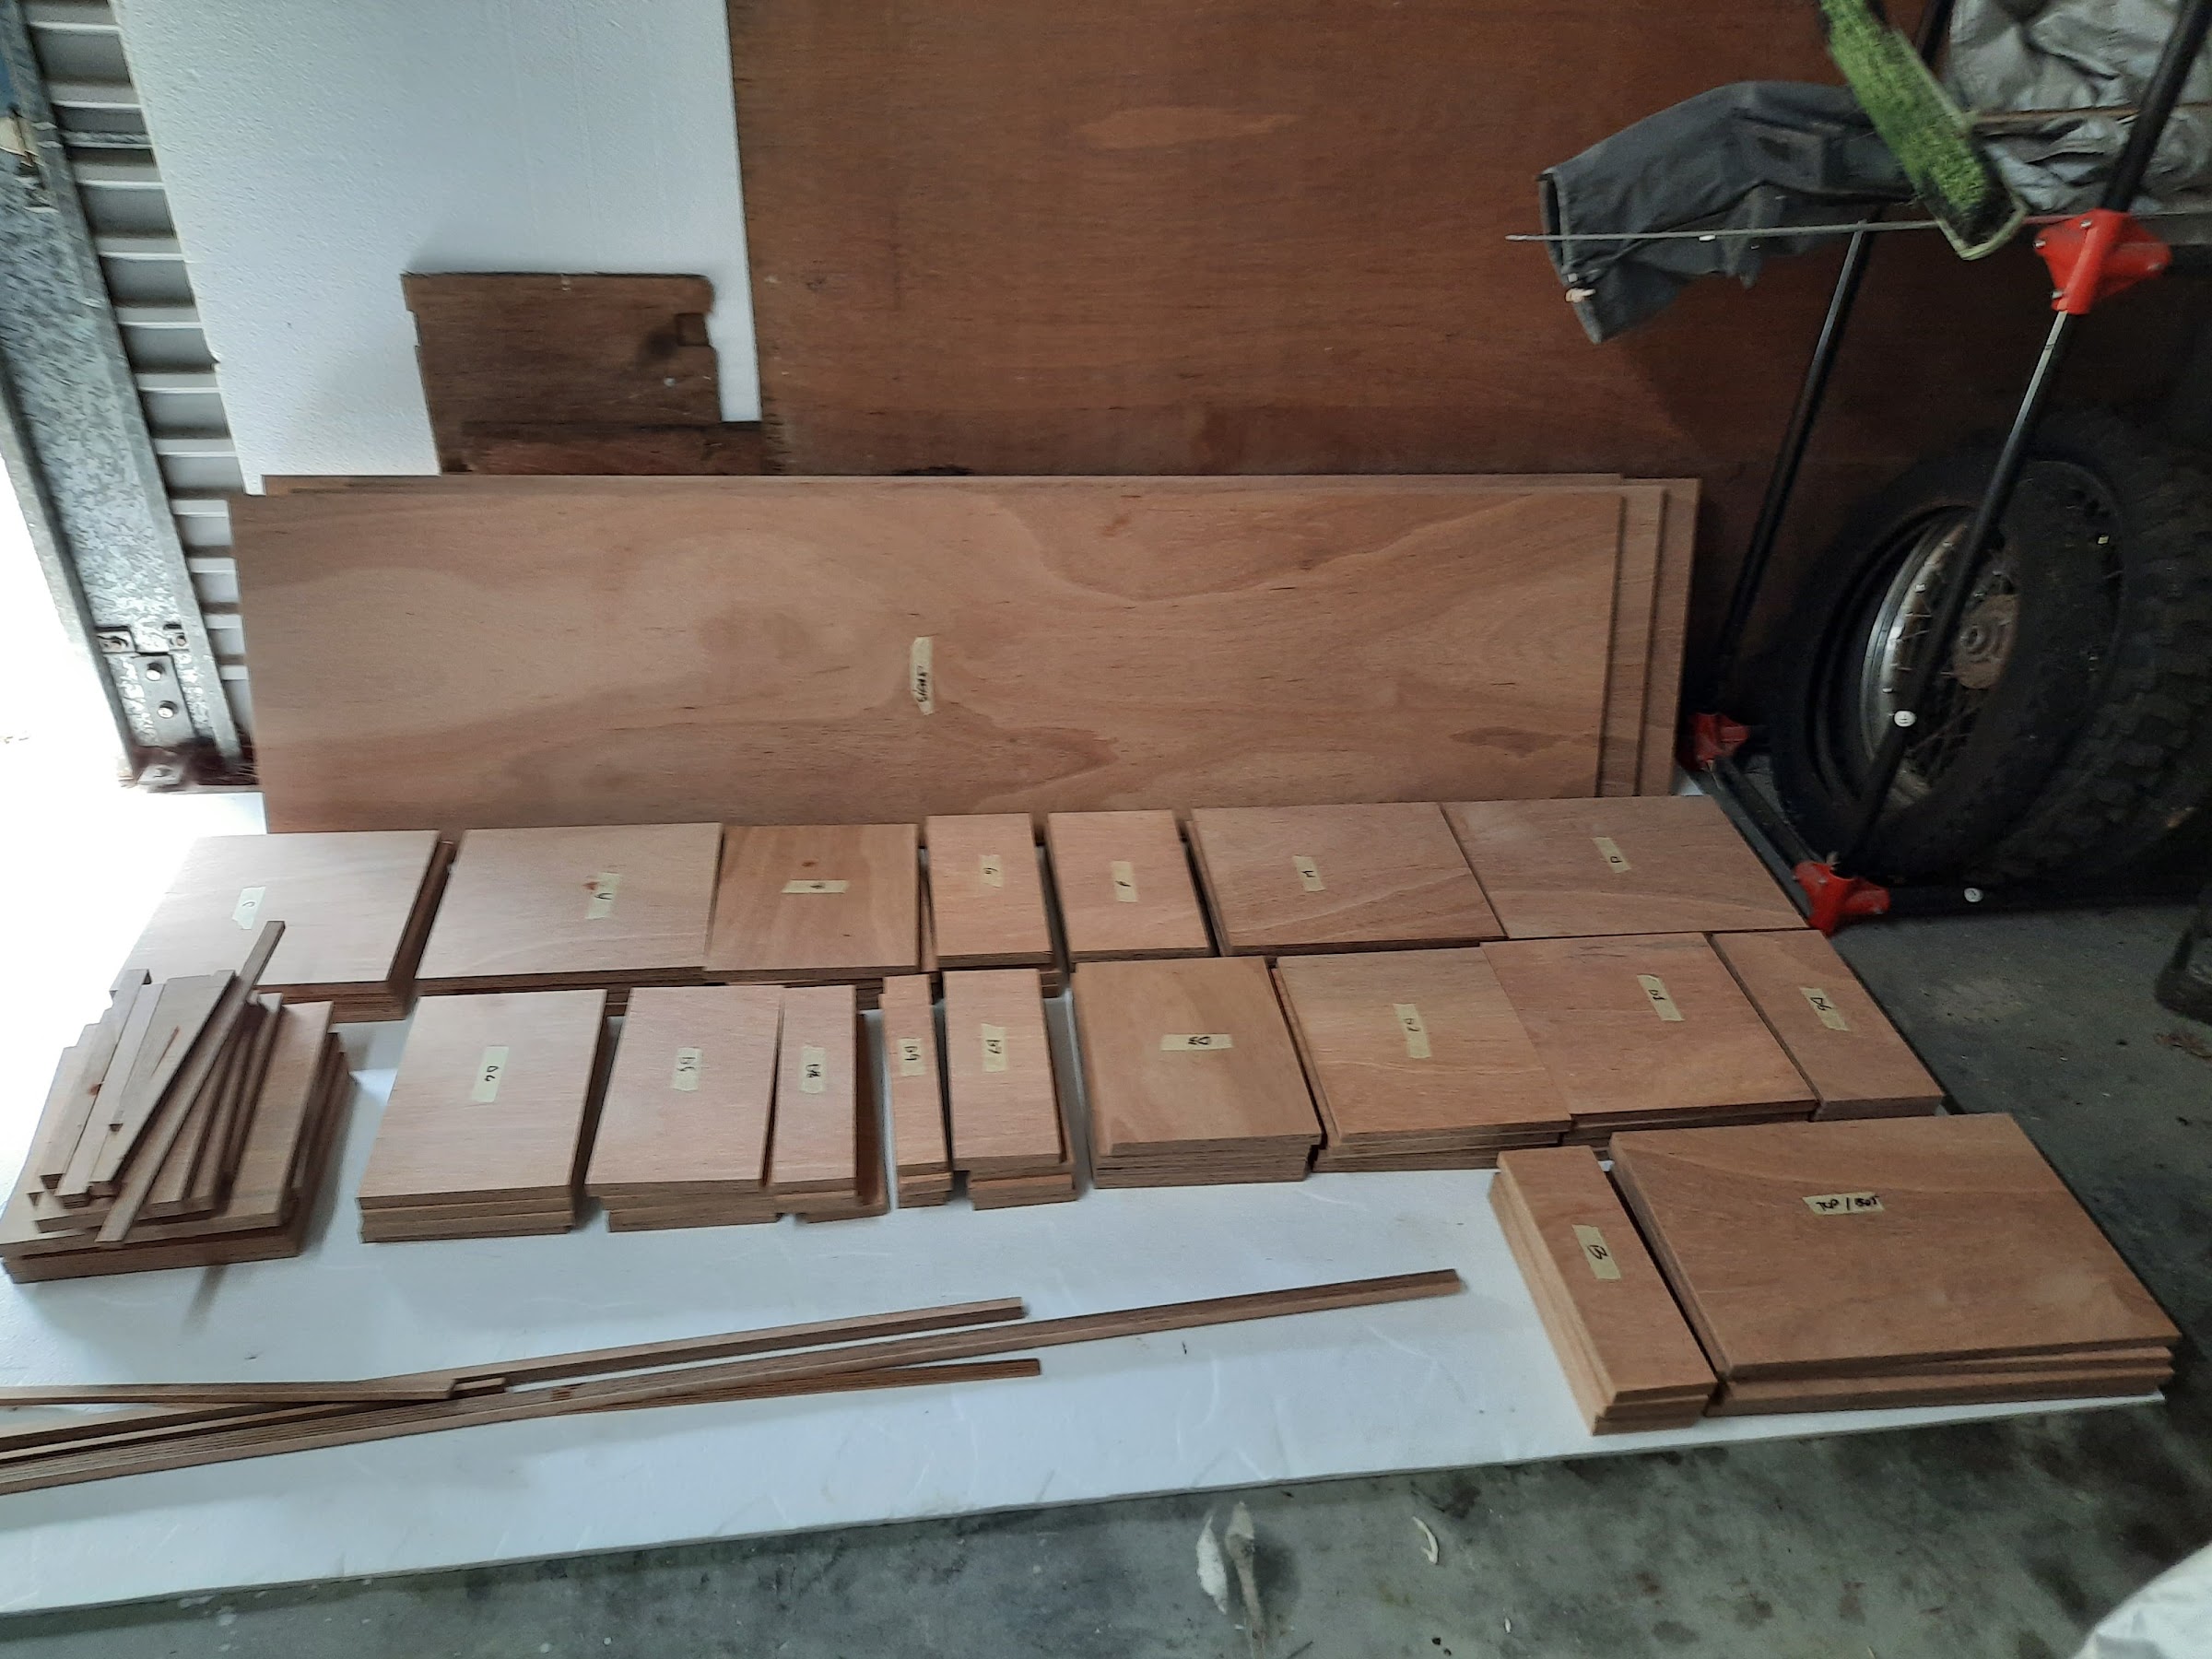
almost complete 1 speaker.
i have since fitted the diffuser triangle at the back, and now working on the front baffle speaker hole.
Then I'll need to find some 1/2" wool lining, have some around here somewhere, glue that in, then I can glue the baffle and side on for completion of 1 of 2 enclosures.
Damn heavy! I estimate around 55kg-60kg at least.
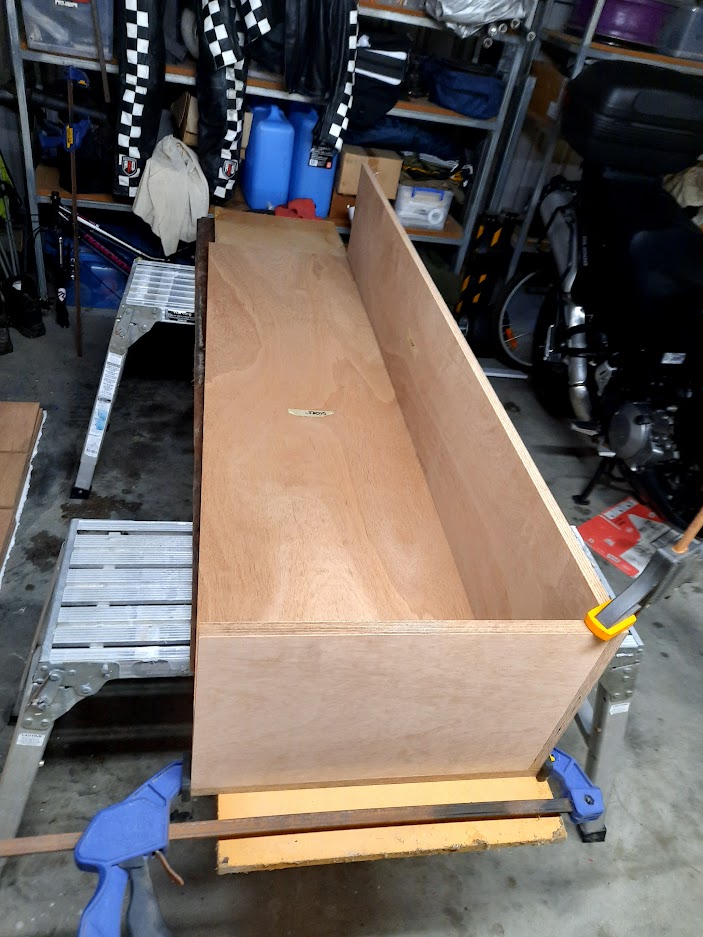
Glue on the baffle of spkr 1, and see how it looks upright.
was a bit worried about standing it up with flex on the bottom panel, but it's quite ok with that.
I haven't worked out the speaker cable routing yet, but possibly simplest will be drill a hole in back panel and pass cable through.
I will need to go to bunnings, clark rubber, spotlight and check out what is available for some damping material in the speaker box.
12mm wool matting is recommended, so really want to find real wool matting.
And last picky is it upright.
An externally hosted image should be here but it was not working when we last tested it.
almost complete 1 speaker.
The pictures you tried to post are behind your Google login.
dave
Hi, shared the album, hopefully that will work.
on another note,
how would I go about installing binding posts on these, as the area directly behind the speaker is going to be most difficult to mount anything, and for future maintenance, will not be able to get to the back area through the speaker hole!
I'm thinking on the side near the driver.
alternatively, run the cable from the driver, through a small hole in the back directly to the amp.
hope the image comes through ok.
Last edited:
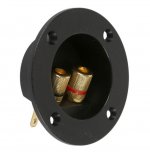
Kike Zia shows. I do like one with a smaller cutout and IMO the cheap plastic capped postssound better than the the cheap metal posted ones and better than some of the more blingy al metal posts.
PE used to have some that had the plastic nutted posts and a small plate and one only had to drill 2 holes, those would be ideal for the speaker.
dave
PE used to have some that had the plastic nutted posts and a small plate and one only had to drill 2 holes, those would be ideal for the speaker.
dave
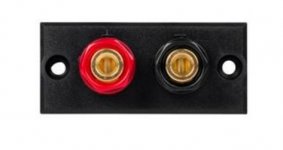
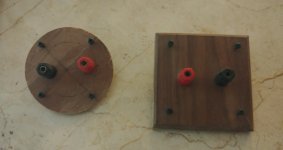
Bought 2 red, 2 black of the bellow from jaycar.
Still hard to get to when it's all glued together.
Fully Insulated Gold Plated Binding Posts / Banana Sockets (BLACK) | Jaycar Electronics
Still hard to get to when it's all glued together.
Fully Insulated Gold Plated Binding Posts / Banana Sockets (BLACK) | Jaycar Electronics
Stevodude,
You are right, these will be hard to access after gluing up the cabinet.
Do you have 3 mm - 6 mm acrylic? I am suggesting to make a DIY terminal cup.
The idea is to have a 3-3.5" circular piece of wood and insert the binding posts within a 2" diameter are (from the center) of that piece; then fix that piece of wood to the main speaker body like any other terminal cup type post.
It's also possible to make with 6-12 mm plywood/MDF.
Last edited:
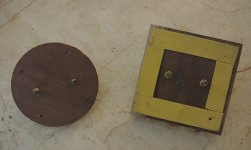
What Zia said. It only needs to be a flat plate large enuff to hold the posts (standard spacing is ¾”) and 2 screws at either end to hold it in place. But you can get as exotic as you’d like.
His example is exactly what i was thinking of.
You can undo 2 screws, pull the works out of the box, solder or unsolder, then reinstall.
dave
His example is exactly what i was thinking of.
You can undo 2 screws, pull the works out of the box, solder or unsolder, then reinstall.
dave
- Home
- Loudspeakers
- Full Range
- FE206En in the fe208 recommended enclosure