Getting there. The BMR drivers came in and I 3D printed a few little enclosures for them to try out, maybe later today. A printed box is about the only practical way to mount these little suckers if you plan to use the tiny mounting holes, the cutout is pretty complex and not much room for error. Of course, if you plan to use wood and construct by hand, you could just cut a 46.5mm dia hole and use silicone glue to mount the driver, but the mounting holes wouldn't be usable since the holes are on a diameter of only about 47.5mm! The screw sizes, btw, would be either M2 or #2 self-tapping type. About the same size as the screws that hold remote control units together. I got some on order from ebay.
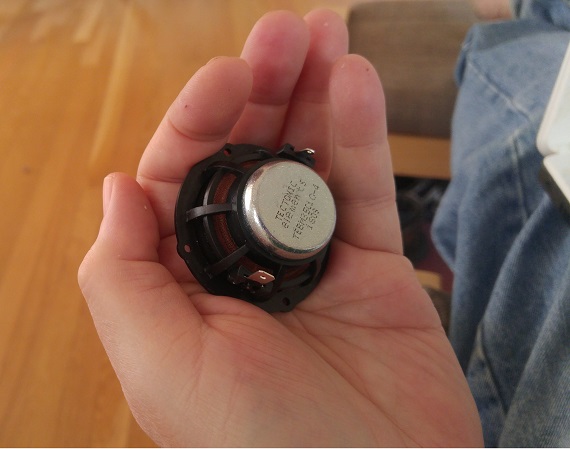
These things are TINY, here is one in my not-particularly-large hand:
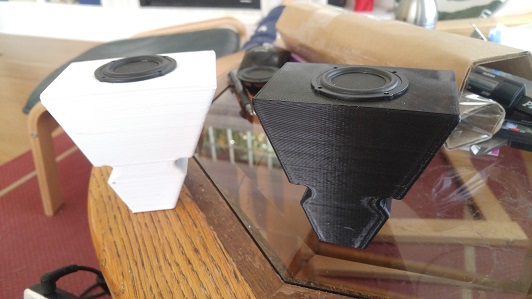
These are two enclosures I made to test it out. The black one was supposed to be a revised version (different side mounting slots), but I managed to choose the older file instead when I went to print last night
The plan (if this works out) is to have 4 of these per side mounted to the back of each speaker, firing upward and toward the sides. With one each, I don't expect to get much volume from them -- not sure I'll get enough with 4 each for that matter! Hoping that running them with a highpass will let me drive them a little harder.
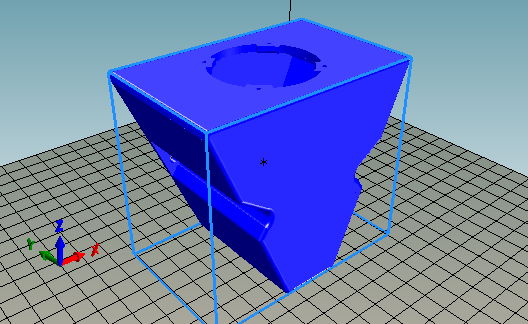
This is what the 'revised' version looks like. Mostly just moved the mountings more toward the fronts and changed some angles/slopes to make things easier for the 3D printer.

so how did these turn out in the end?