Mounting the cartridge -
(All of these photos are taken from my SL-1200 thread, but as the arms are identical save for the trim color, these photos show the procedure.)
First, remove the armwand.
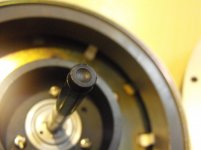
Remove the cartridge. Note the two holes in the 'headshell'.
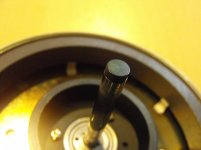
Loosely mount the new cartridge and attach the clips.
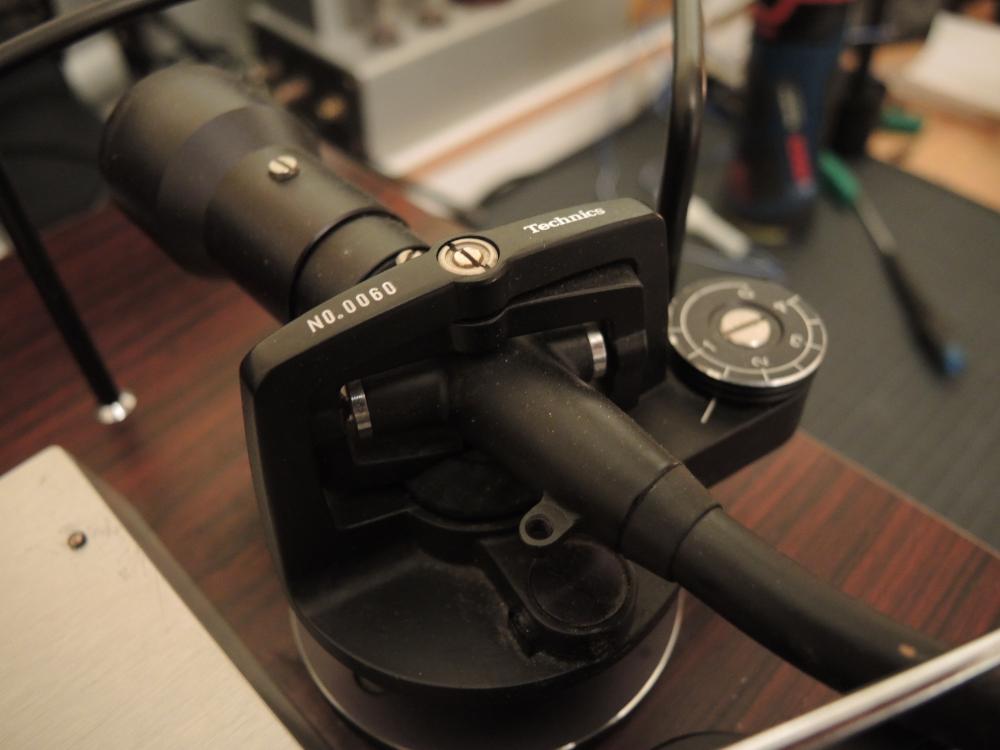
The Graham mounting jig. Note the pins on the back portion.
The pins mate to the holes in the headshell.
The jig has enough room to place a tool on the mounting screws while things are still together. This is a bit of a fiddly job, as nothing snaps together, but it's not impossible to hold.
Flip the plexi gauge over and onto the stylus. Align the overhang to the short part of the L, and get the cantilever (not the body) parallel to the parallel lines. Why two lines? Baerwald and Loefgren.
Overhang is plainly visible from the side as well as top. Snug the screws and make sure it didn't drift when the screws were torqued.
That's it. Reattach the armwand. Bob's your uncle. (Almost literally... Robert Graham, get it?)
How long does it take? Quite seriously, with no exaggeration, 5-10 min. If you want to get out the protractor you may, but trust me, it's bang on.
(All of these photos are taken from my SL-1200 thread, but as the arms are identical save for the trim color, these photos show the procedure.)
First, remove the armwand.
Remove the cartridge. Note the two holes in the 'headshell'.
Loosely mount the new cartridge and attach the clips.
The Graham mounting jig. Note the pins on the back portion.
The pins mate to the holes in the headshell.
The jig has enough room to place a tool on the mounting screws while things are still together. This is a bit of a fiddly job, as nothing snaps together, but it's not impossible to hold.
Flip the plexi gauge over and onto the stylus. Align the overhang to the short part of the L, and get the cantilever (not the body) parallel to the parallel lines. Why two lines? Baerwald and Loefgren.
Overhang is plainly visible from the side as well as top. Snug the screws and make sure it didn't drift when the screws were torqued.
That's it. Reattach the armwand. Bob's your uncle. (Almost literally... Robert Graham, get it?)
How long does it take? Quite seriously, with no exaggeration, 5-10 min. If you want to get out the protractor you may, but trust me, it's bang on.
well, it took a long time but i finally read the entire thread.
lots of nice info in here, and it's good to see that i can purchase new thrust pads and silicone nitride bearings when the worry of excessive wear to my old ball keeps me awake at night")
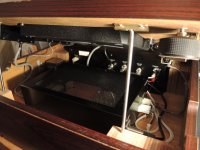
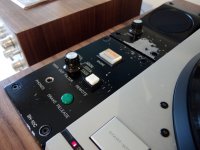
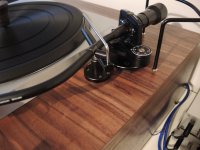
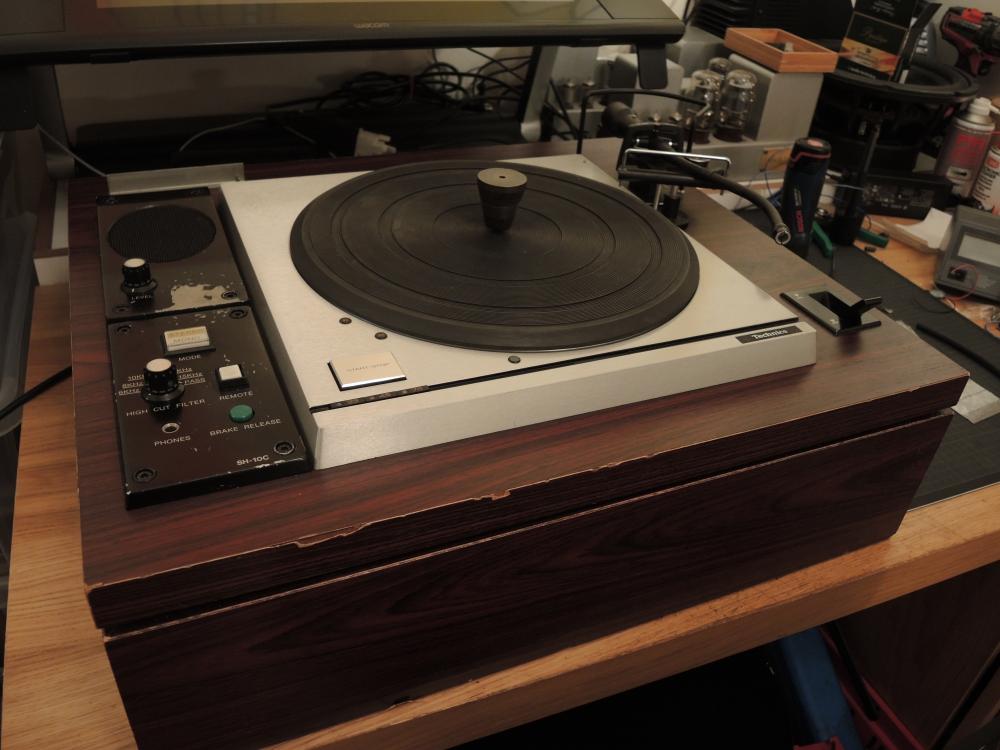
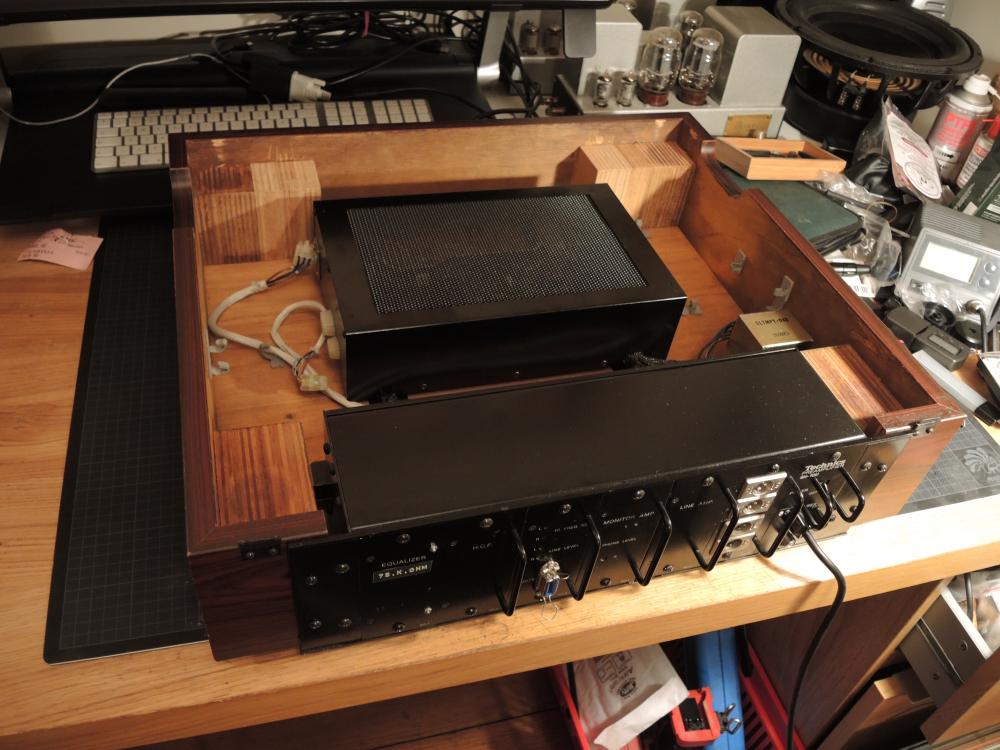
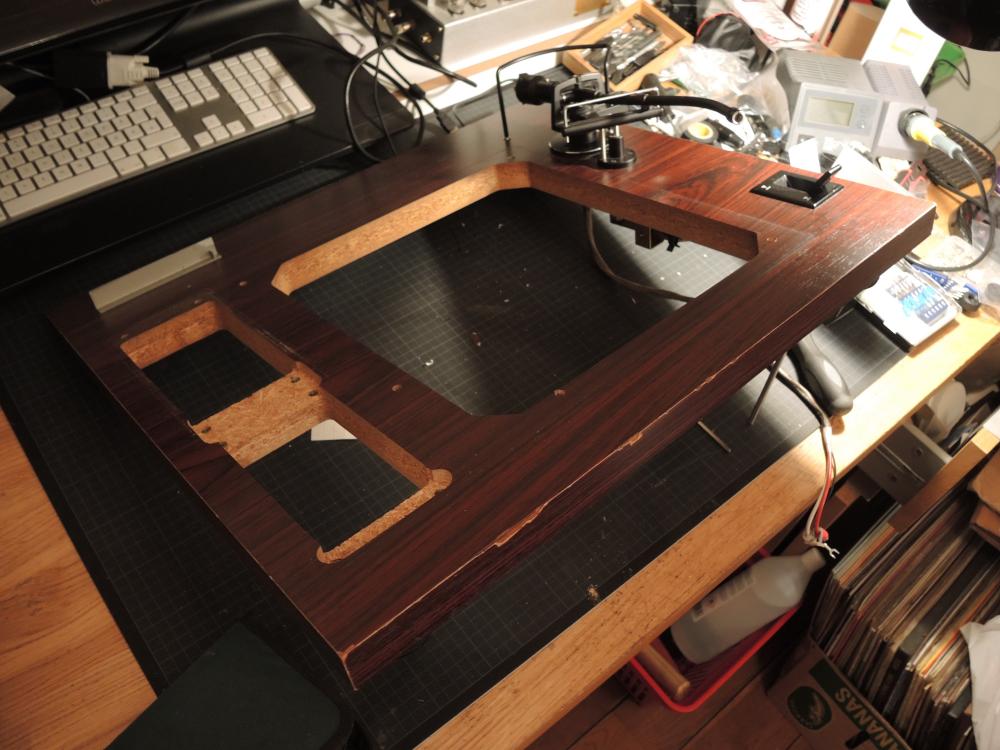
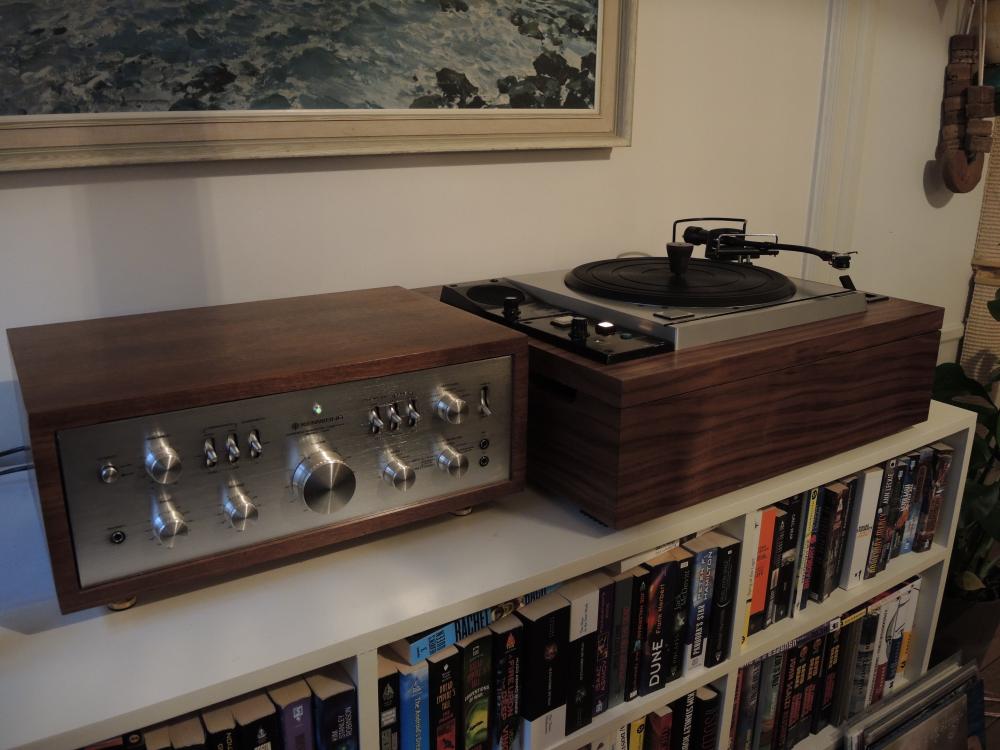
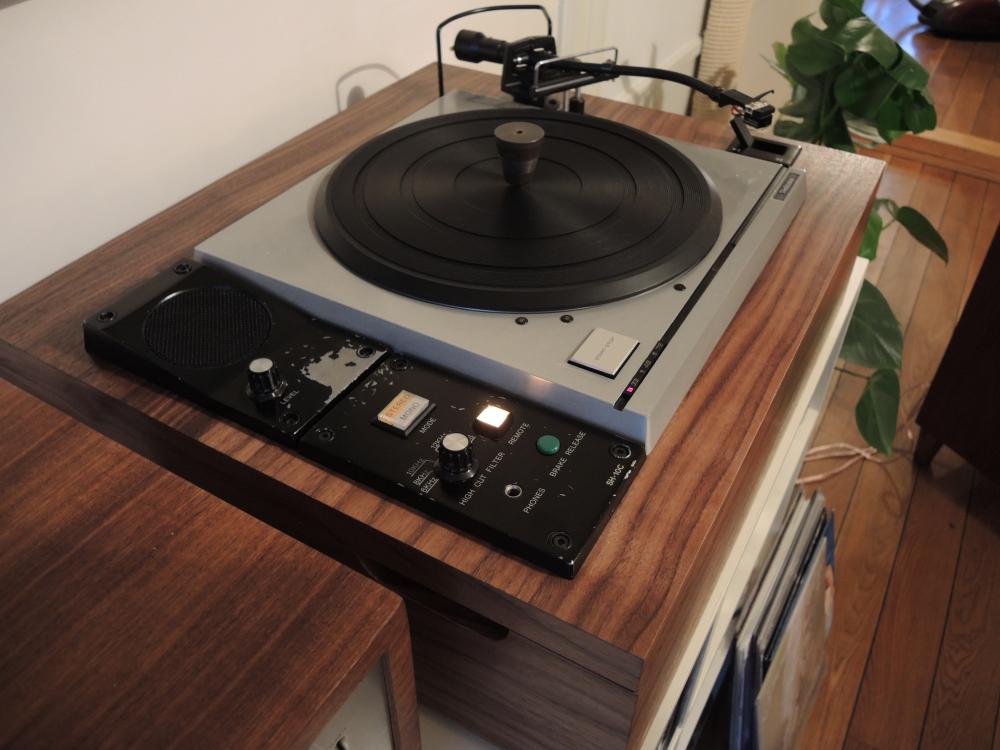
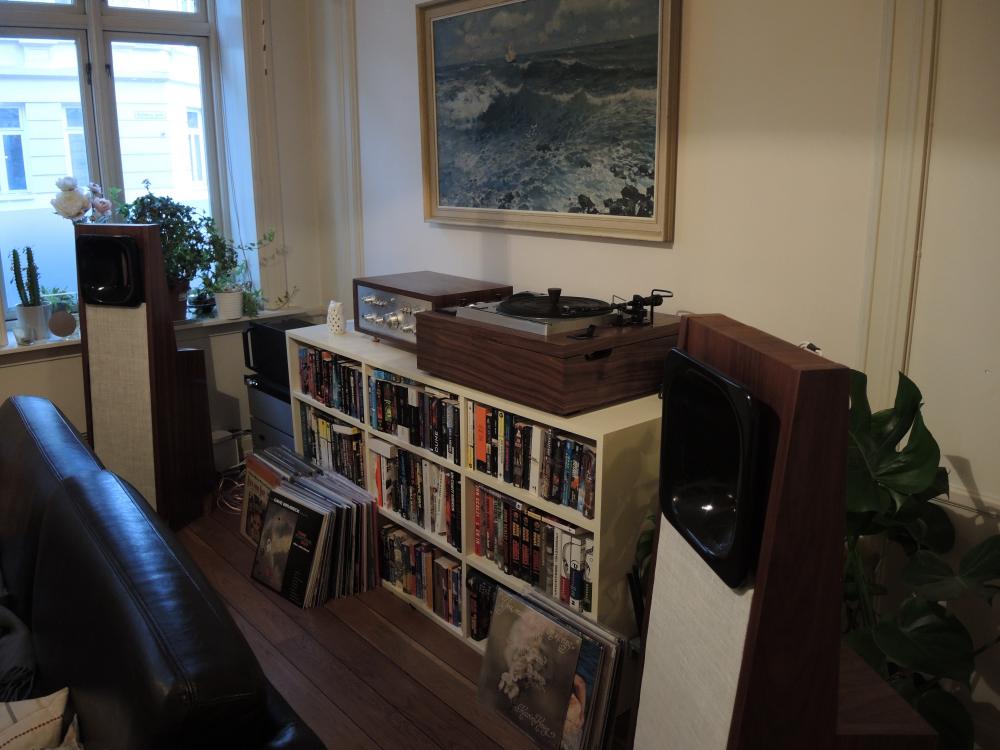
i recently acquired an old Swedish Radio SP10mk2p deck (there were a handfull up for sale here in norway recently) and decided to keep the stock plinth, as i like the look and history.
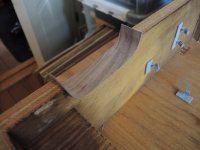
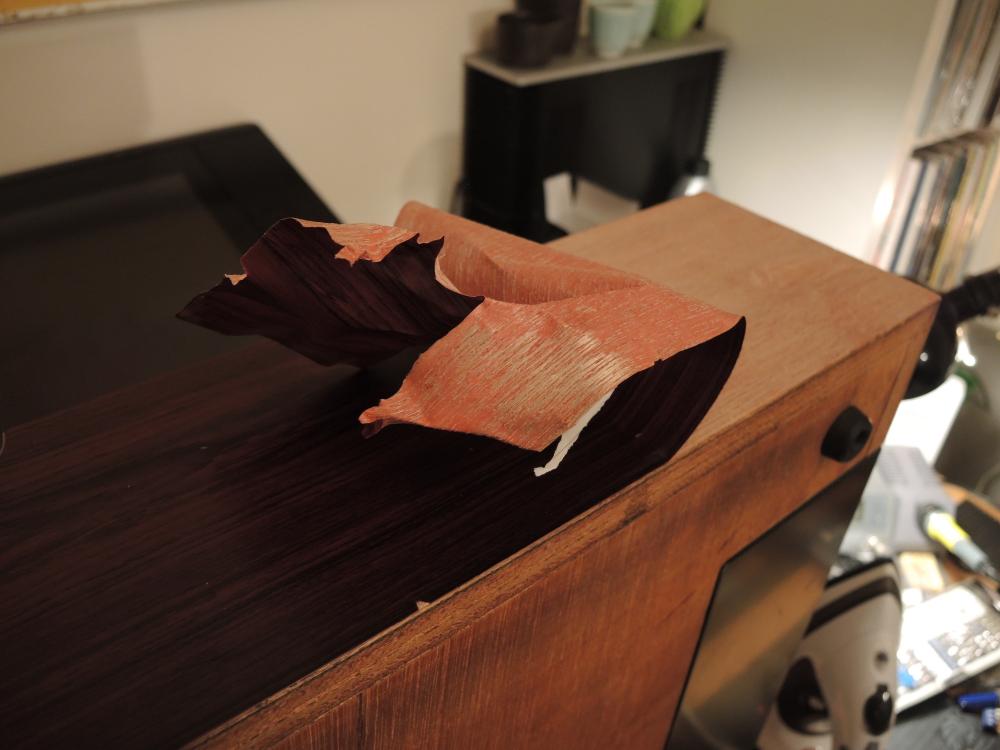
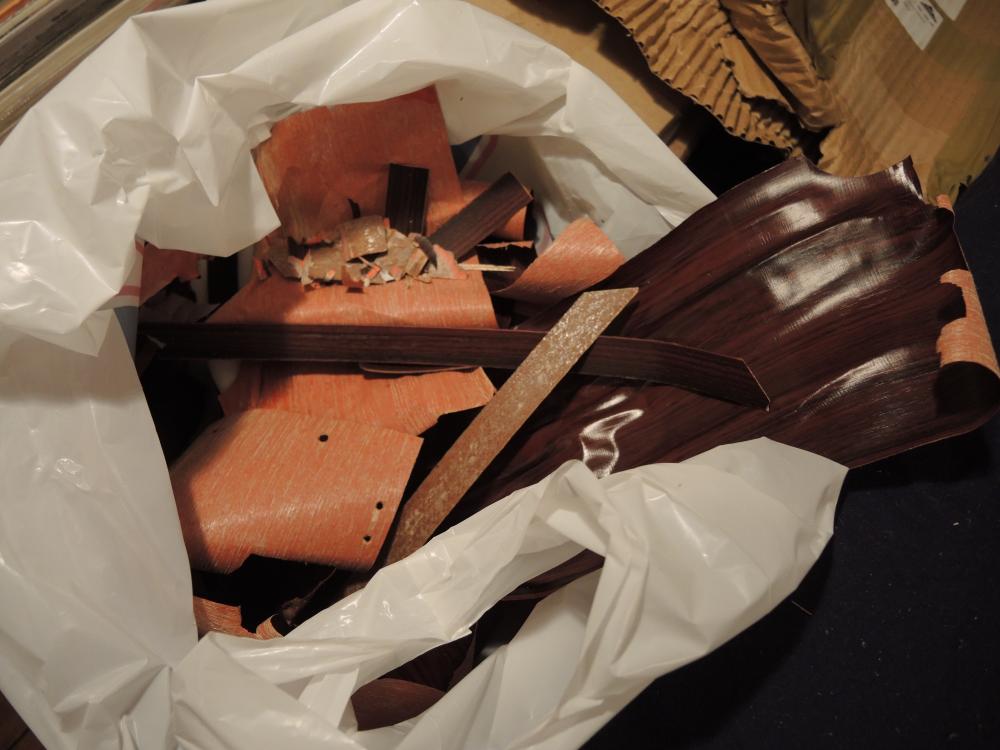
unfortunately, the vinyl "rosewood" veneer was in a sorry state after years of studio use, so i decided to re-veneer it.
lots of nice info in here, and it's good to see that i can purchase new thrust pads and silicone nitride bearings when the worry of excessive wear to my old ball keeps me awake at night
i recently acquired an old Swedish Radio SP10mk2p deck (there were a handfull up for sale here in norway recently) and decided to keep the stock plinth, as i like the look and history.
An externally hosted image should be here but it was not working when we last tested it.
An externally hosted image should be here but it was not working when we last tested it.
An externally hosted image should be here but it was not working when we last tested it.
unfortunately, the vinyl "rosewood" veneer was in a sorry state after years of studio use, so i decided to re-veneer it.
An externally hosted image should be here but it was not working when we last tested it.
An externally hosted image should be here but it was not working when we last tested it.
An externally hosted image should be here but it was not working when we last tested it.
An externally hosted image should be here but it was not working when we last tested it.
An externally hosted image should be here but it was not working when we last tested it.
An externally hosted image should be here but it was not working when we last tested it.
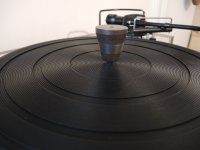
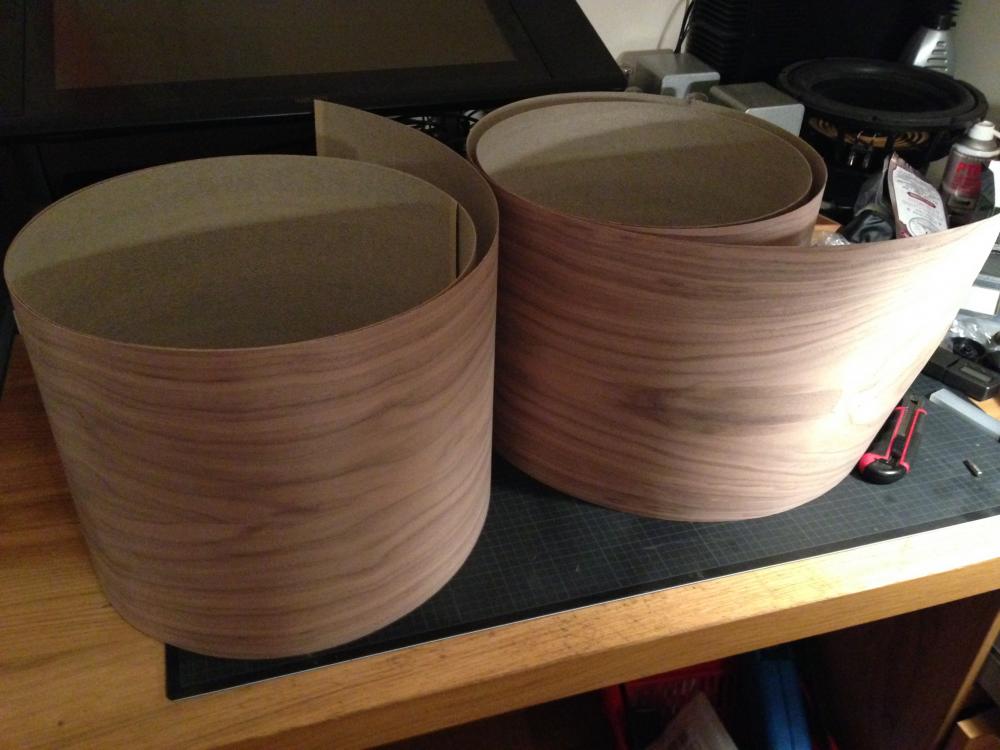
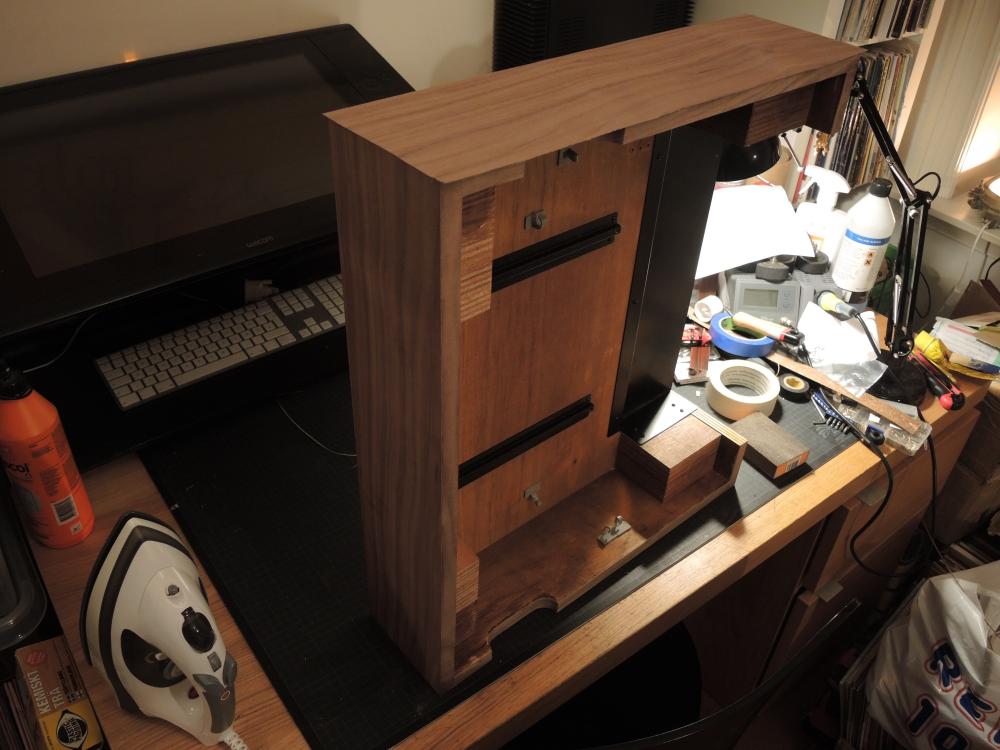
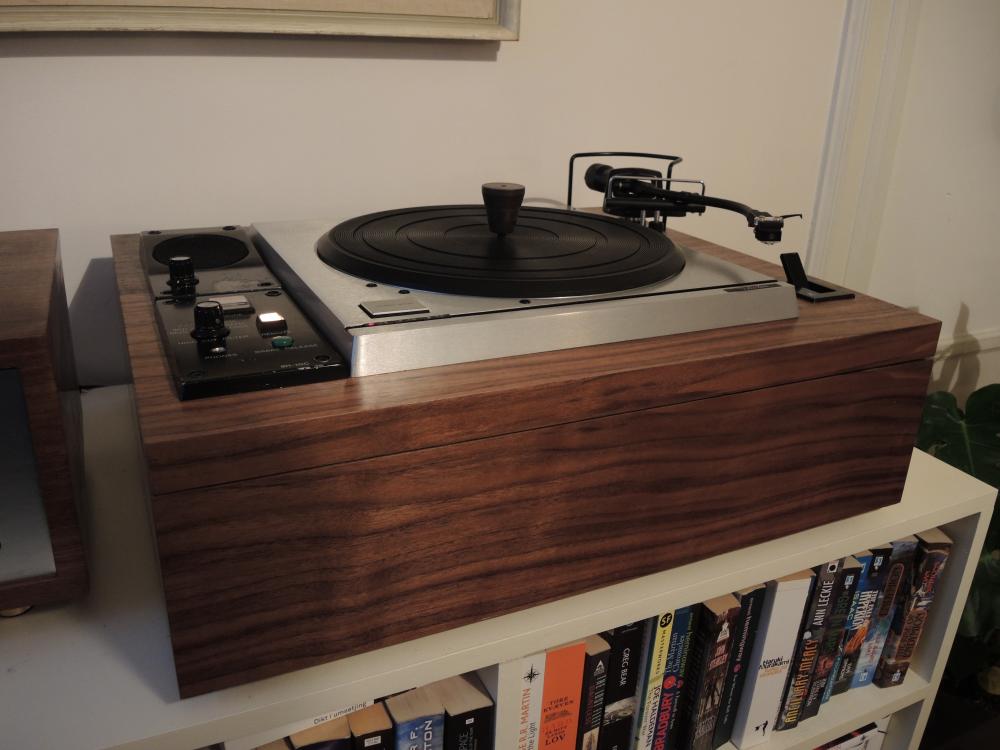
I'm quite happy with the final result, and i think it sounds great as well!
(though i am currently not using the built in RIIA)
(though i am currently not using the built in RIIA)
An externally hosted image should be here but it was not working when we last tested it.
An externally hosted image should be here but it was not working when we last tested it.
An externally hosted image should be here but it was not working when we last tested it.
An externally hosted image should be here but it was not working when we last tested it.
An externally hosted image should be here but it was not working when we last tested it.
WOW!!!!!
That's incredible, I love it!
Thank you for sharing.
+1 !
Thanks!
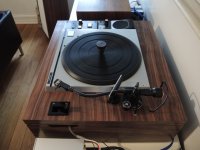
i really like the purposeful look of this turntable, and it was a lot of fun pulling it apart and putting it back together.
veneering is both scary and fun, as one mistake can ruin everything, and you always find new challenges along the way
luckily i didn't screw up anything big this time
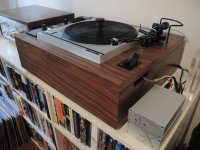
here are some more photos:
i really like the purposeful look of this turntable, and it was a lot of fun pulling it apart and putting it back together.
veneering is both scary and fun, as one mistake can ruin everything, and you always find new challenges along the way
luckily i didn't screw up anything big this time
here are some more photos:
Attachments
-
 DSCN5283.jpg334.8 KB · Views: 457
 -
 DSCN5398.jpg315.7 KB · Views: 198
 -
 DSCN5396.jpg297.8 KB · Views: 210
 -
 DSCN5391.jpg350.2 KB · Views: 200
 -
 DSCN5386.jpg288.4 KB · Views: 202
 -
 DSCN5371.jpg330 KB · Views: 454
 -
 DSCN5358.jpg311.6 KB · Views: 455
 -
 DSCN5338.jpg185 KB · Views: 462
 -
 DSCN5316.jpg178.3 KB · Views: 464
 -
 DSCN5344.jpg734.5 KB · Views: 181
Here are before and after pictures of the thrust bearing for one of my SP10's. The images says it all. The motor date is 1978.I have lost the plot here ! Is he selling them ?
Thanks
Dave
Attachments

Here are before and after pictures of the thrust bearing for one of my SP10's. The images says it all. The motor date is 1978.
Nice job Bon.
I was the maker of these Torlon thrust caps. I have been working with Torlon as a bearing liner material and thrust pad material for the past couple of years, and am pleased with it as a bearing material. I make a bearing for the Garrard 301/ 401 with it, and also re-bush TD124 bearings with Torlon. I knew from experience that it would be a superior material than the stock SP10 MK2 thrust pad material, so I had some made up. When they arrived from my machinist I decided to look to see if anyone else (User 510) was selling replacement thrust caps for the SP10 MK2, and sure enough... and also from Torlon. I did not intend on copying someone elses work, but it seems that we have both come to a similar conclusion, that Torlon is a good material for this application. I only learned of his caps after I finished mine.
The best material for a thrust ball against Torlon, is sapphire. Sapphire is extremely hard, (9 on the MOH's scale) but can be damaged by impact.
I had many of these thrust caps made up.
If you have a worn SL-1200 bearing, why not just buy a new one? If you don't want to spend the money on one of the high quality aftermarket bearings, just get a new stock bearing, they are still available. We SP-10mk2 owners go to great efforts to rebuild our SP-10 bearings due to their complexity and the fact they haven't been available new for 30 years.Hi,
excuse the off-topic.
I´m more into building with the SP10s small brethren.
They could also be modded with a new thrustplate.
Does anybody know where to get small Torlon discs for models of the SL-1210 style bearing?
Thx.
jauu
Calvin
Hi,
those (original) replacement bearings are open at the base and the plastic thrust pad is mounted to a simple thin metal sheet that is fixed by only two screws.
I intend to have the lower part of the bearing turned off and replaced by a tubular piece with a decent bottom plate to allow for a oil bath at the contact point of axle and thrust pad.
Regarding those aftermarket bearings .... first, I think they don't offer a as good price/value as the makers claim and second and much more important ..... where's the diy fun when You build with ready made assemblies?
So the Q remains where to get small discs of Torlon?
jauu
Calvin
Hi Calvin
| PAI-Rundstab schwarz, 12.7mm x 300mm |
BTW your website is fascinating !
Regards
Dave
I don't think the makers of aftermarket bearings actually claim they are a good price/value ?Regarding those aftermarket bearings .... first, I think they don't offer a as good price/value as the makers claim
From here:So the Q remains where to get small discs of Torlon?
| PAI-Rundstab schwarz, 12.7mm x 300mm |
BTW your website is fascinating !
Regards
Dave
- Home
- Source & Line
- Analogue Source
- The Incredible Technics SP-10 Thread