So here we go, the very thing that got me into this. Something I have seen a long time ago, but never heard. I heard or listened to these and that was it. This post will consist of short comments and a alot of photos, here we go!
Attachments
my pre amp
I a have an Adcom preamp that has been giving me issues for years, Ger helped me fix it via phone in a matter if minutes.
This will be kind of short and to the point, i will explain details as best as i can, the pics are only #'s on the computer, so some might get mixed up. please bear with me on this.
The next post will be the drawing i thought about, not knowing that someone famous, had allready had the same thing in his own home. mine is different, but weird coincidence.
Attachments

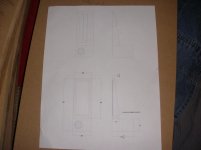
Sketch
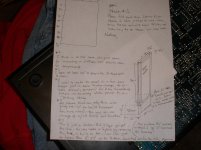
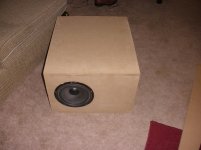
This was my first sketch i have ever done using this technology. I have allways used a box,vented for sub and a tweeter, nothing special, so here it is as my first, and ended up being what i built.")
This was my first sketch i have ever done using this technology. I have allways used a box,vented for sub and a tweeter, nothing special, so here it is as my first, and ended up being what i built.
Attachments

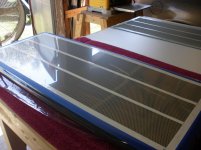
Smoothing the stats
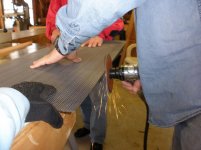
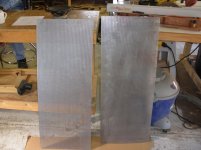
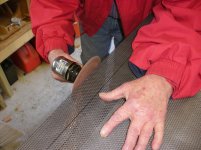
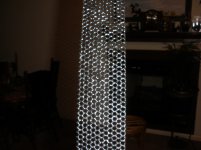
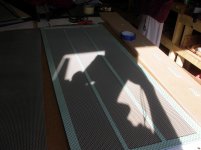
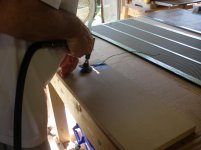
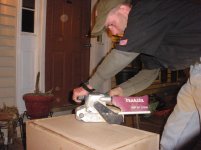
After we recieved these, they had to be cut in half using a very nice band saw(CharlieM) and a pneumatic sander sander to smooth the edged, you will find a little later that it needed a LOT more sanding( thank you Clavin for catching that one).
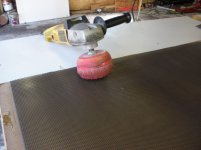
That red ball? if you want tu scuff or remove debris, thats the ticket. I use it in prep work for Rhino Linings, it will scuff paint and clear coat, but not harm or indent, grind metal. used it on the front and back of the stats, very smooth and very fast. If anyone needs one, i will be more than happy to post their site, its just not in front of me now.
After we recieved these, they had to be cut in half using a very nice band saw(CharlieM) and a pneumatic sander sander to smooth the edged, you will find a little later that it needed a LOT more sanding( thank you Clavin for catching that one).
That red ball? if you want tu scuff or remove debris, thats the ticket. I use it in prep work for Rhino Linings, it will scuff paint and clear coat, but not harm or indent, grind metal. used it on the front and back of the stats, very smooth and very fast. If anyone needs one, i will be more than happy to post their site, its just not in front of me now.
Attachments
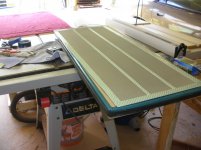
Charlie Jig
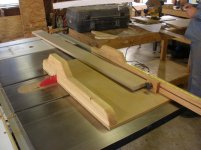
Charlie has a very neat table saw jig or rather alot of jigs, this is one of them, consistant cuts and fast. Even a plunge router to recess the sub on the TL's, I believe there are some pics of the TL from start to finish.
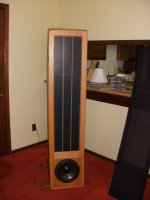
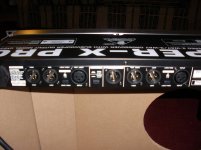
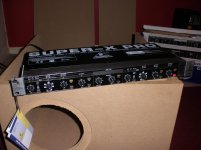
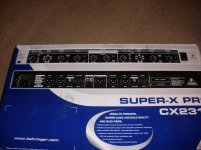
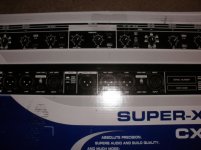
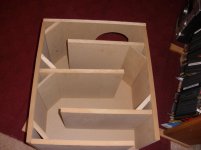
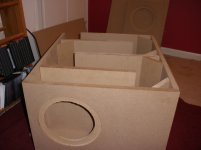
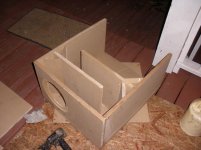
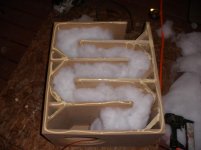
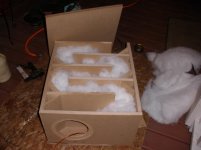
The TL is a 1 quater wave guide with longer vents as it leaves the end of the chamber. Alot of poly fill , the exact amount, i forgot, but i think it was 1/2 lbs per 1cu. ft. air space. either way, they sound great. Thanks to Ger, and that Behriger crossover, there will pics of that as well.
Charlie has a very neat table saw jig or rather alot of jigs, this is one of them, consistant cuts and fast. Even a plunge router to recess the sub on the TL's, I believe there are some pics of the TL from start to finish.
The TL is a 1 quater wave guide with longer vents as it leaves the end of the chamber. Alot of poly fill , the exact amount, i forgot, but i think it was 1/2 lbs per 1cu. ft. air space. either way, they sound great. Thanks to Ger, and that Behriger crossover, there will pics of that as well.
Attachments

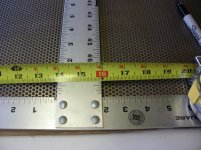
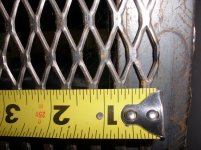
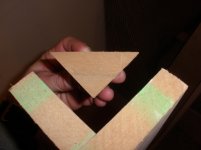
Jaged edges
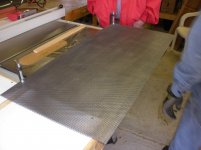
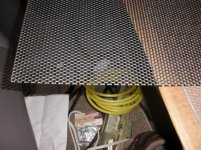
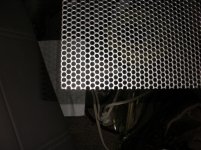
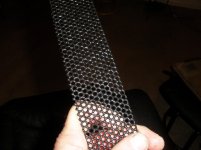
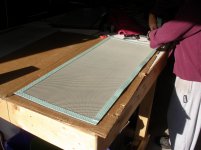
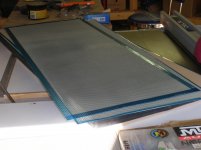
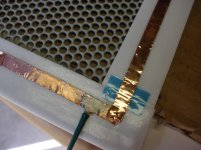
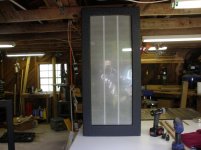
This is the last thing you would ever want on an ESL, Jaged edges. here are some pics of what you dont want and some of what you do. NO pointed edges at all, smooth as you you can with what you have. My open area (51%) was difficult on the long side, had to smooth every hole on four panels and smooth again. It payed off, they work perfectly.
This is the last thing you would ever want on an ESL, Jaged edges. here are some pics of what you dont want and some of what you do. NO pointed edges at all, smooth as you you can with what you have. My open area (51%) was difficult on the long side, had to smooth every hole on four panels and smooth again. It payed off, they work perfectly.
Attachments
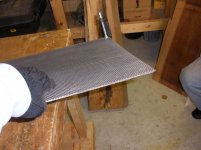
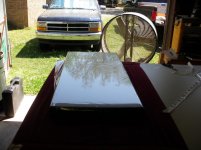
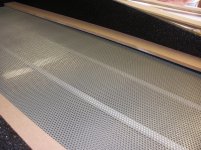
sample using rhino bed liner
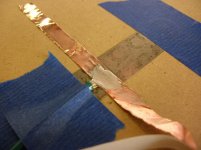
I think this worked very well as a "test" item. consistant, but i had made modifacations on the gun, sprayed at very high pressure, but reduced the anount of material coming out of the gun. I wish it didnt catch over spray as the test sample was smooth and obviously flexiable. It was one quick coat, very quick, per side. Charlie has the sample, no comments so far, so I hope thats a good thing. check it out,
I think this worked very well as a "test" item. consistant, but i had made modifacations on the gun, sprayed at very high pressure, but reduced the anount of material coming out of the gun. I wish it didnt catch over spray as the test sample was smooth and obviously flexiable. It was one quick coat, very quick, per side. Charlie has the sample, no comments so far, so I hope thats a good thing. check it out,
Attachments

Later
Going to get somw ZZZZZZZZZZ's, i have so much more information, so if you can wait, there is so much more, crossover, TL's performance, revamped subs, Licron coating, the list is in front of me, let me find another pic, i believe its the "step up"
Going to get somw ZZZZZZZZZZ's, i have so much more information, so if you can wait, there is so much more, crossover, TL's performance, revamped subs, Licron coating, the list is in front of me, let me find another pic, i believe its the "step up"
Attachments

oops
I will post and discuss as much as i can as soon as i get home. it will be short expanations, and I have to double check my photo #'s.
Thats, Tara, she helps us out at work from time to time. check back, i have so much more.
If anyone has any input or suggestions, please post.
dont ask about the dear, just looks funny.


My wife has a very bad cold/flu/ monthtly thing. I am trying to post everything without other pop in posts as we went along with this project. So please be patient, i will comment on all photos, just hard ti sifer #'s instead of seeing the pic before i post. Just made some short hand notes to help.
Attachments
i will comment on all photos, just hard ti sifer #'s instead of seeing the pic before i post. Just made some short hand notes to help.
Attachments


Last Tl pics tonight. later ,
Built the TV stand today! post that much later, tru=ying to have all pics wihout interuption.
Built the TV stand today! post that much later, tru=ying to have all pics wihout interuption.
Attachments
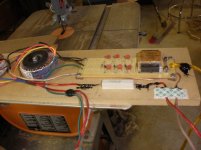
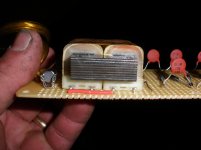
Elecronics
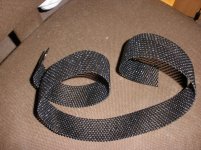
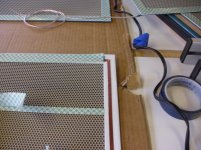
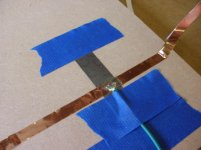
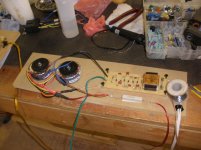
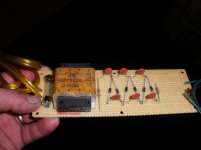
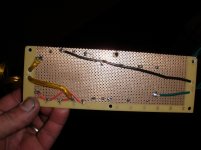
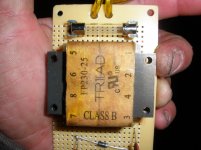
Here are some pics of using the coils wired up as we only primarily use 120vac. need 240. It is all soldered then shrink wrapped. There are spacers on the bias to keep from pinching and alow free movement should it need service. which in my case it did, read the diagram wrong and fried a transformer, quadruple check before soldering, saves money and some time, looks better as well.
makes one very pretty panel.
Attachments
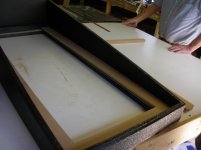
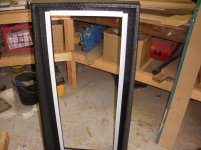
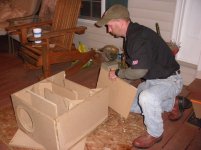
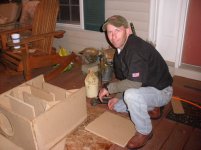
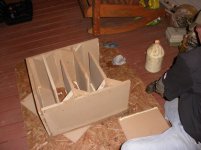
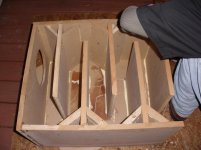
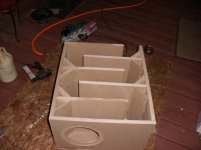
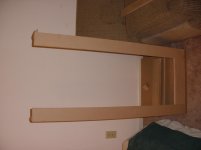
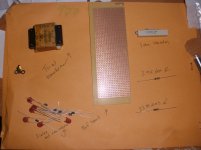
Making The Panels
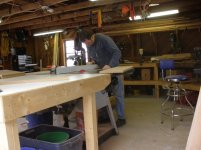
I hope this right, Making the stat frames from idea to reality. There is a rough put together to get the idea and make sure all pieces are cut correct and made to fit. I believe there will be some pics of bracing the corners. Which i did not use, the disign was very rigid and works well.
I hope this right, Making the stat frames from idea to reality. There is a rough put together to get the idea and make sure all pieces are cut correct and made to fit. I believe there will be some pics of bracing the corners. Which i did not use, the disign was very rigid and works well.
Attachments
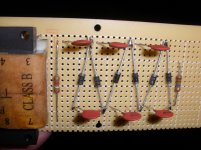
More electronics
Charlie's design, posted on his blog. But here are the or rather the parts list and components, again , i hope have the pics right, doing the best I can.
Charlie's design, posted on his blog. But here are the or rather the parts list and components, again , i hope have the pics right, doing the best I can.
Attachments
- Status
- This old topic is closed. If you want to reopen this topic, contact a moderator using the "Report Post" button.
- Home
- Loudspeakers
- Planars & Exotics
- Start to Finish ESL Hybrid