
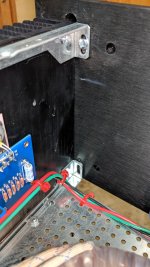
I have the two rails flush with the top and bottom of the heat sink. In the picture you can see that even if I slide the top screw to the bottom of the slot the bottom hole will not clear the bottom rail. Plus that puts the bottom of the front well below the bottom of the chassis. Where it is now is even with the bottom. Do I have the rails on incorrectly or something?
Attachments
upper rail need to be Whacked!! down
then it seems that you'll be OK
when properly done , front is symmetrically lower and higher than rest of gadget
if needed - whack! lower rail slightly up
edit: for easier management of front plate , see different approach to FP screws:
SissySIT, another one | Zen Mod Blog
then it seems that you'll be OK
when properly done , front is symmetrically lower and higher than rest of gadget
if needed - whack! lower rail slightly up
edit: for easier management of front plate , see different approach to FP screws:
SissySIT, another one | Zen Mod Blog
Last edited:
upper rail need to be Whacked!! down
then it seems that you'll be OK
when properly done , front is symmetrically lower and higher than rest of gadget
if needed - whack! lower rail slightly up
Zen I think you just like to type the word "whack". Maybe from your mafia days? LOL Plan be may be to drill and bottom tap a hole in the right freaking place. I wonder when the last time Italy assembled one of their own products. The "instructions" don't even resemble what I have. They even show split heat sinks on each side.
before whack!! , I did mention "ruler" and "caliper"
you did show a picture , from which I concluded what I concluded - that you're missing just few mm to align what's needed
Everything is possible , but 'Talians are more famous of making a mess with wires ( in car and mcycles) than with mechanical side of it ...... which is exact experience I have with Modushop products (funny , there are no wires in a box , when I get any of their cases )
I see your upper rail is not flat , pointing up on very end of heatsink , on FP side
so - what's ruler saying - how much of a thumb you're short ?
I am visiting the States so thought of buying the F5V3 kit, here F5 parts Kit – diyAudio Store , any ideas as to where can I get the JFETs for Q1 and Q2 ?
I've been working on Italian machinery for 47 years, NEVER tighten a bolt/screw until ALL are started, then tighten while keeping everything square.
Yep. I hear you! Learned that lesson on the ACA and the B1 Korg builds. Did that on this, and it didn't work. I have an 8 second 1/4 mile car I turn all the wrenches on. I think I'm pretty proficient at putting things together since my life literally depends on it in that hobby. I finally "clearanced" the two rail slots with a drill bit and got the screws in. The interesting part is the hole pattern for the back plate is fine. You would think they would duplicate it on the front. But I have to be careful what I wish for. Italy would likely duplicate the front pattern on the back.

I am visiting the States so thought of buying the F5V3 kit, here F5 parts Kit – diyAudio Store , any ideas as to where can I get the JFETs for Q1 and Q2 ?
Where I got mine... Toshiba 2SJ74 + 2SK170 LAB MATCHED QUAD to 0.03mA AND 4mV (7-8ma range) | eBay
I have the two rails flush with the top and bottom of the heat sink. In the picture you can see that even if I slide the top screw to the bottom of the slot the bottom hole will not clear the bottom rail. Plus that puts the bottom of the front well below the bottom of the chassis. Where it is now is even with the bottom. Do I have the rails on incorrectly or something?
bullitt5094, you're definitely on the right track.
All I reckon you need to do is go the wiggle and slide the rails up / faceplate down. My 5U Deluxe had no dramas. The only issue I had was that there was slight misalignment with the Aleph J board that I mounted. Just took a little wiggling and it went together in the end with no major hassle.
Everything is possible , but 'Talians are more famous of making a mess with wires ( in car and mcycles) than with mechanical side of it ...... which is exact experience I have with Modushop products (funny , there are no wires in a box , when I get any of their cases )
Lucas, "prince of darkness", was a British Car thing. So there is that to make the Italians look better.
Again, against all odds, the F5 works great. Totally silent. I'm putting it through some burn-in and listening time. It is a bit ham-strung though because it's being fed with a cigarette pack sized PI micro computer as a Roon end-point on wireless and a portable iFI Micro DAC. But even then, it is very impressive sounding pushing my Ulfberhts. I want to drag my turntable over to it and see how all-analog sounds. But the turntable is the only thing in my system that weighs more than the F5. Well except the 7 ft tall 200lb/Each Ulfs. (Note to self... build the listening room on the first floor of the next house.) And THANKS!! to all who helped and advised me on this build. I needed and appreciated every bit of it. And especially thanks to you Mr. Pass for allowing us to use your designs and supporting the effort. Designs so simple yet so effective. Wonderful engineering. This is a great Hobby and Forum!
Lucas, "prince of darkness", was a British Car thing...
Why do the British drink warm beer?
Because Lucas makes refrigerators too.

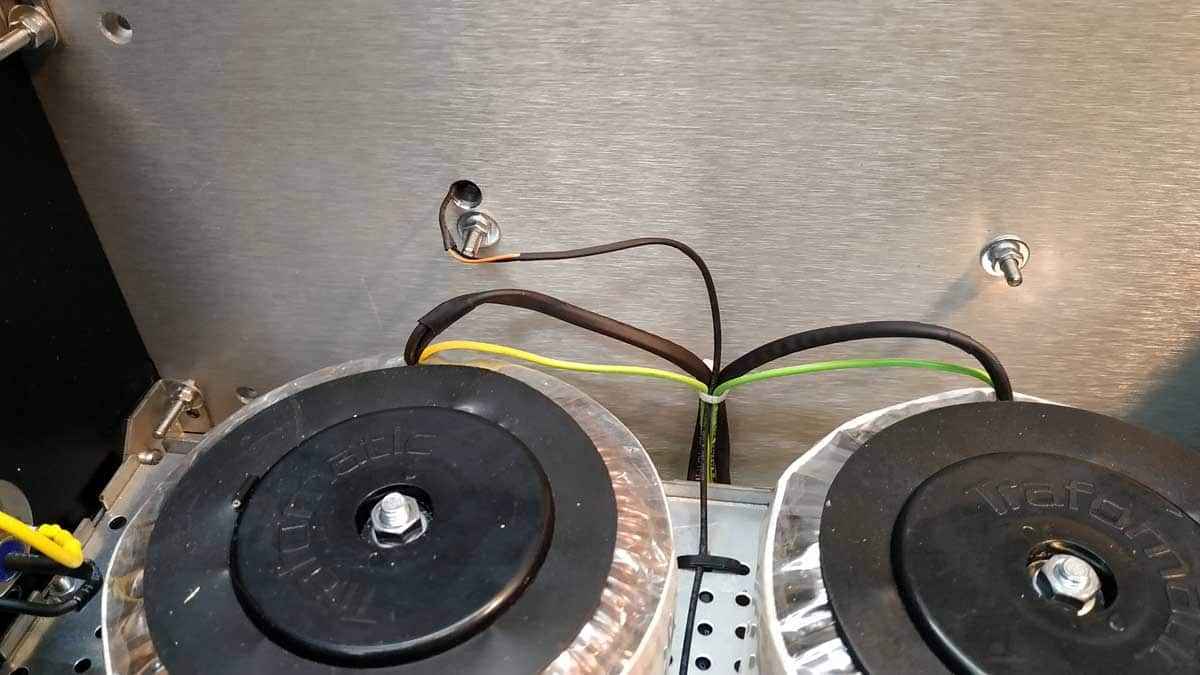
Care to elaborate?avoid touching heatsink or washer
scratched NTC can make a shortie with metal , and that metal is on gnd potential
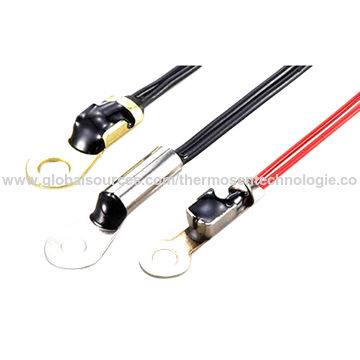
Oh I was taking about these ready made, thermistor eyelet
- Home
- Amplifiers
- Pass Labs
- An illustrated guide to building an F5