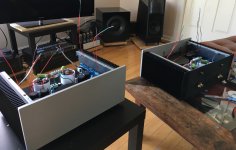
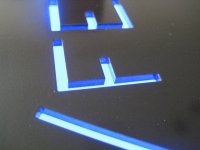
Just wrapped up 2 x F6 beasties. Excellent sounding even at break in~ 90% bias. Going to ramp them up today ")
Had some RIFA/Kemet PEH169 100,000uf caps that needed a home, and they got it.
Had some RIFA/Kemet PEH169 100,000uf caps that needed a home, and they got it.
Attachments

Last edited:
Thanks for the kind words dabenza and Bare,
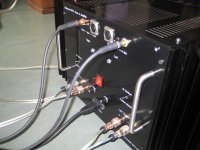
I have a couple large spools of tinned copper braid from prior projects, since total noise,etc is an outcome of an interaction effect, why not? Its DIY. The drain wires are on a lug attached to a screw on the chassis wrapped around the braid on the other side. Big screws in the middle are for ground bridge/0 volt ref attachments.
Only break in I was referring to was in the 24-48hr window: before you get into the nice flat area of the probability of failure inverse bell curve with electronic components. But if someone rear ends my amps, I can't promise they won't blow!
I have a couple large spools of tinned copper braid from prior projects, since total noise,etc is an outcome of an interaction effect, why not?
Its DIY. The drain wires are on a lug attached to a screw on the chassis wrapped around the braid on the other side. Big screws in the middle are for ground bridge/0 volt ref attachments.Only break in I was referring to was in the 24-48hr window: before you get into the nice flat area of the probability of failure inverse bell curve with electronic components. But if someone rear ends my amps, I can't promise they won't blow!
Oh, and in regards to the cold start, I've settled on soft-starting with an aux transformer, ESP is a great resource for this method: Soft-Start Circuit For Power Amps
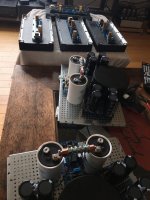
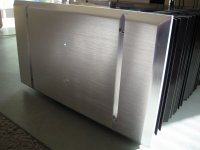
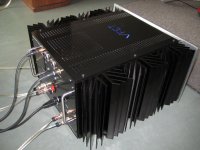
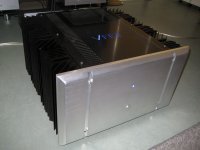
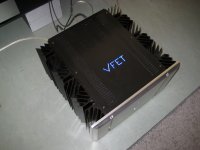
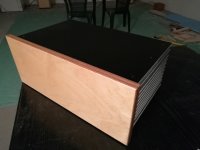
Finally ready!
My balanced VFET-X class A amplifier with 16 VFET's
The making of... you can find in this thread:
VFET-X (or my 1/3 40th Anniversary Sony VFET Clone)
My balanced VFET-X class A amplifier with 16 VFET's
The making of... you can find in this thread:
VFET-X (or my 1/3 40th Anniversary Sony VFET Clone)
Attachments
-
 IMG_6398ww.jpg361.8 KB · Views: 632
 -
 IMG_6385ww.jpg261.2 KB · Views: 455
 -
 IMG_6377ww.jpg298.2 KB · Views: 509
 -
 IMG_6365ww.jpg282.7 KB · Views: 506
 -
 IMG_6361ww.jpg418.8 KB · Views: 418
 -
 IMG_6359ww.jpg387.5 KB · Views: 534
 -
 IMG_6354ww.jpg342.9 KB · Views: 625
 -
 IMG_6353ww.jpg336.4 KB · Views: 618
 -
 IMG_6350ww.jpg273.3 KB · Views: 1,140
 -
 IMG_6349ww.jpg294.1 KB · Views: 1,210
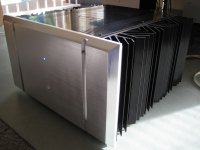
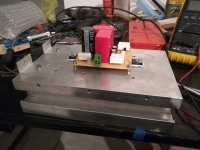
Here are some photos of my recently finished F6, although the photos don't say much about it.
I wouldn't say that!
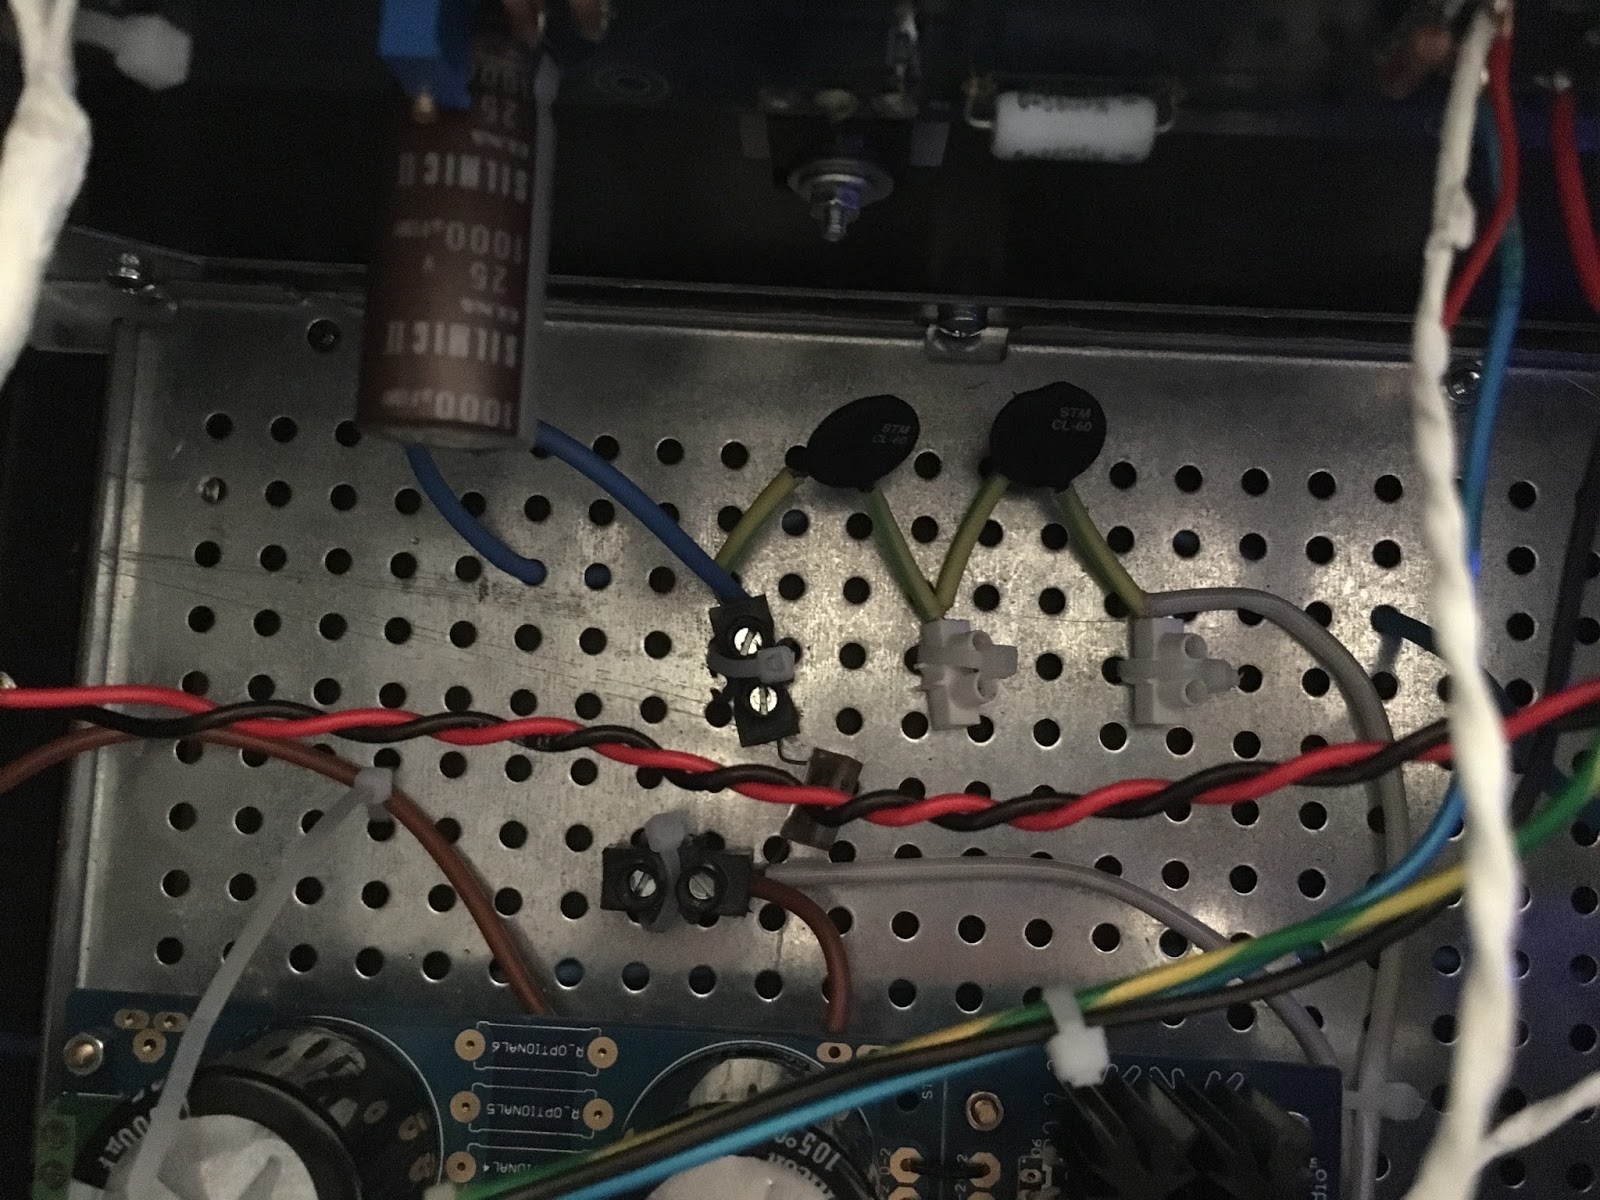
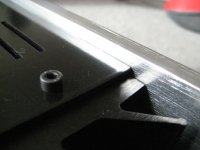
Here you can see the two CL60 I used (I live with 220Vac)
When I saw this, I thought f*?%, that looks dangerous!
PLEASE make it safe, you only get one life, it's not a game, it doesn't reset if you loose.
SIMPLE TRICK when dealing with mains wiring, if you don't have a proper PCB to mount the components and fasten wiring to, use a clean dry piece of wood screwed to the chassis, screw a length of insulated terminal block on top, and use every other terminal for connections to provide adequate insulation, also ancor the wire at the connection, you don't want it shorting out to something if the connection brakes.
The CL60's get hot in use, bend the CL60's to a vertical position - away from the wood, it's also the best orientation for cooling.
Talking of shorting out, the blue wire dissapearing into the chassis - DO NOT DO THIS, its carrying mains voltage; vibration could cut through the insulation, you don't want that to happen; and it's also good practice to twist the mains & transformer primary and secondary wire pairs together, don't over do it, one complete twist per 3cm is more than adequate, then give the wires a second coat of insulation, heatshrink is ideal (I use it unshrunk - if it shrinks, theres a heat problem), spiral wrap insulation or nylon braid can be used, it's better tha nothing.
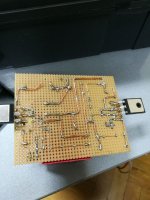
This is my first electronic construction. I have absolutely no experience on electronics
For a first time builder with no experiance, I take my hat of to you sir.
Finally ready!
My balanced VFET-X class A amplifier with 16 VFET's
The making of... you can find in this thread:
VFET-X (or my 1/3 40th Anniversary Sony VFET Clone)
Nice one Walter
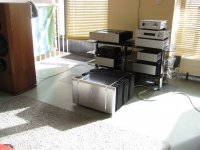
Pass Zen Amplifier var. 2
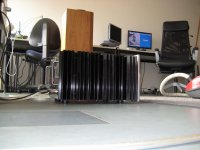
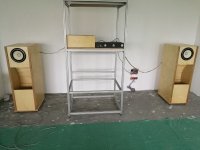
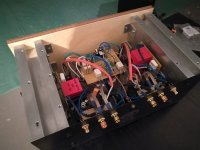
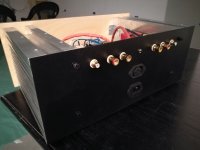
Just finished Zen amplifier with aleph current source without feedback. Power supply is C-L-C (33000uF-1,5mH-33000uF). Output transistors is irfp044 and bias is set at 2A. Finaly, amplifier is paired with older "brother" Balanced Zen Line Stage, and Fostex FE208E Sigma speakers.
Just finished Zen amplifier with aleph current source without feedback. Power supply is C-L-C (33000uF-1,5mH-33000uF). Output transistors is irfp044 and bias is set at 2A. Finaly, amplifier is paired with older "brother" Balanced Zen Line Stage, and Fostex FE208E Sigma speakers.
Attachments

I wouldn't say that!
When I saw this, I thought f*?%, that looks dangerous!
PLEASE make it safe, you only get one life, it's not a game, it doesn't reset if you loose.
SIMPLE TRICK when dealing with mains wiring, if you don't have a proper PCB to mount the components and fasten wiring to, use a clean dry piece of wood screwed to the chassis, screw a length of insulated terminal block on top, and use every other terminal for connections to provide adequate insulation, also ancor the wire at the connection, you don't want it shorting out to something if the connection brakes.
The CL60's get hot in use, bend the CL60's to a vertical position - away from the wood, it's also the best orientation for cooling.
Talking of shorting out, the blue wire dissapearing into the chassis - DO NOT DO THIS, its carrying mains voltage; vibration could cut through the insulation, you don't want that to happen; and it's also good practice to twist the mains & transformer primary and secondary wire pairs together, don't over do it, one complete twist per 3cm is more than adequate, then give the wires a second coat of insulation, heatshrink is ideal (I use it unshrunk - if it shrinks, theres a heat problem), spiral wrap insulation or nylon braid can be used, it's better tha nothing.
For a first time builder with no experiance, I take my hat of to you sir.
I want to add that those "Euro-Block" connectors are dangerous with stranded wire unless you put a crimp end on the wire. I used them in my Aleph J and it arced, burning the terminal strip. Fortunately it arced to open rather than to ground and didn't start a fire. The terminals were nearly burned/melted into contact with the chassis. I recommend the barrier strip type of terminal blocks with crimp terminals and insulation to prevent accidental contact with mains voltage or at least a crimp cap on stranded wire if you must use those terminal blocks.
- Home
- Amplifiers
- Pass Labs
- Pictures of your diy Pass amplifier