critofur said:
I'm thinking of building a pair of "Elsinores" - except - using these woofers as the upper two:
<snip>
I imagine the crossover change will not be too difficult, cabinet will have to be modified some, should be fun
To really cut costs, I might try these tweeters instead of the HDS:
<snip>
Yes - I know it wouldn't be fair to call them Elsinores anymore at that point - but, who knows, might turn out well?
You are right, Elsinore they would not be, if built this way. But, not to discourage innovation and experimentation you may want to start a new thread for your speaker.
Good luck.
Hello all,
I thought I might post some pictures from my "work in progress" build of the Elsinores.
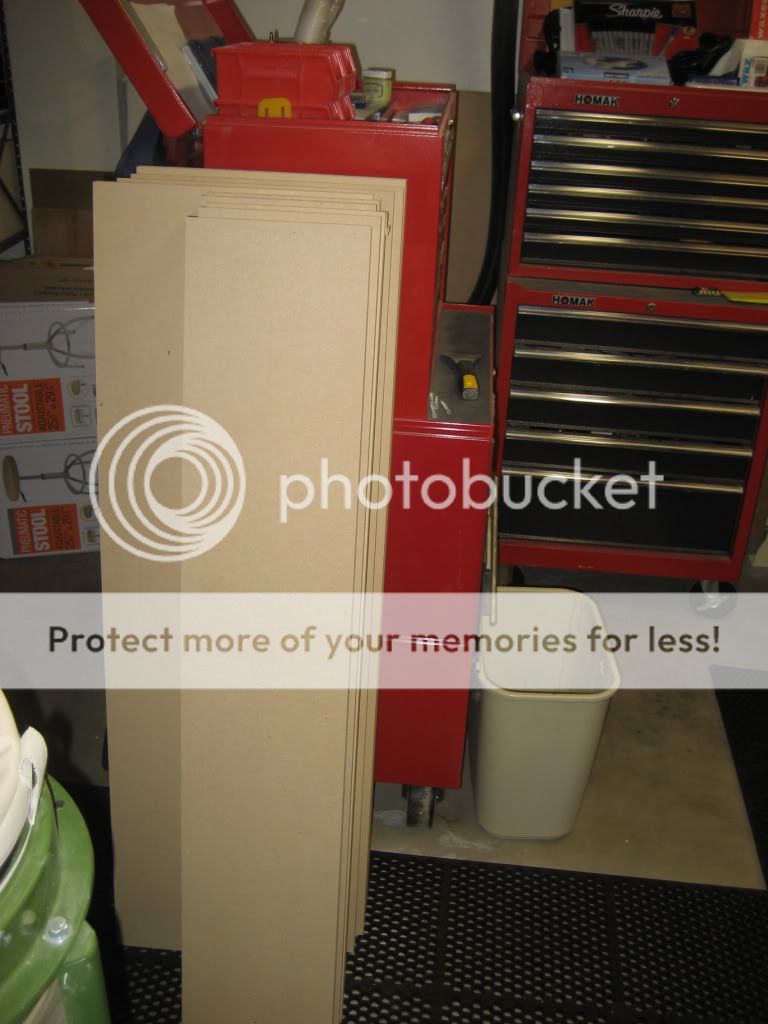
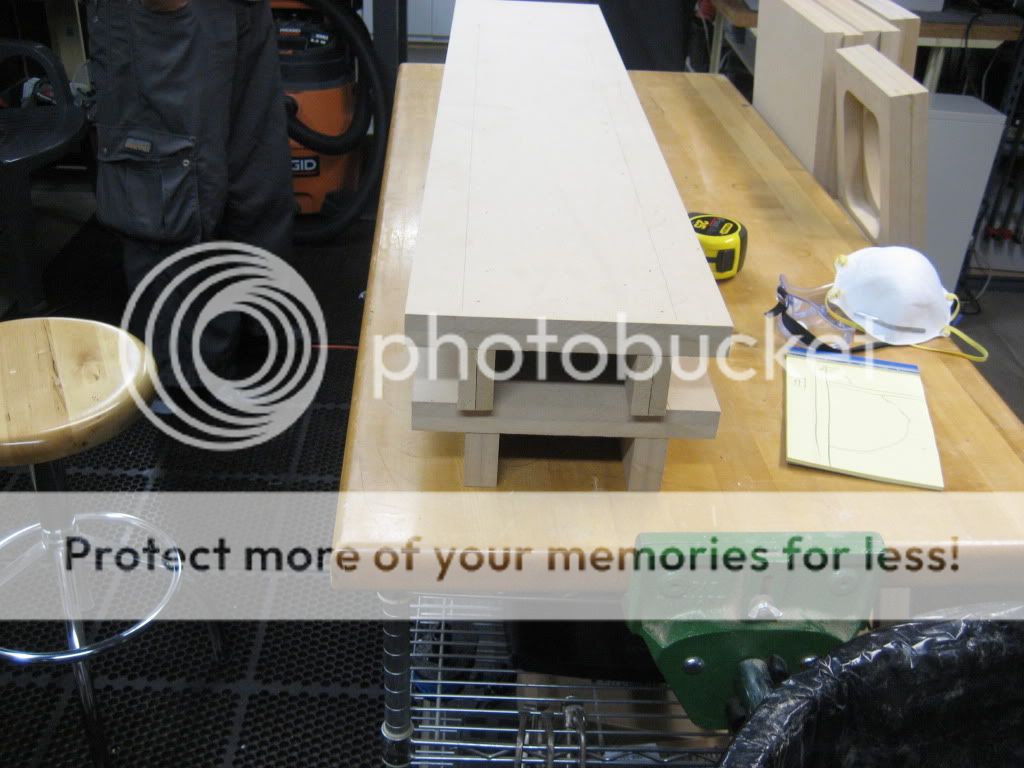
First, 1 inch (25mm) thick mdf is hard to come by, so I had to buy several sheets of 1/2" (12.5mm) MDF from Home Depot and glue them together.
Lots of Glue:
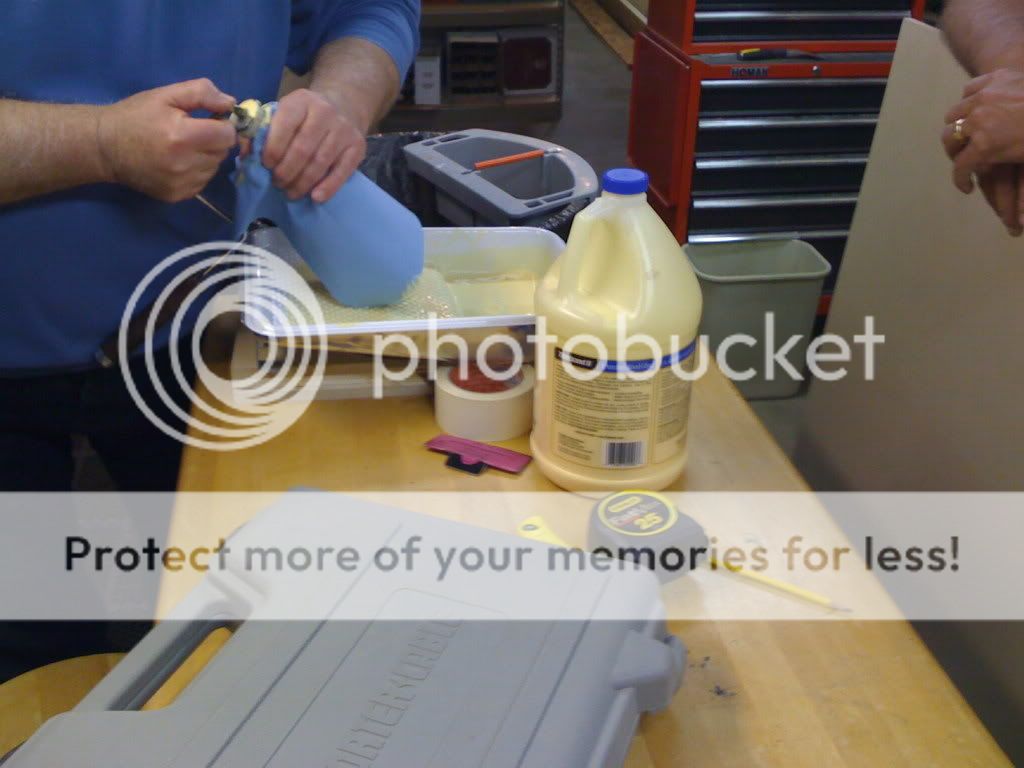
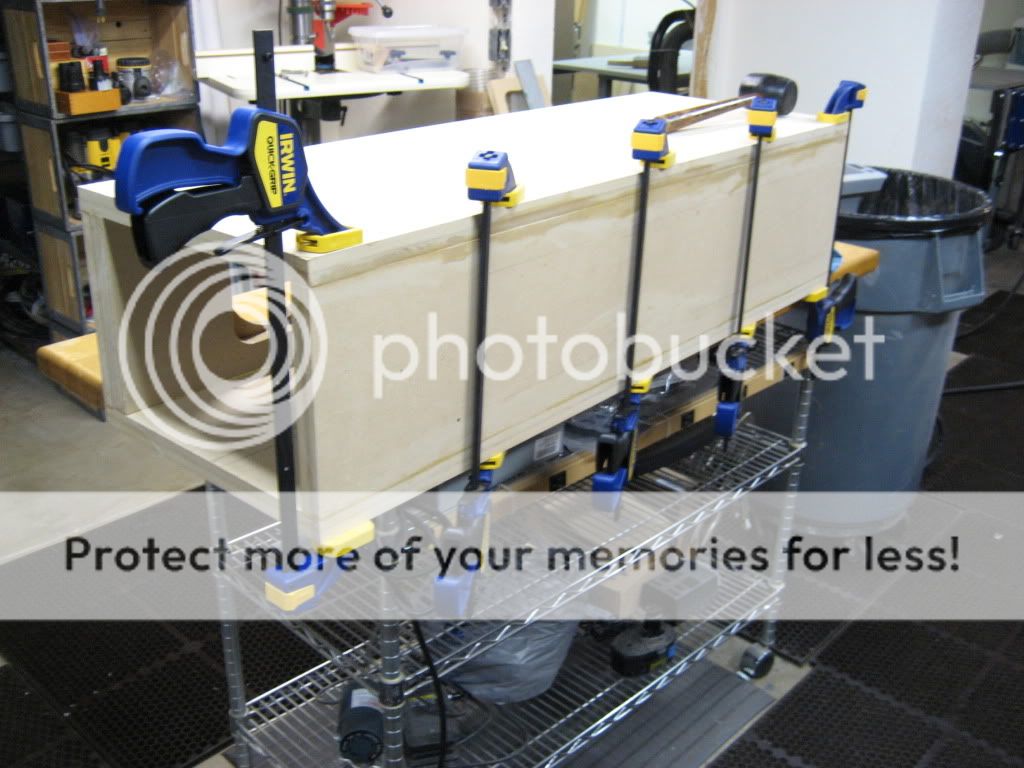
Lots of Clamps!
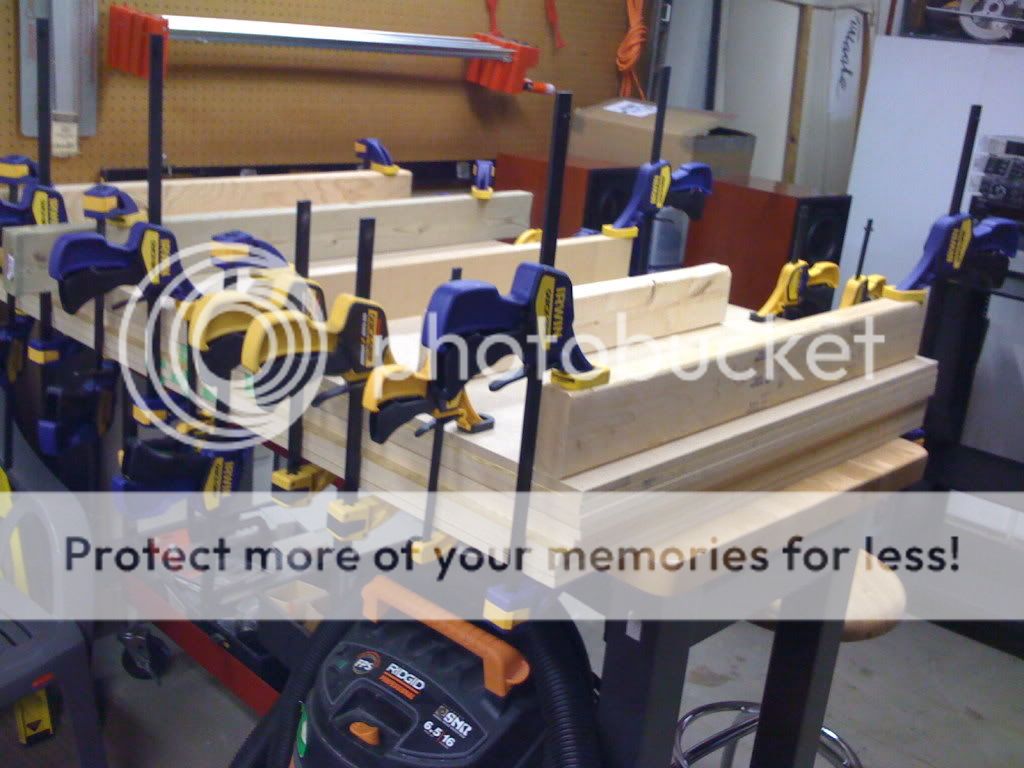
Lots of clamps and a great set of tools courtesy of ThomasW (who is an active poster and a moderator over on Hometheatertalk). The tools are great, but Thomas' guidance and expertise was by far the most valuable part of this whole project.
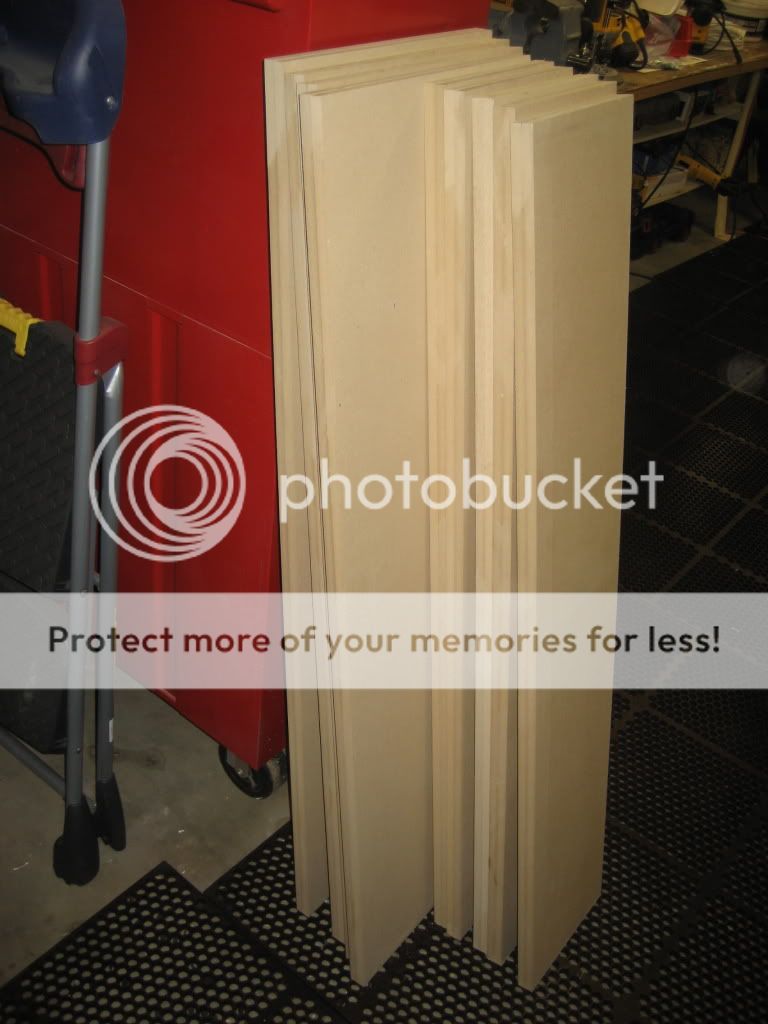
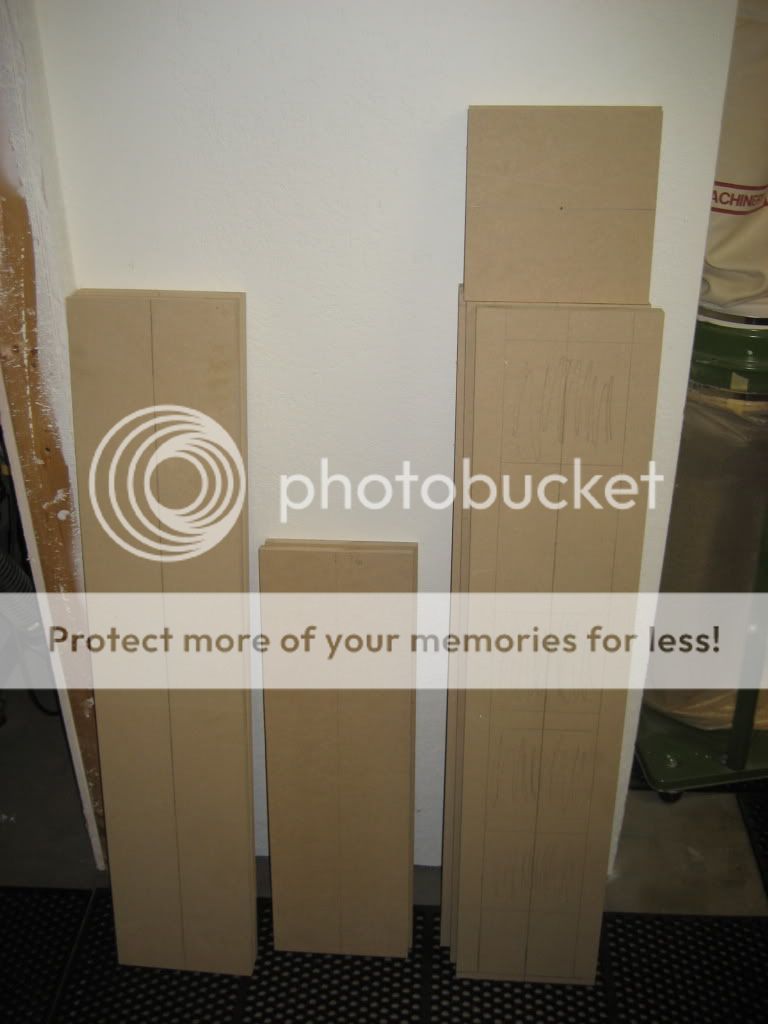
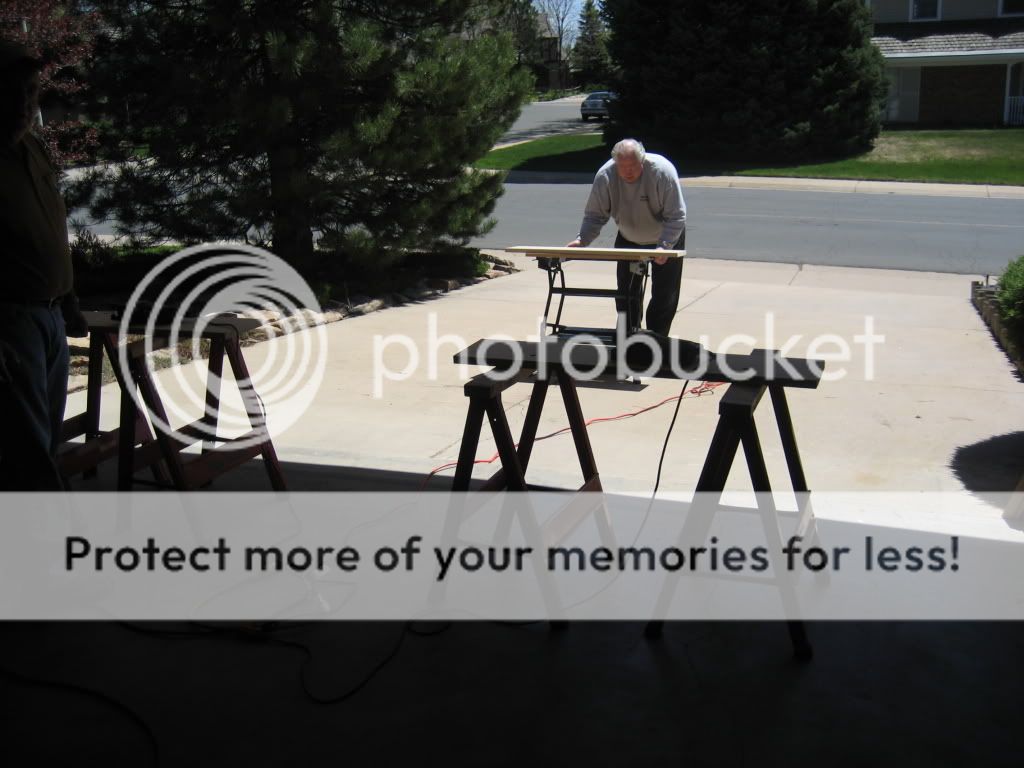
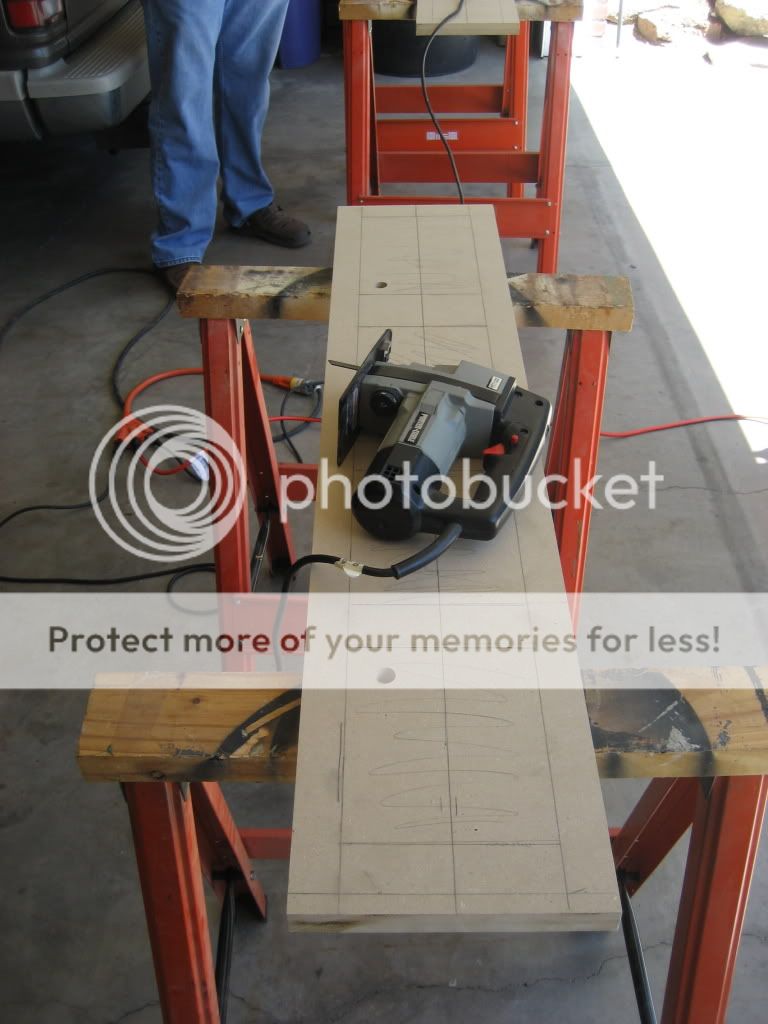
Next day, time to start cutting them to size, courtesy of these saws:
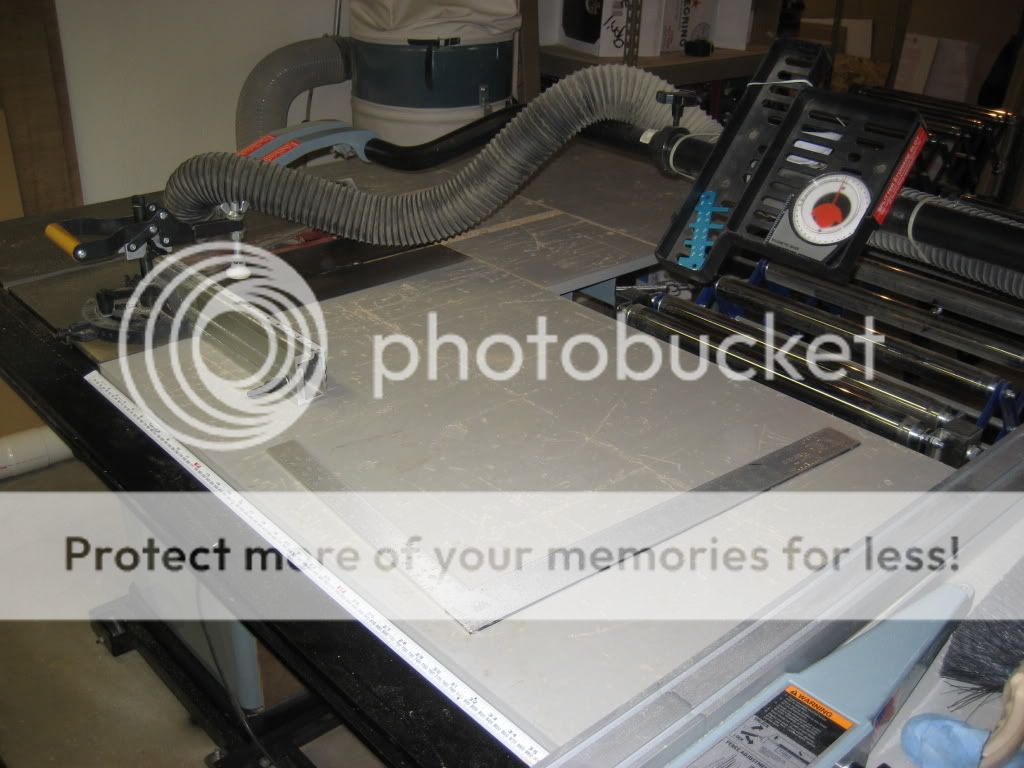
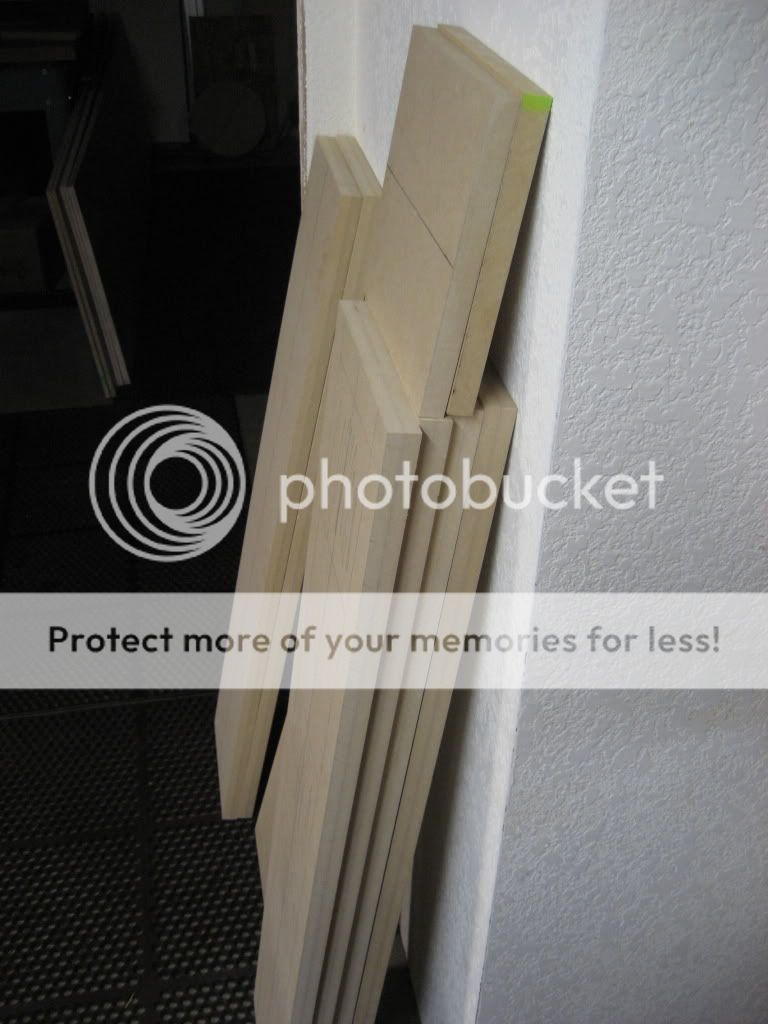
and
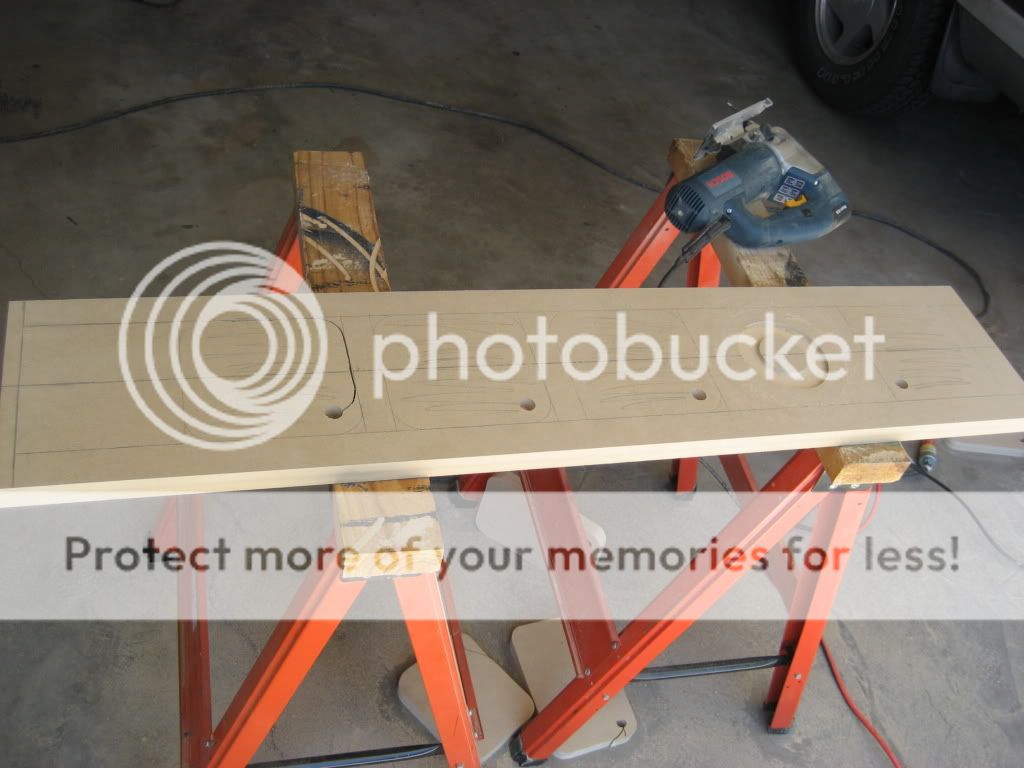
and the first pass:
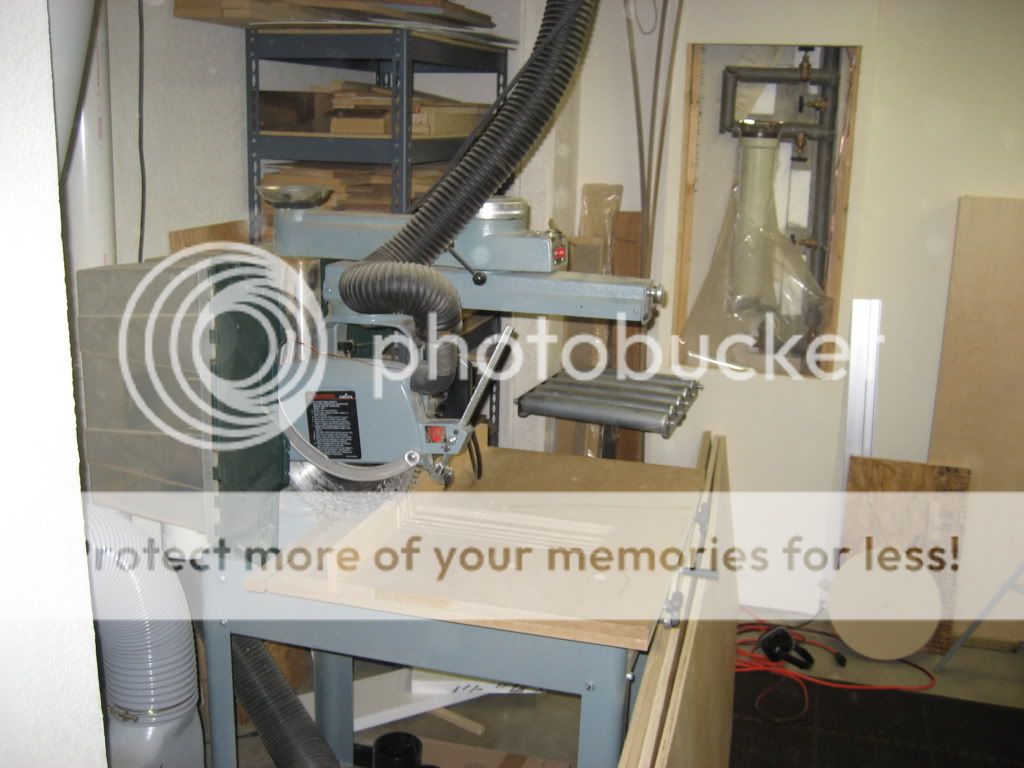
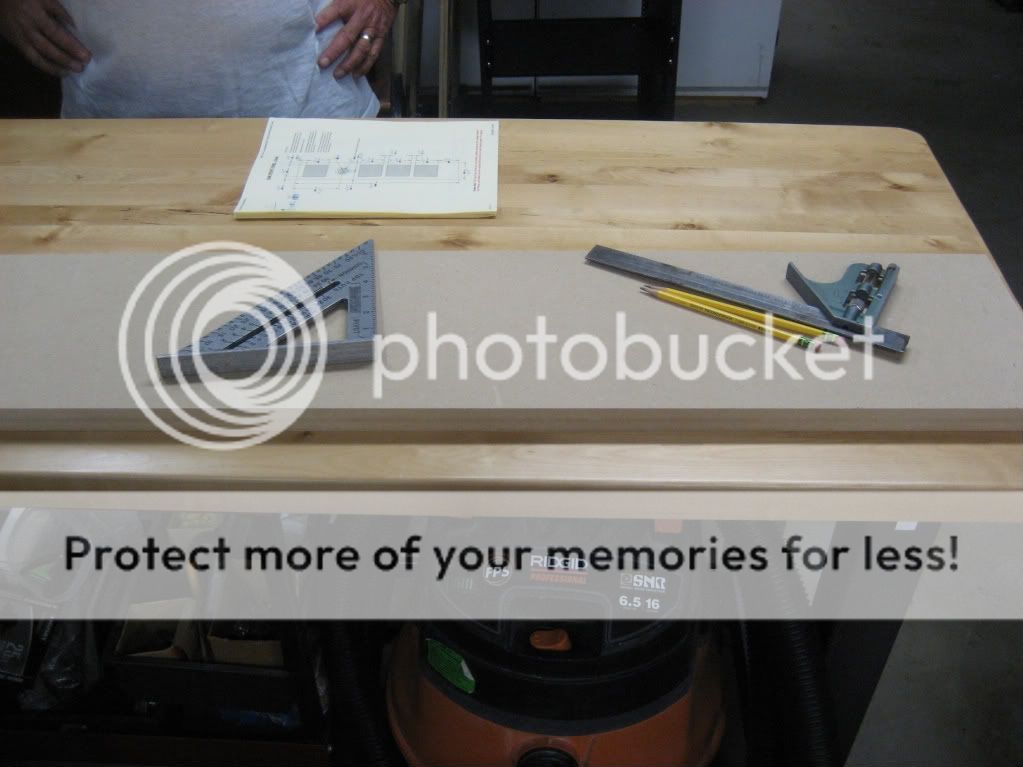
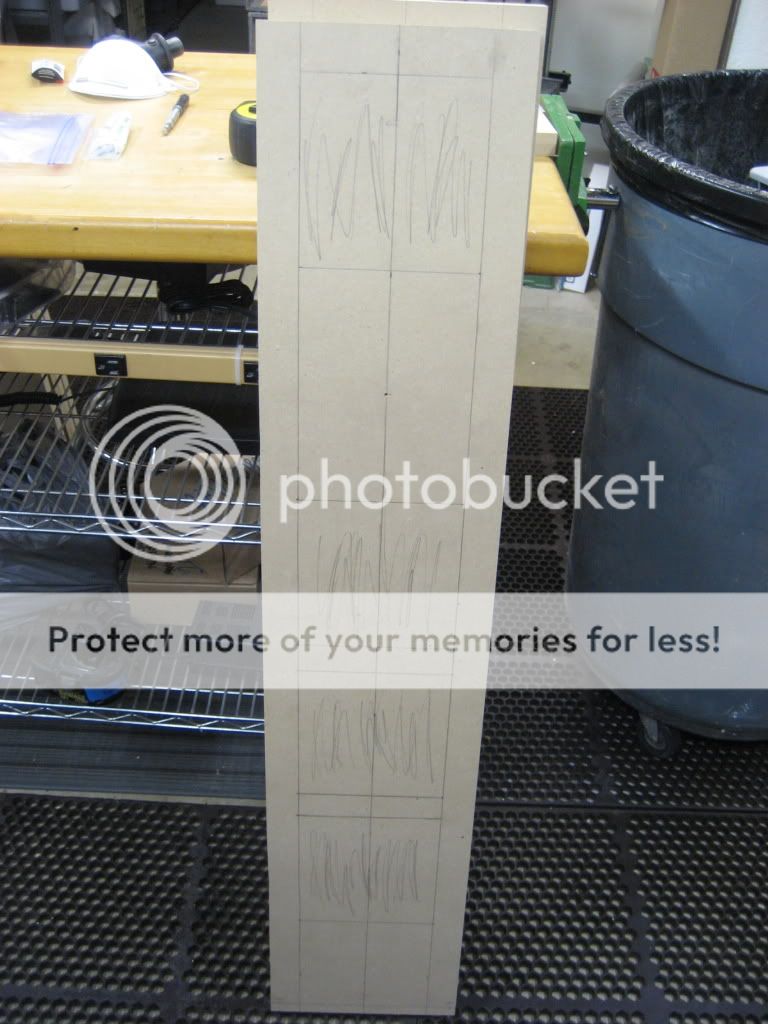
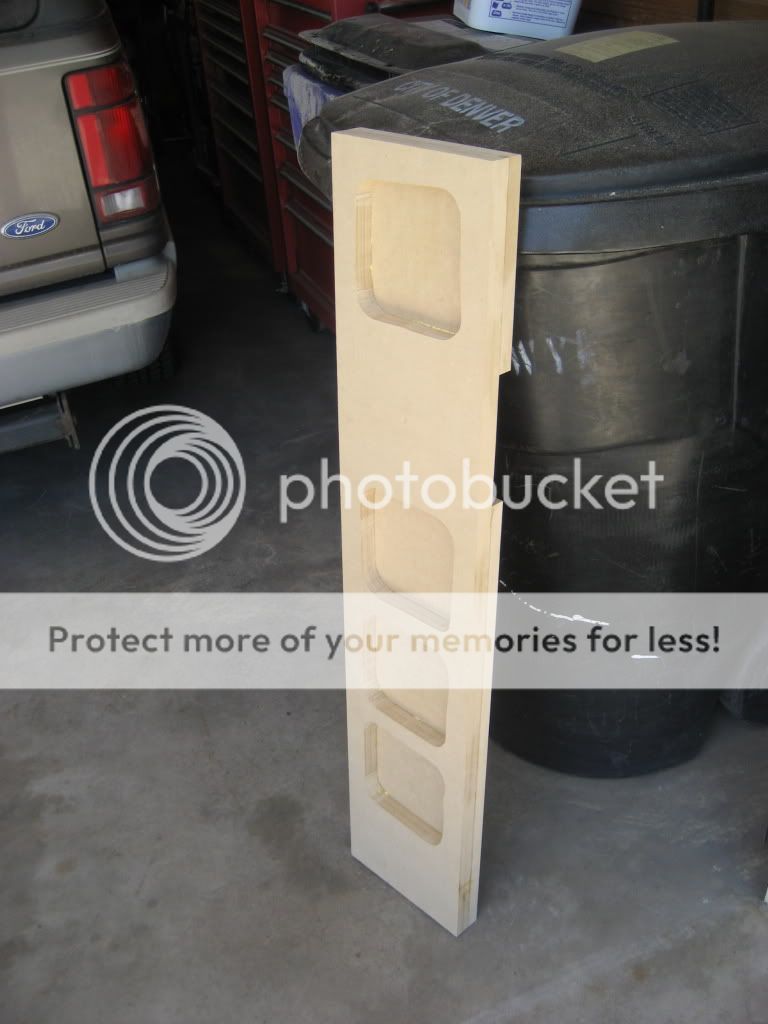
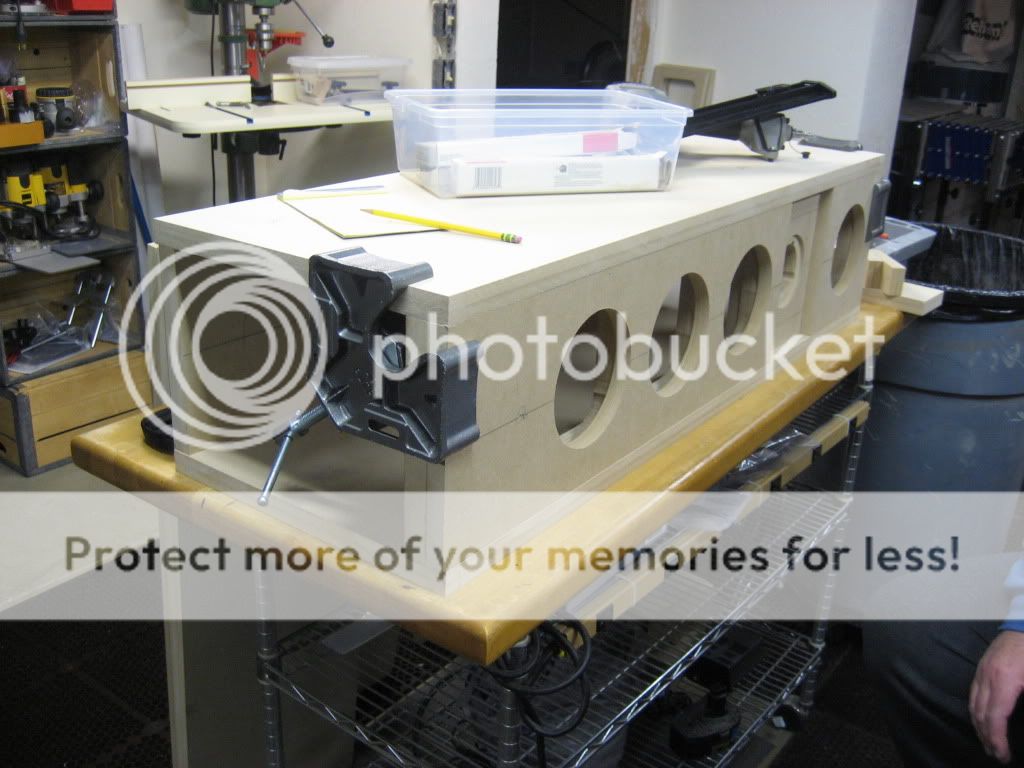
Now, time to start drafting!! This is where Thomas' experience REALLY kicks in, I would have severely screwed this up if I'd been doing it on my own, but with his guidance it was a snap:

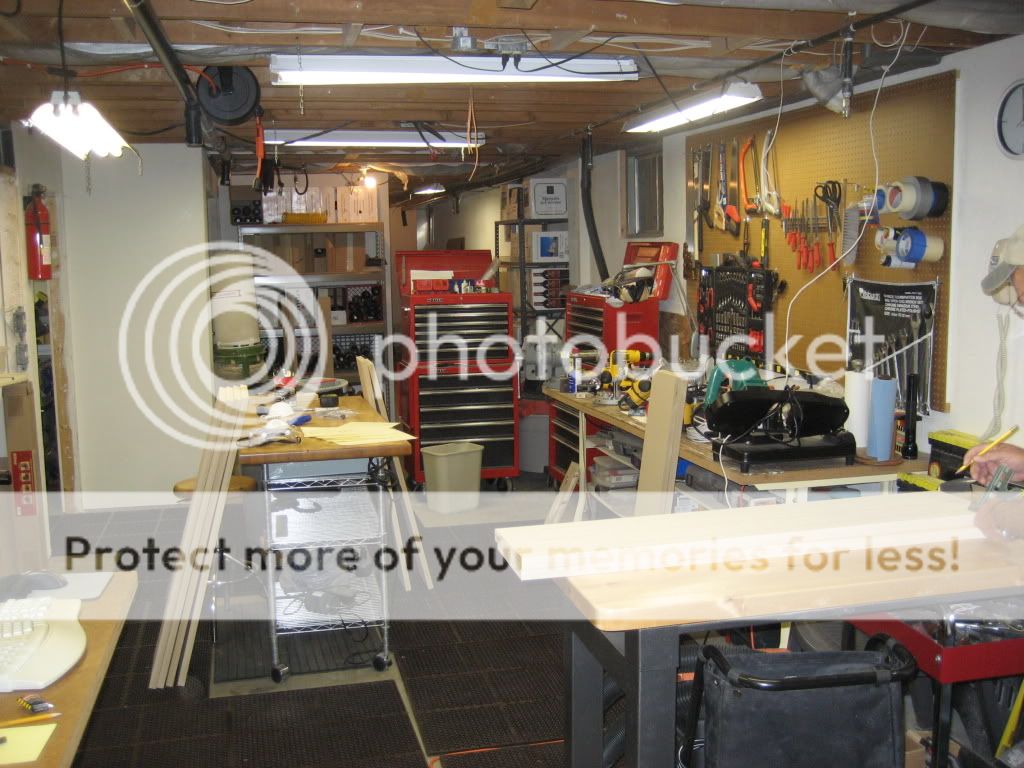
Pic of the workspace in Thomas' basement:
I thought I might post some pictures from my "work in progress" build of the Elsinores.
First, 1 inch (25mm) thick mdf is hard to come by, so I had to buy several sheets of 1/2" (12.5mm) MDF from Home Depot and glue them together.
Lots of Glue:
Lots of Clamps!
Lots of clamps and a great set of tools courtesy of ThomasW (who is an active poster and a moderator over on Hometheatertalk). The tools are great, but Thomas' guidance and expertise was by far the most valuable part of this whole project.
Next day, time to start cutting them to size, courtesy of these saws:
and
and the first pass:
Now, time to start drafting!! This is where Thomas' experience REALLY kicks in, I would have severely screwed this up if I'd been doing it on my own, but with his guidance it was a snap:
Pic of the workspace in Thomas' basement:
One more question, I bought a pair of flared ports from parts express, they are 95mm interior diameter. How long should they be cut down to in order to tune the box properly?
The construction drawings indicate the port should be 90mm wide and 80mm long. Since mine is 95mm wide, should I make it 85mm long to compensate?
The construction drawings indicate the port should be 90mm wide and 80mm long. Since mine is 95mm wide, should I make it 85mm long to compensate?
Tyson said:First, 1 inch (25mm) thick mdf is hard to come by, so I had to buy several sheets of 1/2" (12.5mm) MDF from Home Depot and glue them together.
As long as there are no pockets laminated 1/2" will be better than 1". 1/2" MDF & 1/2" Baltic Birch would be even better.
dave
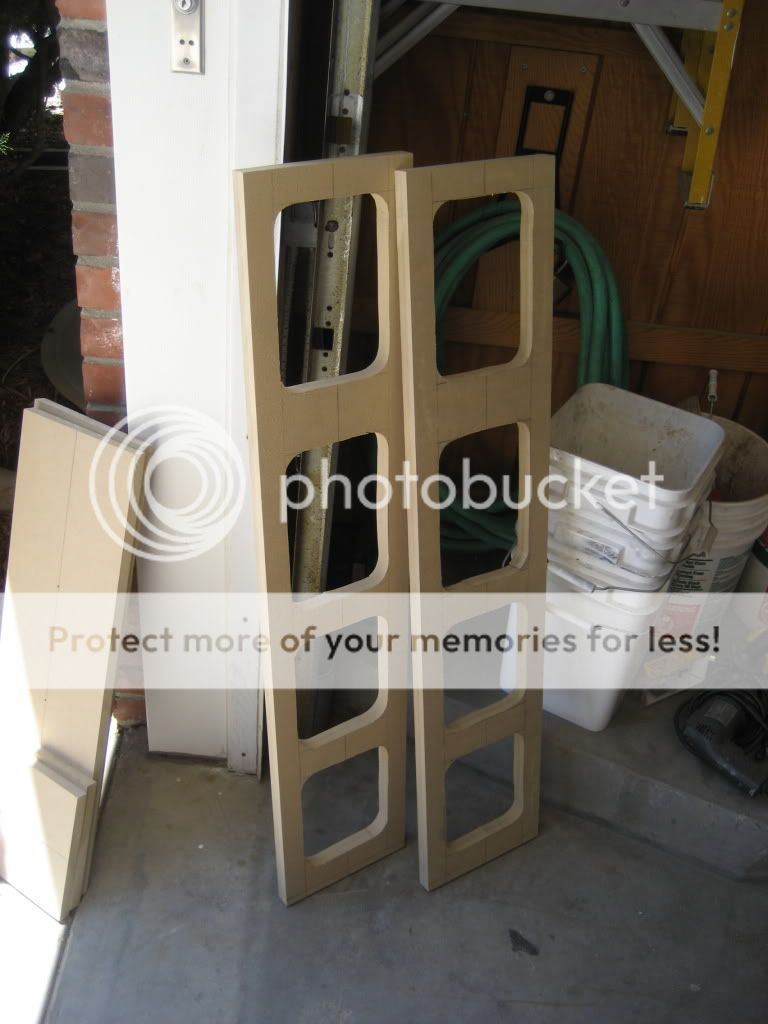
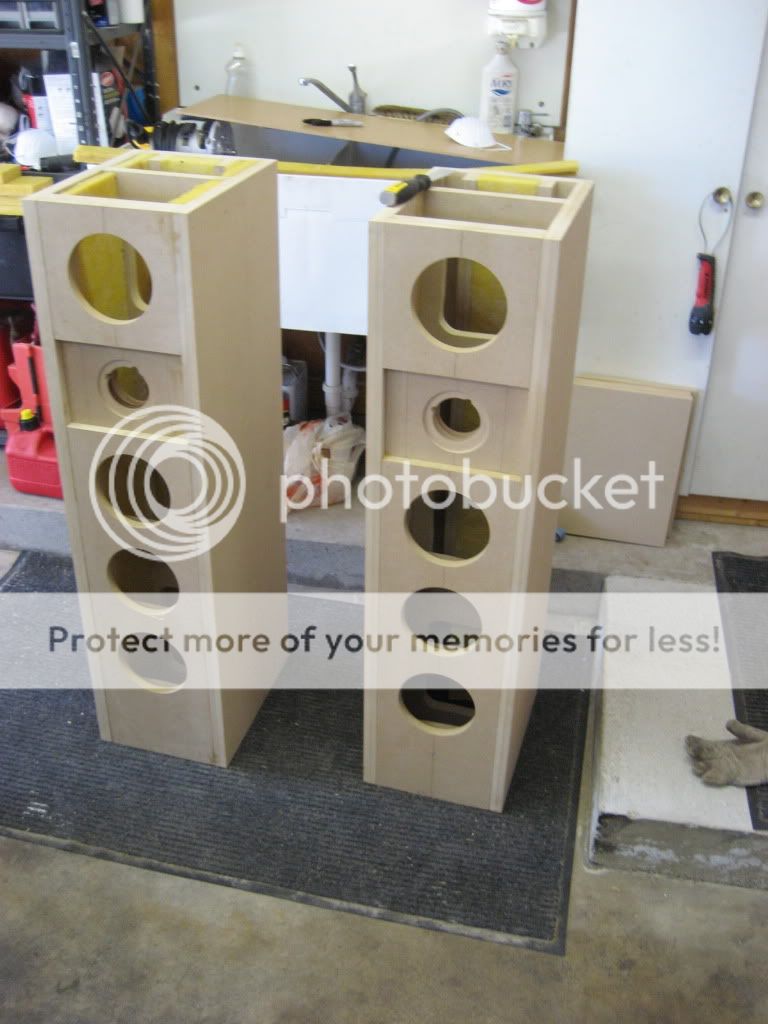
Things are moving along, here's the latest in the build.
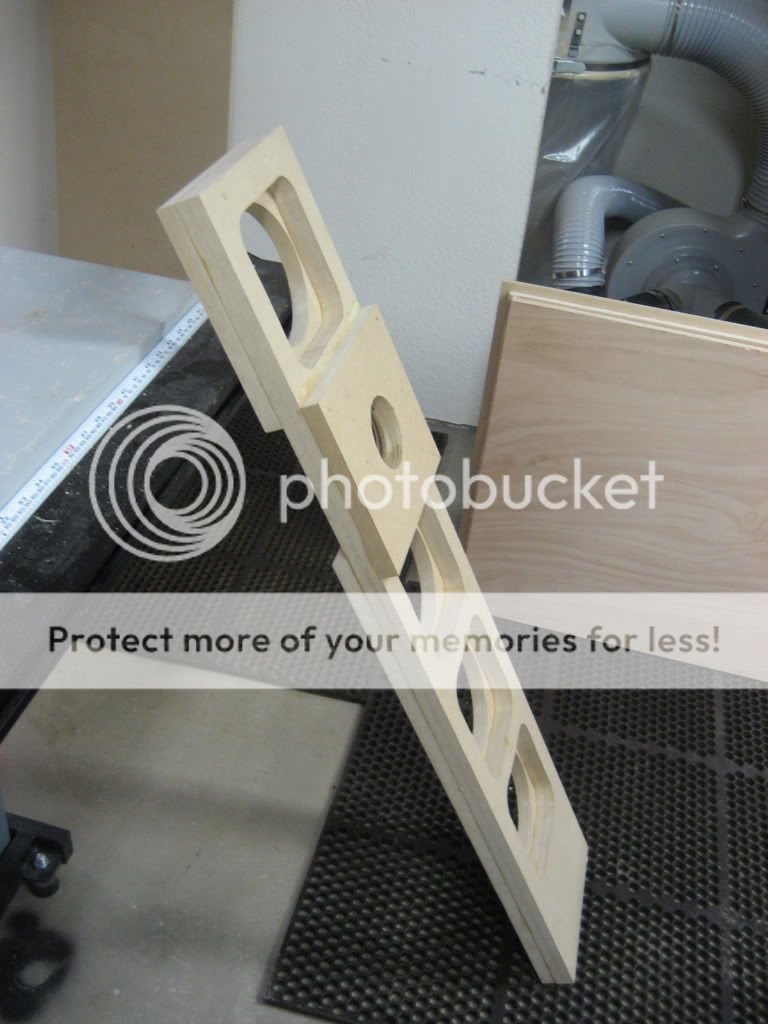
Got the braces installed on the rear panels:
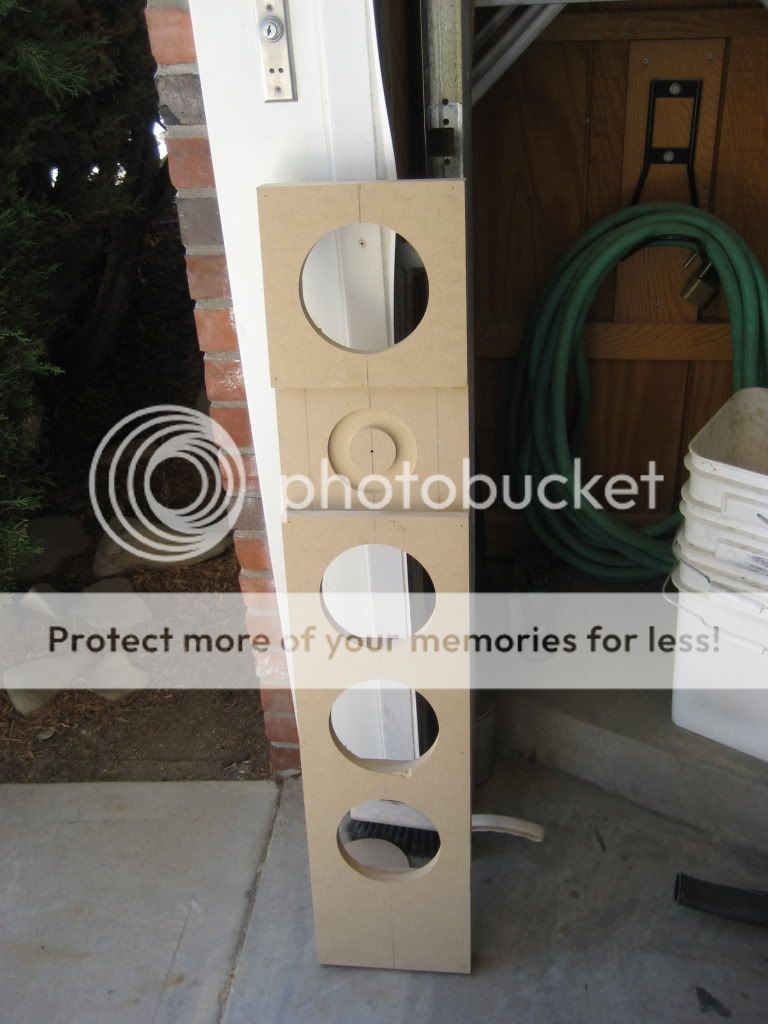
And the "stiffening panel" behind the tweeter. Since the tweeter is sealed (not vented), we'll put another board on the back to completely isolate the tweeter from the mid/bass soundwaves.
Sanding out the tweeter leads:
CLAMPS!
Even cooler clamps:
and:

and:
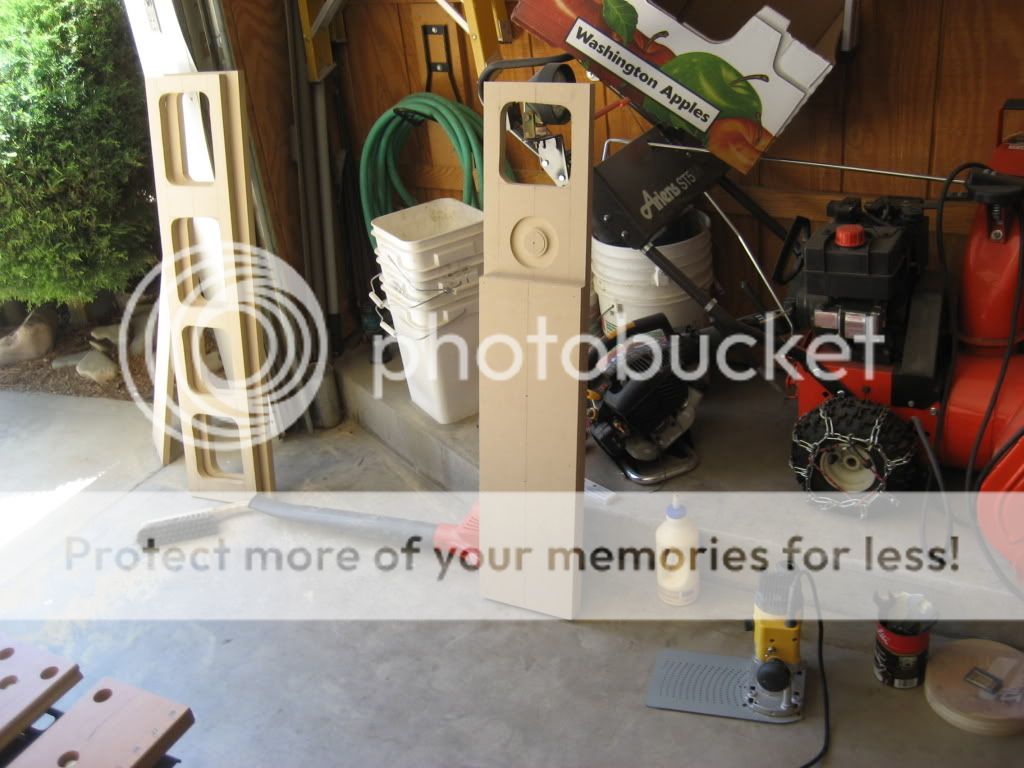
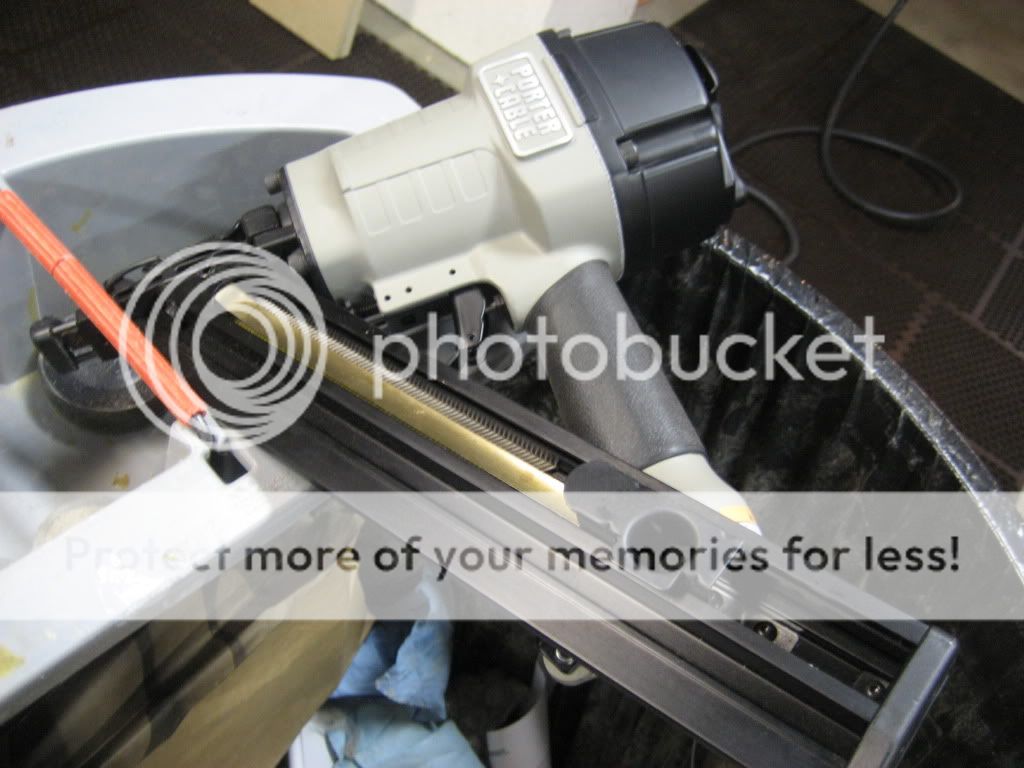
The manly nail gun we used to lock down each side and the mid brace while the glue sets:
Yes, it really is that insane:
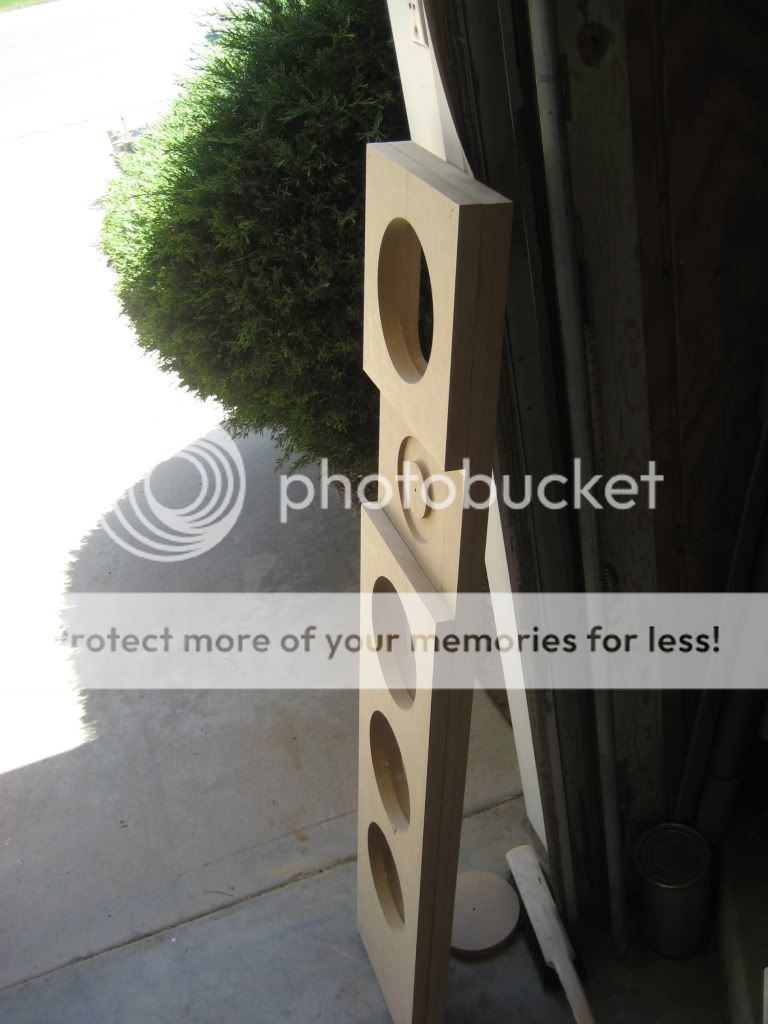
ALMOST DONE:
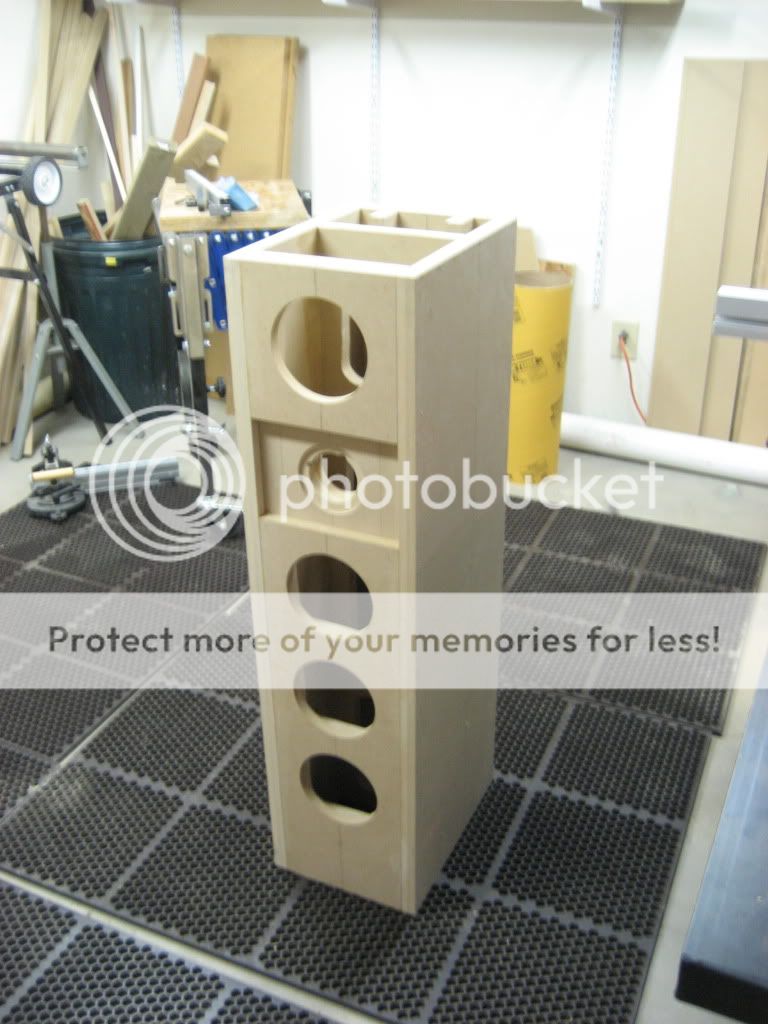
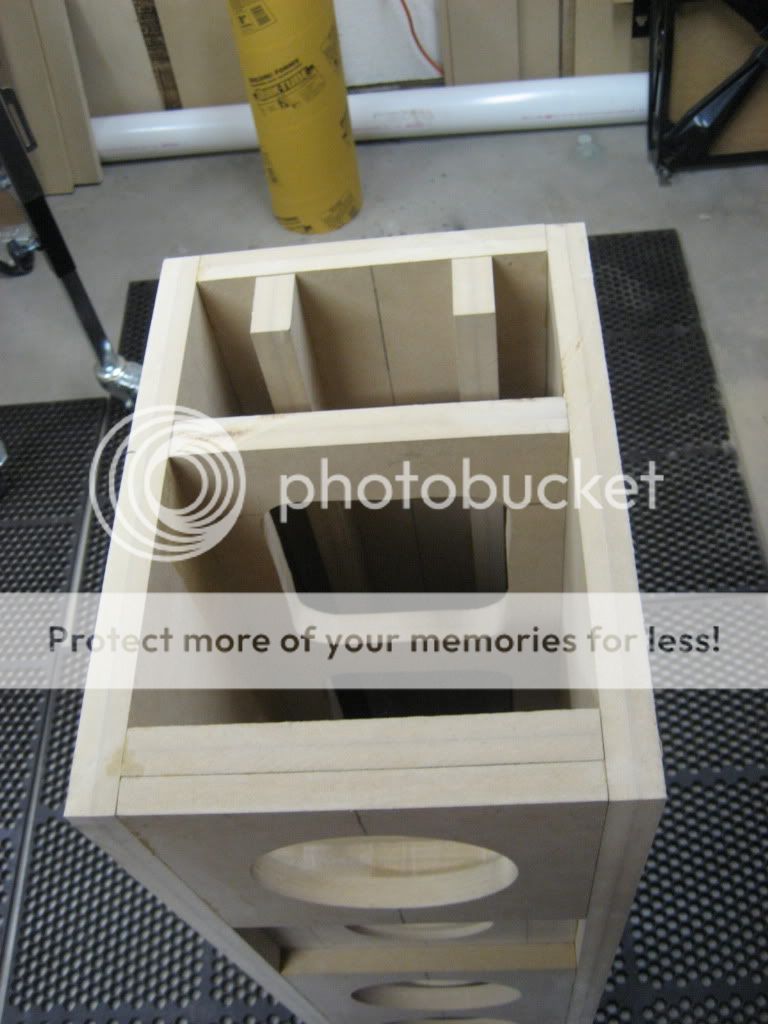
Got the braces installed on the rear panels:
And the "stiffening panel" behind the tweeter. Since the tweeter is sealed (not vented), we'll put another board on the back to completely isolate the tweeter from the mid/bass soundwaves.
Sanding out the tweeter leads:
CLAMPS!
Even cooler clamps:
and:
and:
The manly nail gun we used to lock down each side and the mid brace while the glue sets:
Yes, it really is that insane:
ALMOST DONE:
He is using Canon PowerShot SD630.
I draw your attention to the next program:
http://www.photome.de/
Gyuri
I draw your attention to the next program:
http://www.photome.de/
Gyuri
Hi Joe,
Thanks, that means a lot coming from you. Gyuri is exactly right, I'm using a fairly inexpensive Canon made a couple of years ago. I find that taking technically good photos is less challenging than finding interesting visual ways to present the subjects.
One thing you should mention in your description is how solid and HEAVY these speakers are! Even with none of the drivers installed I had a very hard time lifting one. And I'm not a whimp, I helped a friend carry some VMPS RM40's up a flight of stairs last night (they are almost 6 feet tall and 250 pounds each). The Elsinores are stout!
Here are some shots of the Elsinore's. Just waiting on the felt to arrive, and still need to bolt in the speaker spikes (i hope they handle the weight!).
An externally hosted image should be here but it was not working when we last tested it.
An externally hosted image should be here but it was not working when we last tested it.
An externally hosted image should be here but it was not working when we last tested it.
An externally hosted image should be here but it was not working when we last tested it.
Those look awesome, great veneer work! I hope mine turn out that well.
Speaking of felt, I was wanting to try something - namely, using a felt of different density for each of the 2 layers. I want to use a fairly dense, wool based felt for the bottom layer, and a less dense, more synthetic felt for the top layer. I believe this will help spread the affect of the felt over a broader range than a uniform density would. Thoughts?
Speaking of felt, I was wanting to try something - namely, using a felt of different density for each of the 2 layers. I want to use a fairly dense, wool based felt for the bottom layer, and a less dense, more synthetic felt for the top layer. I believe this will help spread the affect of the felt over a broader range than a uniform density would. Thoughts?
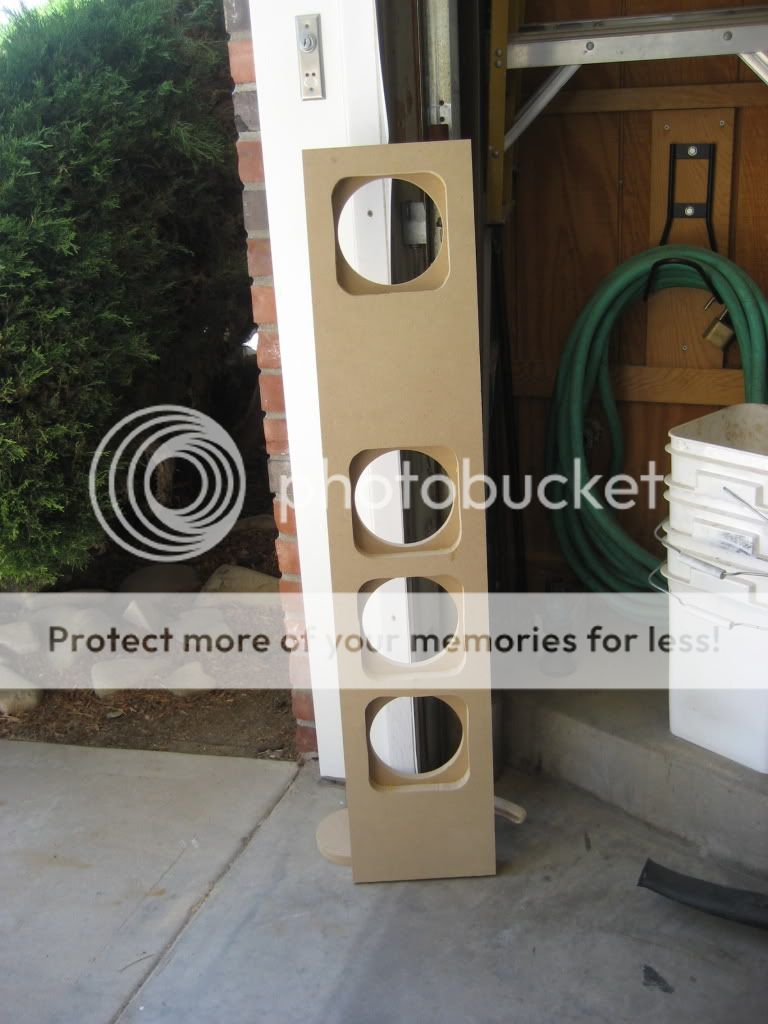
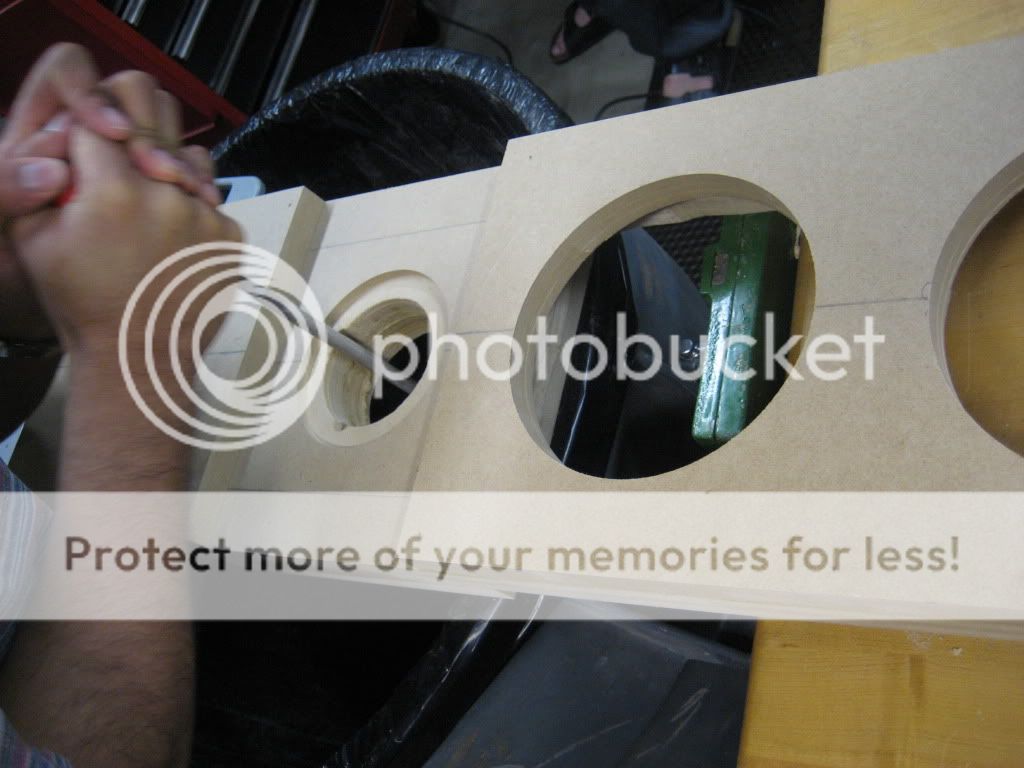
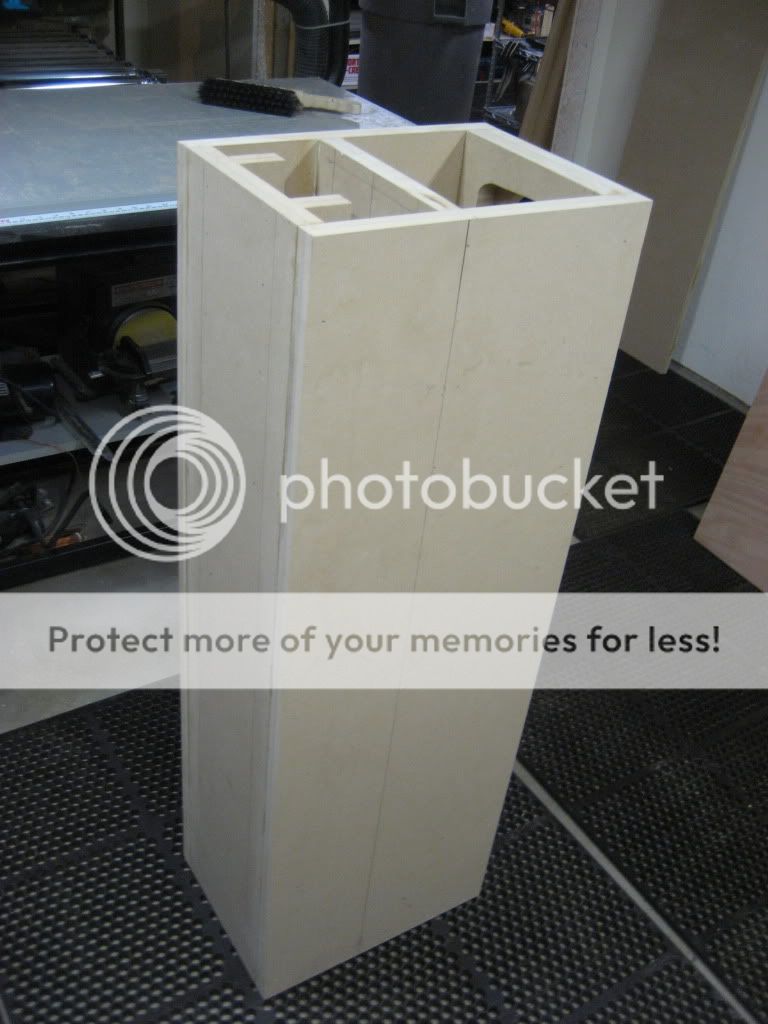
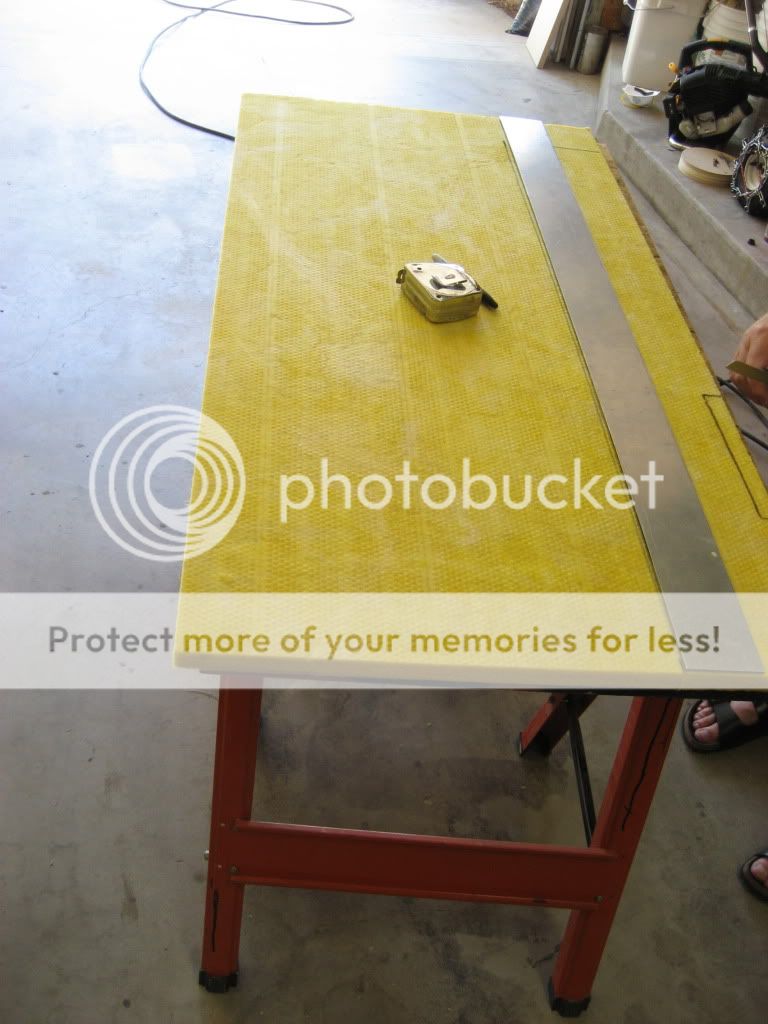
Yesterday we form-cut and installed the stiff board fiberglass in the speakers. Stiff board fiberglass was much, much better to work with than loose fiberglass or other "floppy" materials that you have to glue down or leave "floating". This stuff just got cut to shape, then friction fit to the different areas. It's in there pretty tight!
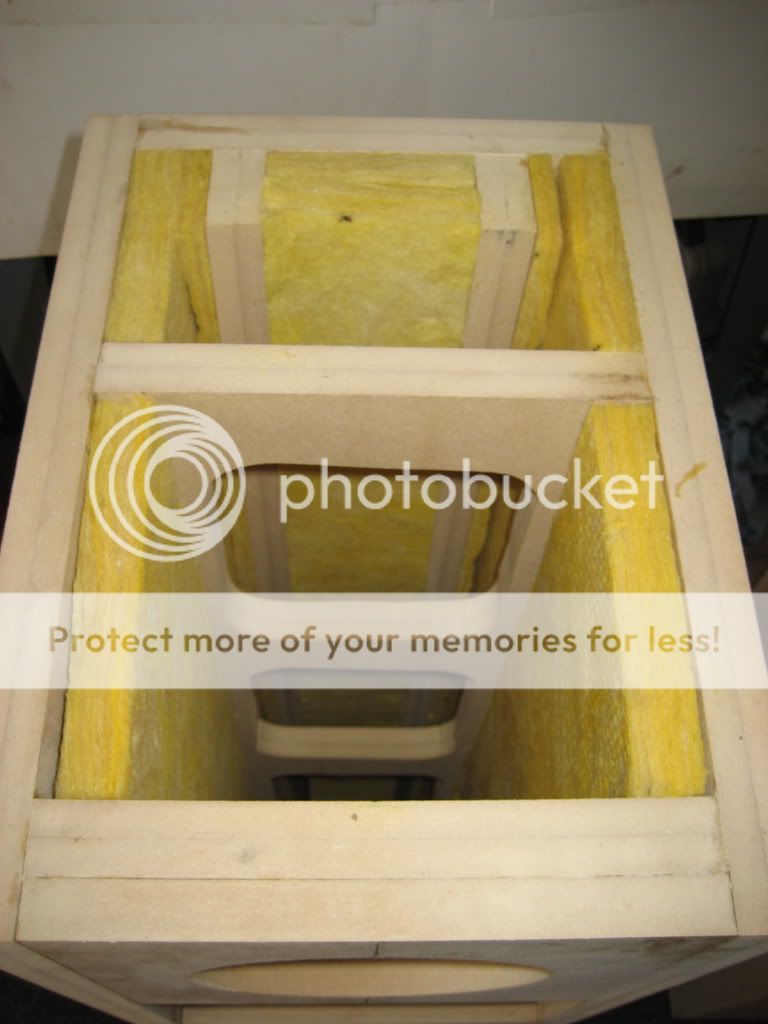
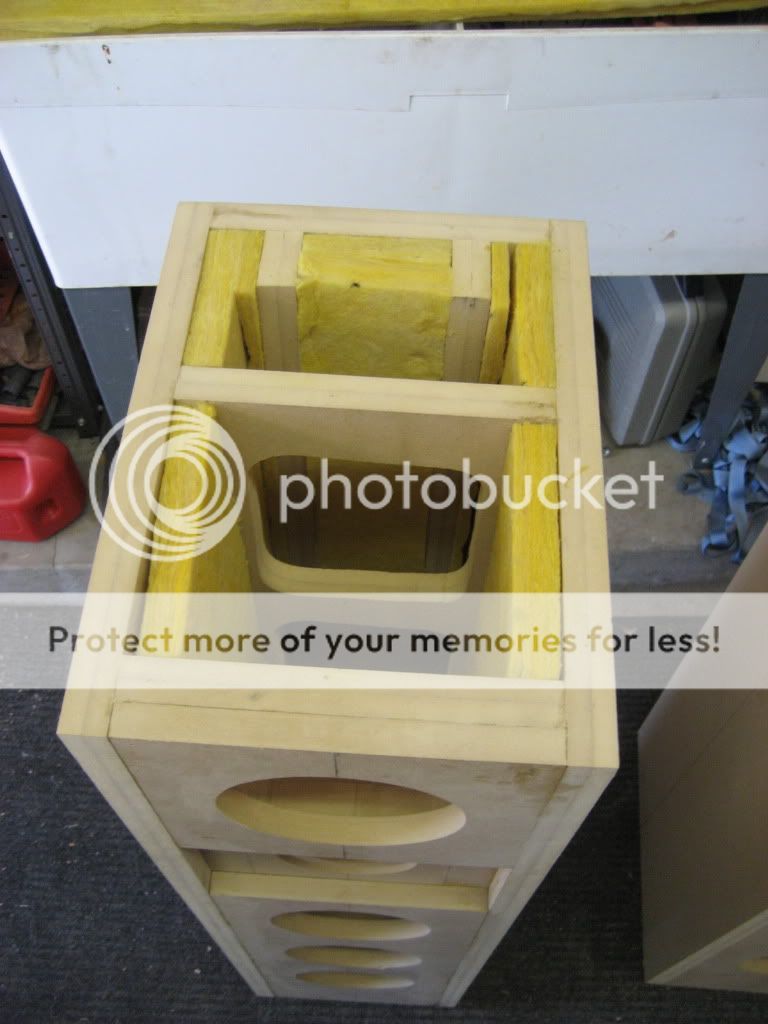
Now, all that's left is for the ports to get here so we can cut that out, clear the sawdust, attach the top and bottom of the cabinet, and install the drivers! Should be done in the next few days")
Now, all that's left is for the ports to get here so we can cut that out, clear the sawdust, attach the top and bottom of the cabinet, and install the drivers! Should be done in the next few days
can anyone suggest a nice diy amp that runs nicely with the elsinore speakers? Not only tube, but also in solidstate etc. I have no idea how these speakers respond to various amp types, so please inform me. Also, atm i would be looking at a relatively non expensive route as i intend to build an amp first, then later maybe the speakers, and further on another amp. But all comments welcome
beauistheman said:can anyone suggest a nice diy amp that runs nicely with the elsinore speakers? Not only tube, but also in solidstate etc. I have no idea how these speakers respond to various amp types, so please inform me. Also, atm i would be looking at a relatively non expensive route as i intend to build an amp first, then later maybe the speakers, and further on another amp. But all comments welcome
I have used a Hiraga 20W and a ACTRK600 and also a Denon AVR1905
all are slid state and worked well, i think the majority of solid state or tube amps in general will work these speakers have a medium to high efficiency and represent an easy amplifier load so... lots of amps will perform well.
-Dan
- Home
- Loudspeakers
- Multi-Way
- The "Elsinore Project" Thread