

The outer dimensions of the horn are 477mm x 336mm x 203mm.
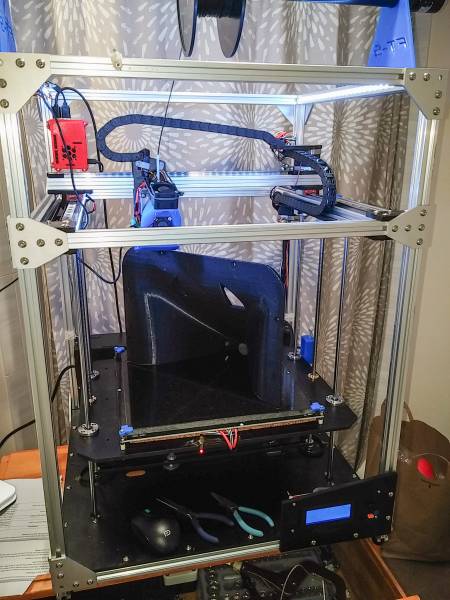
This is just for myself, to keep myself busy. An integrated version of the SmallSyns speaker, with a little bigger waveguide (roughly like a SEOS19.5, but with with 90x65 coverage angles), using the same drivers even. It has to be done in halves, to get it to fit the printer capabilities (which is 300mmx300mx400mm). I doubt that production of this horn would be feasible, as each half of the horn takes 13.5 hours to print. It's not a fast process! Kind of fascinating to watch the printer do something like this, though, waste a lot of time just watching it!


This is just for myself, to keep myself busy. An integrated version of the SmallSyns speaker, with a little bigger waveguide (roughly like a SEOS19.5, but with with 90x65 coverage angles), using the same drivers even. It has to be done in halves, to get it to fit the printer capabilities (which is 300mmx300mx400mm). I doubt that production of this horn would be feasible, as each half of the horn takes 13.5 hours to print. It's not a fast process! Kind of fascinating to watch the printer do something like this, though, waste a lot of time just watching it!
Last edited:
Yeah, PLA, at least for now. I'm very new to 3d printing, so PLA seemed simplest. I played a bit with PETG, but it's more expensive and seems to have more issues with stringiness and warping when it cools.
I'm also new to 3D CAD design, there are a couple of issues with the design (nothing I can't fix with a filament pen, though, some holes and gaps.). I have to print the other half still to see whether I have the synergy midrange volumes and ports close.
I'm also new to 3D CAD design, there are a couple of issues with the design (nothing I can't fix with a filament pen, though, some holes and gaps.). I have to print the other half still to see whether I have the synergy midrange volumes and ports close.
Last edited:
Now you've done it, say goodbye to all your free time!
Yeah, I kind of noticed that. My wife did, too. I blame you, you got me started on this.
How long did that job take? The killer is a filament tangle 90% into a 12hr job. Arrghhh!
It's 13.5 hours for each half....27 hours per horn! I could probably speed it up some, but didn't want to risk that at this point. Fortunately the first one went through without any drama. The second half is printing now, but it got tangled about an hour into it, I had to restart (after hacking together a quick filament guide to avoid the same happening again). Fingers crossed, maybe I'll have two halves to test tomorrow.
According to some people on the 3D print forums, CYA glue works well on PLA. I haven't tried yet. If all else fails, I might take a 3D printing 'pen' and try to use that to weld the halves together (or a hot-melt glue gun, about the same thing). For a while, I may leave them separate and just clamp them together for testing until I get the midrange apertures and volume adjusted well.
Amazing!
Makes me think again about waveguides for the TC9FDs...
That would be easy enough, that is, if you can determine what it is you want
") .
.I'd advise using a good program for the modelling. Something like Autodesk Fusion might do the trick. Inventor or Solid Works would work very well but are too pricey for us mere mortals.
Warping should be reasonably controllable with good temperature control/heat management, cooling down the printed stream etc. I'm continuously playing with 3D printers as part of the class I teach/coach. This includes 3D modelling and 3D printing.
If I can help anyone, just ask...
This first half of a waveguide Bill printed looks like it get's the job done with the glue-seam resting on the bed itself.
Last edited:
This first half of a waveguide Bill printed looks like it get's the job done with the glue-seam resting on the bed itself.
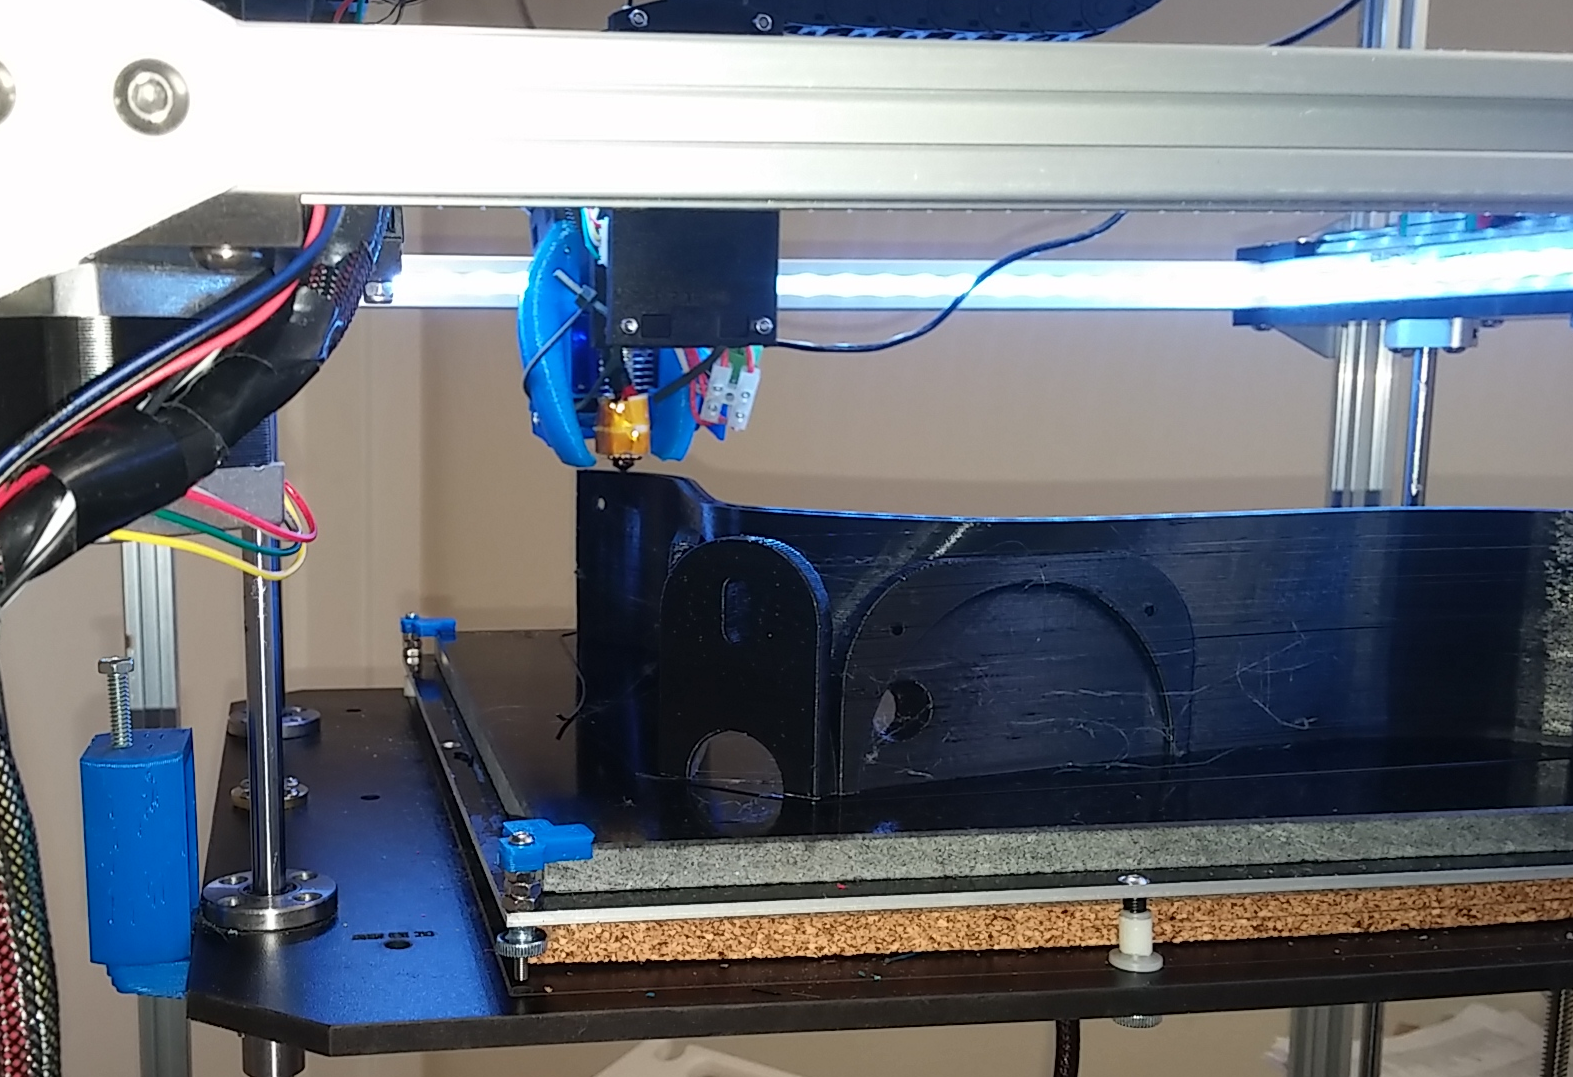
Actually, it isn't. The mouth end has about a 2mm gap between it and the bed due to warping. It also does an 'elephant foot' kind of thing there where the lip around the horn squishes out slightly. I printed the other half of this last night, and here is what they look like held together (both halves are the same file).

Any suggestions? Turn down the bed heat (I ran it at 50C all layers)? I already have a strong fan on the nozzle cooling down the layers when placed. I could just use a sander and get the two parts to join better (being careful to not sand at the throat area. I could probably divide the model at a slight angle on the 'cutting plane' (this is in Fusion3 360) to compensate and make them fit a little better, but the on-bed edge would still need work to make it flat.
edit: forgot -- I did the dividing in Meshmixer
Last edited:
I think I'll add a block of plastic, with a screw hole, on the seam near the horn mouth. That will serve as a raft during printing and give me something to hold the halves together down at that end during testing and gluing. I can hold the throat end together with a cable tie. Kind of a shame, though, I was planning on mounting crossover components on the horn wall where thate block would go (make it an integrated assembly).

These are glued together with five minute epoxy from home depot. Gets the job done.
Due to curling, the gap between parts can be large, so you want something thick. I also try to put the seam somewhere where it won't be a problem.
What material are you printing with, John? Is that PLA? (looks a little like PET-G). The epoxy would be nice to give me some working time, particularly since the parts rock a bit on the table.
- Home
- Loudspeakers
- Multi-Way
- 3D printing 1/2 of a waveguide