Hi everyone and happy 2014 to you all.
A new year and a new build log. With my last build complete - the Apollo, I can now turn my attention fully to something I've been working on for the past couple of years.
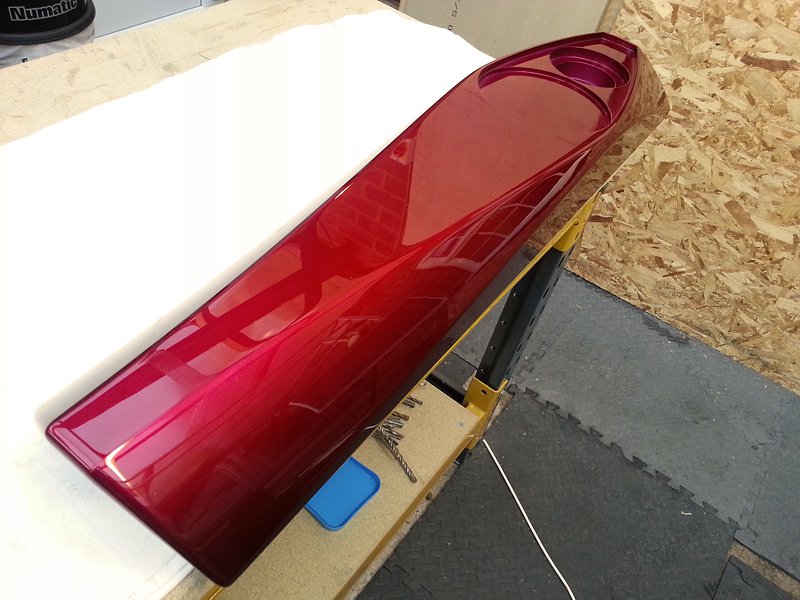
There's been many iterations and a few prototypes made, all progressively better than the last but none quite satisfying me completely. One thing I've really had a lot of success with is casting the parts out of composite resin (a polyurethane type with an aluminium oxide filler component for added mass). This stuff is brilliant for audio applications, its basically making your own solid surface(aka corian). I did the baffle first with regular, albeit heavily braced, wood based cabinets but really wanted to go ahead and make a complete composite resin speaker. This is what this build thread is about.


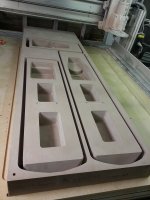
The baffle plugs are already done. These are a two sided part.
Front side on the CNC:

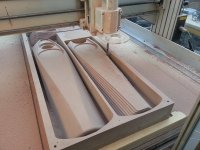
Rear:
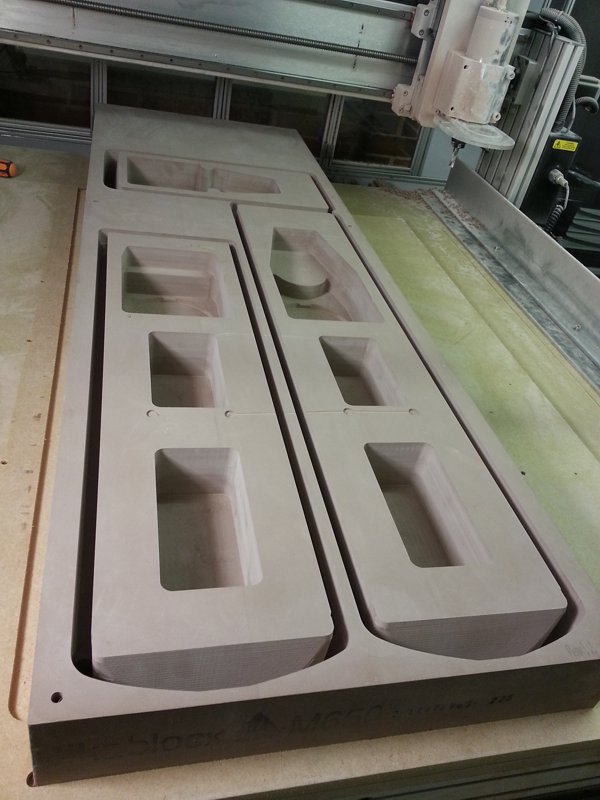
They aren't suitable for use in making a mold straight off the machine so have to be sanded and finished. Basically the better the finish here the better your mold and any parts cast using it will be

Here's a video showing the process involved in creating the plugs to be used in making the molds for the baffles using CNC.
CNC Cutting Loudspeaker Baffles - YouTube
The cabinet sections will be done in a similar fashion with the exception that they'll be broken into two halves and the cast parts will be joined to form a complete cabinet. Not only will they be incredibly inert but also allow for some pretty radical internal contouring and bracing thanks to the flexible nature of CNC machining.
More to come over the next few months.
A new year and a new build log. With my last build complete - the Apollo, I can now turn my attention fully to something I've been working on for the past couple of years.
There's been many iterations and a few prototypes made, all progressively better than the last but none quite satisfying me completely. One thing I've really had a lot of success with is casting the parts out of composite resin (a polyurethane type with an aluminium oxide filler component for added mass). This stuff is brilliant for audio applications, its basically making your own solid surface(aka corian). I did the baffle first with regular, albeit heavily braced, wood based cabinets but really wanted to go ahead and make a complete composite resin speaker. This is what this build thread is about.
The baffle plugs are already done. These are a two sided part.
Front side on the CNC:
Rear:
They aren't suitable for use in making a mold straight off the machine so have to be sanded and finished. Basically the better the finish here the better your mold and any parts cast using it will be
Here's a video showing the process involved in creating the plugs to be used in making the molds for the baffles using CNC.
CNC Cutting Loudspeaker Baffles - YouTube
The cabinet sections will be done in a similar fashion with the exception that they'll be broken into two halves and the cast parts will be joined to form a complete cabinet. Not only will they be incredibly inert but also allow for some pretty radical internal contouring and bracing thanks to the flexible nature of CNC machining.
More to come over the next few months.
Attachments
-
 20130802_195320.jpg102.8 KB · Views: 1,953
 -
 One.235.jpg80 KB · Views: 2,452
 -
 One.233.jpg73.3 KB · Views: 1,901
 -
 One.232.jpg91.8 KB · Views: 1,926
 -
 One.231.jpg83.3 KB · Views: 1,934
 -
 Baffle Masters 06.jpg92.1 KB · Views: 1,906
 -
 Baffle Masters 11.jpg112.7 KB · Views: 1,950
 -
 20130802_195528.jpg116.2 KB · Views: 1,926
..One thing I've really had a lot of success with is casting the parts out of composite resin (a polyurethane type with an aluminium oxide filler component for added mass). This stuff is brilliant for audio applications, its basically making your own solid surface(aka corian).
What, 6 years in the "making"?

Still, a bit different than cement.
Regardless, very
and something I'll be very interested in reading. Happy New Year!
Your construction is the tits.
This. (I was searching for the right words.)

I've a request for this thread (or two actually)..
I'll try at some point Scott. I'm limited on time these days now things have gotten more serious and I've got 2 big projects in the works right now.
If your looking for anything specific ask away and I'll help out as best I can.
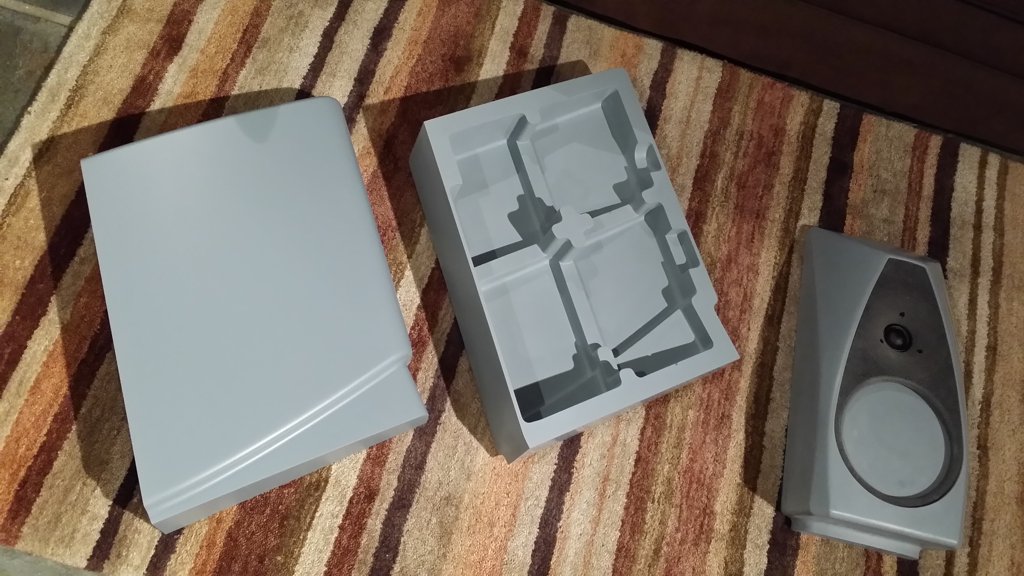
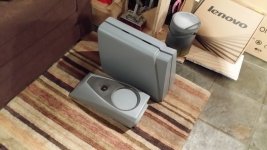
This build thread might end up covering the One.10 standmount instead of the larger One.20. At least to start with anyway.
I do have some reasoning behind this. Its my first shot at casting and a smaller casting is easier and cheaper. I've had a go casting a bunch of smaller parts and now I have a vacuum degassing chamber and pump they're looking good but haven't tried anything on this scale yet. Its a slightly scary proposition really as there's nearly £400 worth of addition cure silicon rubber used for the One.20 baffle alone and once you start pouring a mould, there's no going back!
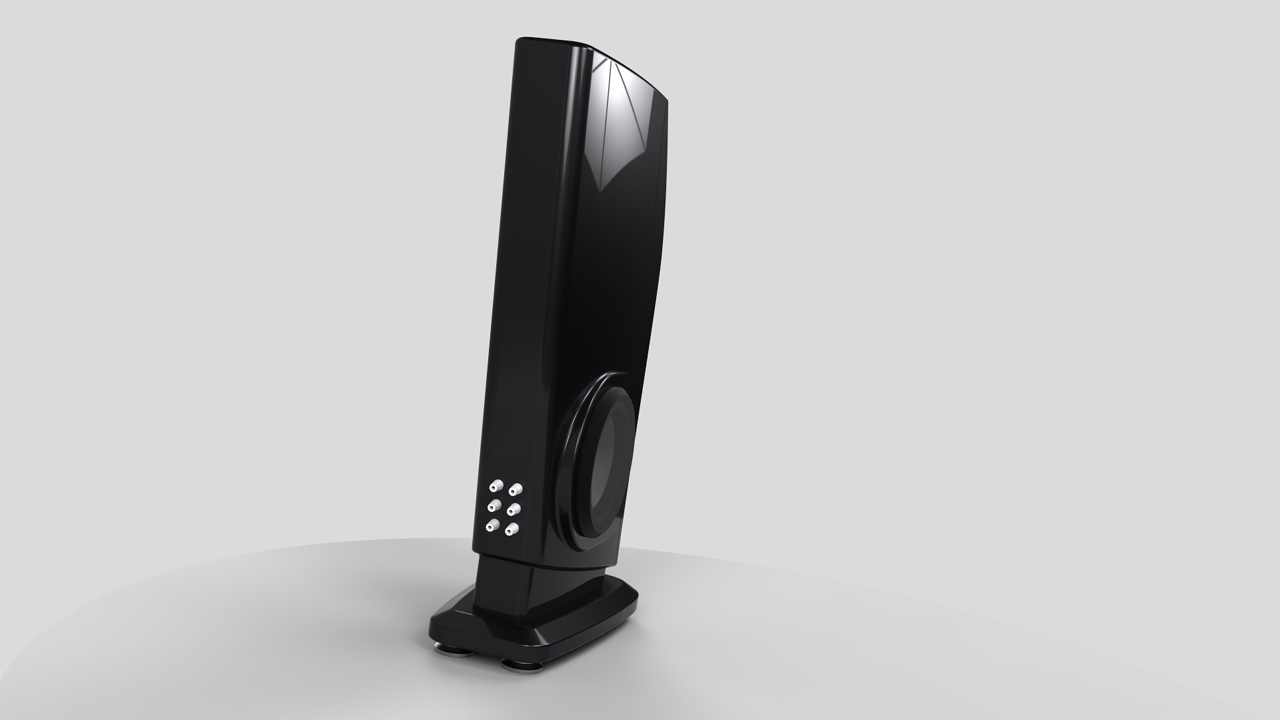
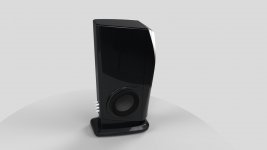
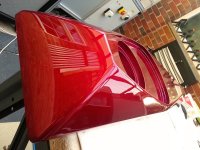
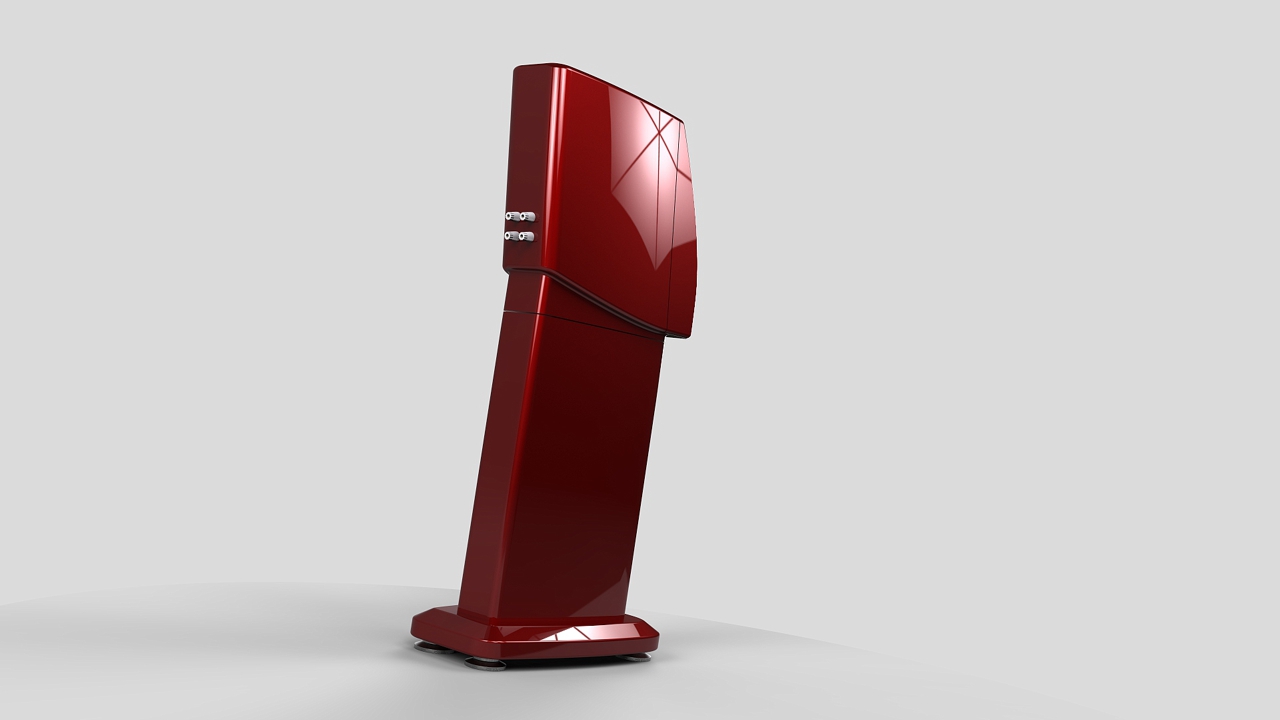
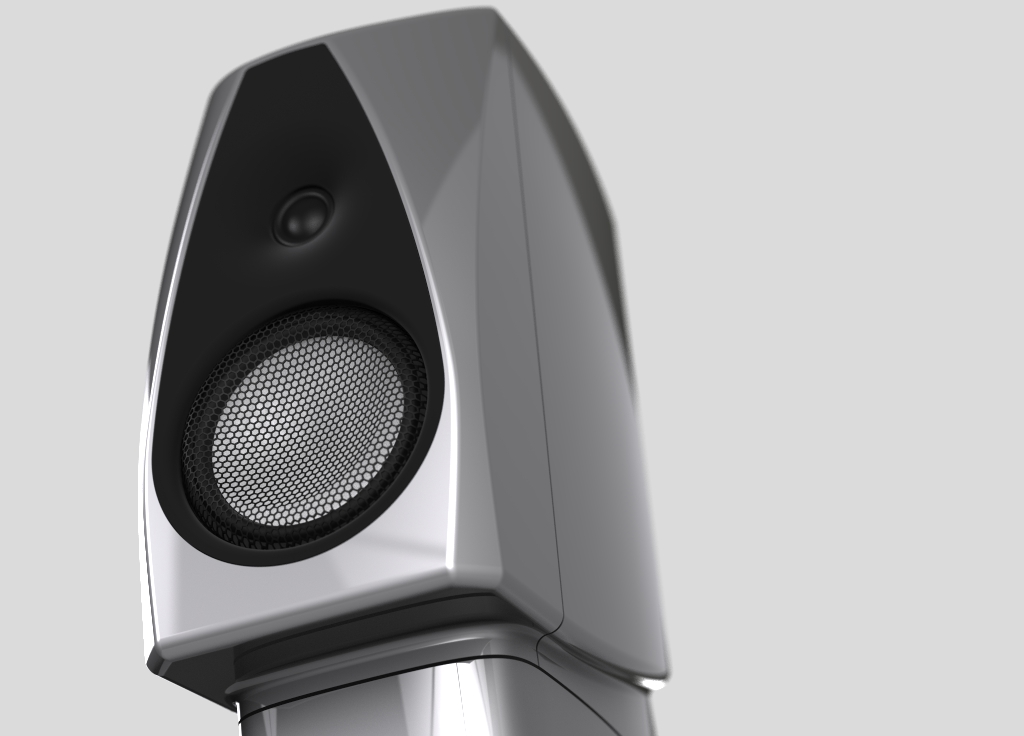
Anyhow here's the One.10 and its stand. I'll likely cast the stand out of resin as well although this will be a thinner wall thickness compared to the cabinets and allow for added mass in the column (lead shot, sand etc.)


I do have some reasoning behind this. Its my first shot at casting and a smaller casting is easier and cheaper. I've had a go casting a bunch of smaller parts and now I have a vacuum degassing chamber and pump they're looking good but haven't tried anything on this scale yet. Its a slightly scary proposition really as there's nearly £400 worth of addition cure silicon rubber used for the One.20 baffle alone and once you start pouring a mould, there's no going back!
Anyhow here's the One.10 and its stand. I'll likely cast the stand out of resin as well although this will be a thinner wall thickness compared to the cabinets and allow for added mass in the column (lead shot, sand etc.)
Attachments


New toys
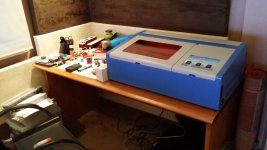
40w laser engraver. Planning to put this to use etching the text on the aluminium rear plates. Its nowhere near powerful enough to engrave aluminium but will etch though a layer of paint or anodised alu. Has other uses too such as cutting foam gaskets for drivers and cabinet parts.

And a compact lathe. Its a manual affair at the moment but I'll be converting it to cnc in the near future. Primarily to be used for turning aluminium feet and bass ports.

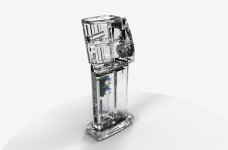
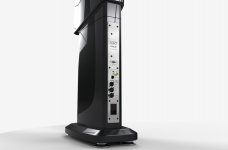
Finally a couple more One.10 renders. Getting there now. Within the next couple of weeks I'll have the patterns for the two cabinet halves machined and ready to make a mould. At that time I'll post the video of them being whittled out of modelling board.

40w laser engraver. Planning to put this to use etching the text on the aluminium rear plates. Its nowhere near powerful enough to engrave aluminium but will etch though a layer of paint or anodised alu. Has other uses too such as cutting foam gaskets for drivers and cabinet parts.
And a compact lathe. Its a manual affair at the moment but I'll be converting it to cnc in the near future. Primarily to be used for turning aluminium feet and bass ports.
Finally a couple more One.10 renders. Getting there now. Within the next couple of weeks I'll have the patterns for the two cabinet halves machined and ready to make a mould. At that time I'll post the video of them being whittled out of modelling board.
Attachments


I have come close to purchasing that laser CNC on many occasions. I end up changing my mind and build the larger one from "buildlog.net", but alas the few parts that are not DIY are are rarely available.
Yep I've been eyeing them up for a while now before pulling the trigger. Main complaint is the frankly rubbish software. There's a few different offerings such as moshidraw, laserdrw and winsealxp. Moshidraw is the one to avoid but none are really much good for drawing and designing. What most people do is use decent software such as coreldraw or solidworks etc and then import. The laser software is then pretty much just an control interface to the laser hardware then. This is the price you pay for a comparatively cheap machine.
I'm mostly happy with mine but some Diy is required to make the most of it. The bed was absolutely junk and I've removed mine and replaced it with aluminium honeycomb. There's also no air assist which great improves the edge finish in plastics. I bought a small airbrush compressor for this, you don't need a ton of air just enough to cool as the cut is being made and clear the smoke so this is more than fine.
Oooh, more toys!
Nice chunky little lathe as well. Very cool that the UK still makes good small lathe's at a reasonable price. In the US it's pretty much large machines at high prices (..or substandard low-cost imports from China).
..hmm, what's next on the list? Your own plating and anodizing station?
Nice chunky little lathe as well.
Very cool that the UK still makes good small lathe's at a reasonable price. In the US it's pretty much large machines at high prices (..or substandard low-cost imports from China)...hmm, what's next on the list? Your own plating and anodizing station?
Nice chunky little lathe as well.
Awe, man.. that's a Chinese-made lathe as well (..though it still looks nice). I guess they all are now.
Hey folks, hope your all keeping well.
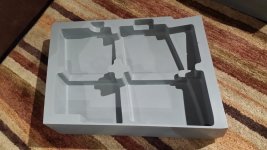
Its been awhile since I've updated this thread but I've got a bit of time and some worthwhile progress has been made. All the patterns for the One.10 are now complete and you can see them below in the images. Next step is making the moulds.
Video on utube: Machining One.10 Cabinet Patterns - YouTube
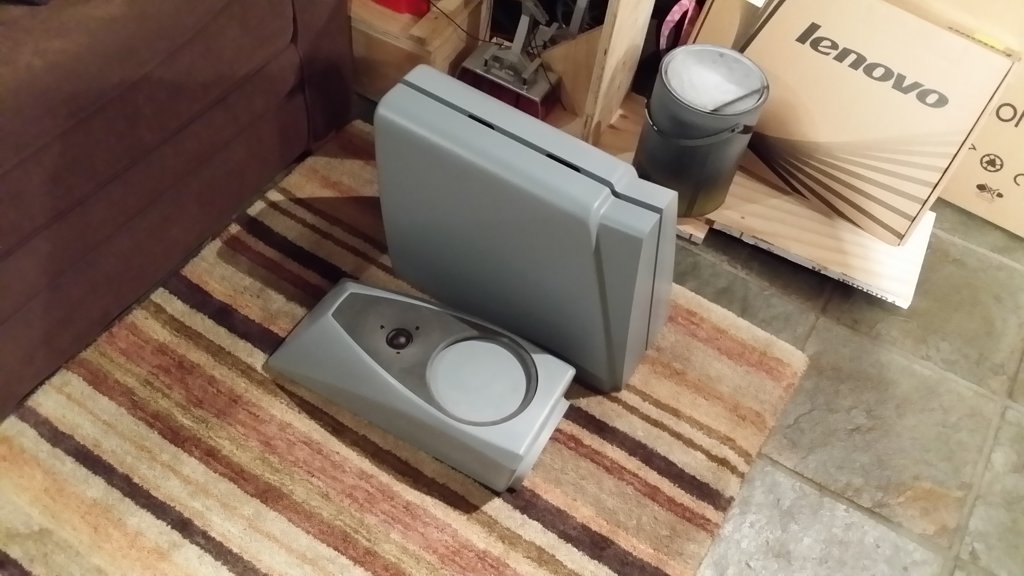
Attachments

- Status
- This old topic is closed. If you want to reopen this topic, contact a moderator using the "Report Post" button.
- Home
- Loudspeakers
- Multi-Way
- One.20 Construction Diary