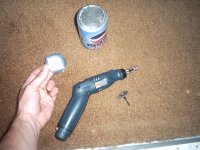
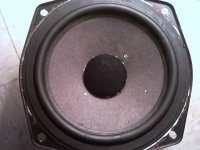
I got a wild hair to fix up these speakers that had been abused by their former owner, i got them for free so what the hey. They are ADS inc. from 1986 model number L470/2. anyways they had the surround completly separated from the basket so i bought some glue (crafters pick the ultimate, big thanx to MarkMcK for the info). and fixed that prob. the dust cap was all crushed in and i read a thread about replacing the dust cap a few days ago and got some ideas.
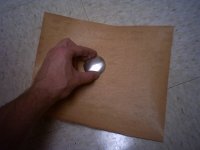
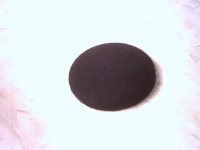
the firsto photo (i've never posted pictures so please excuse any ignorance you may encounter) is of the cut out dust cap, i used a razor to remove as much as i could, there was even dust under the dust cap! I could see the voice coil inside, it was an aluminum one.
the firsto photo (i've never posted pictures so please excuse any ignorance you may encounter) is of the cut out dust cap, i used a razor to remove as much as i could, there was even dust under the dust cap! I could see the voice coil inside, it was an aluminum one.
Attachments


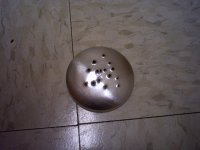
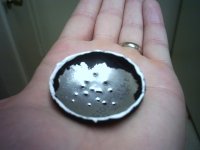
Then i jammed some holes in it with a leather punch thingy, like 10 or 15 holes, then i sanded that all nice so no sharp edges were poking out. it should keep the voice coil nice and cool, since it isnt vented on the magnet. but what if dirt gets inside the coil..... hmmmm....
Attachments
 I loved reading about your adventure...perhaps more to follow?
My next project is a few months in the distance but I am going to take apart my super bulky sonotube subwoofer and make a nice compact sub. it will have a 15" dayton DVC and two 15" passive radiators. I can't wait, i am always excited about tackling new projects. I actually want to start a speaker refurbishing business and run it out of my house. Aahhh the life that would be!
- Status
- This old topic is closed. If you want to reopen this topic, contact a moderator using the "Report Post" button.
- Home
- Loudspeakers
- Multi-Way
- How i replaced my dust cap... Vol 1