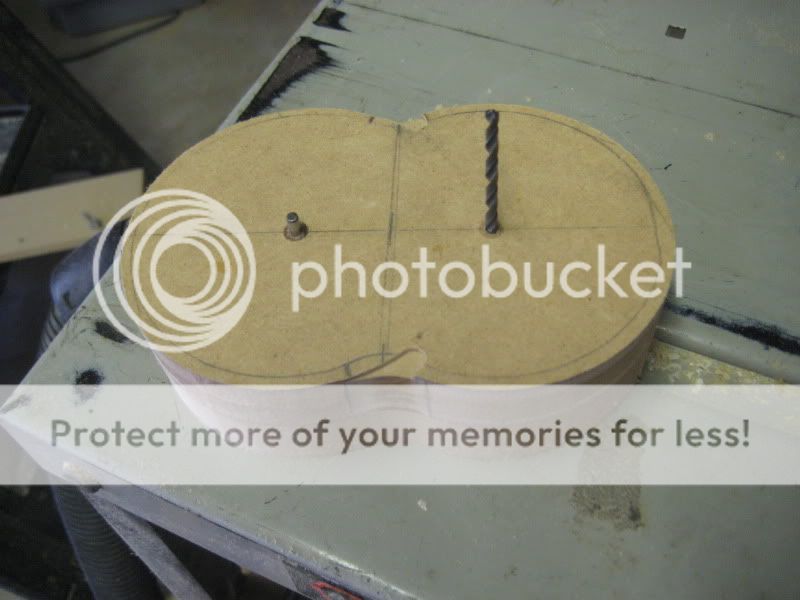
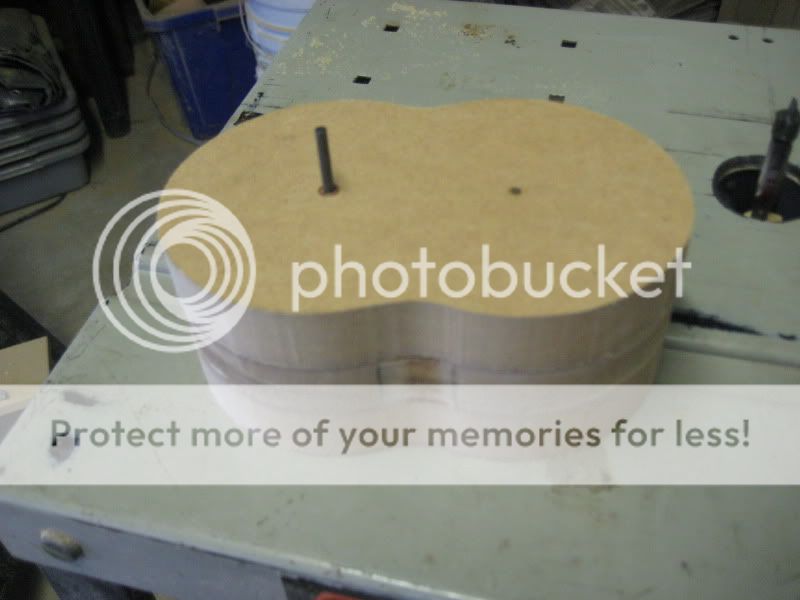
In lieu of an actual drill press, I ghettorigged drill bits with tape so they could fit in the router. I clamped the base to the workpiece and use the plunge base as my drill press. I had to get perfectly straight holes for the mounting screws.
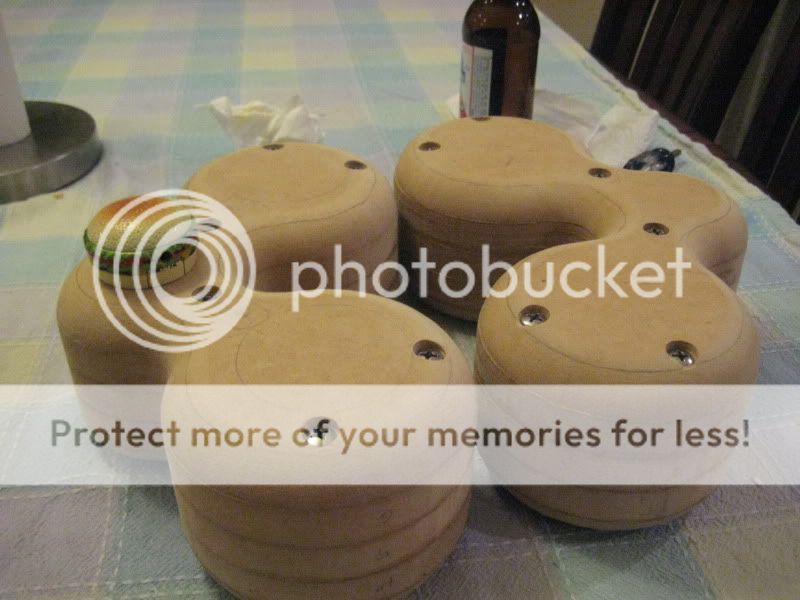
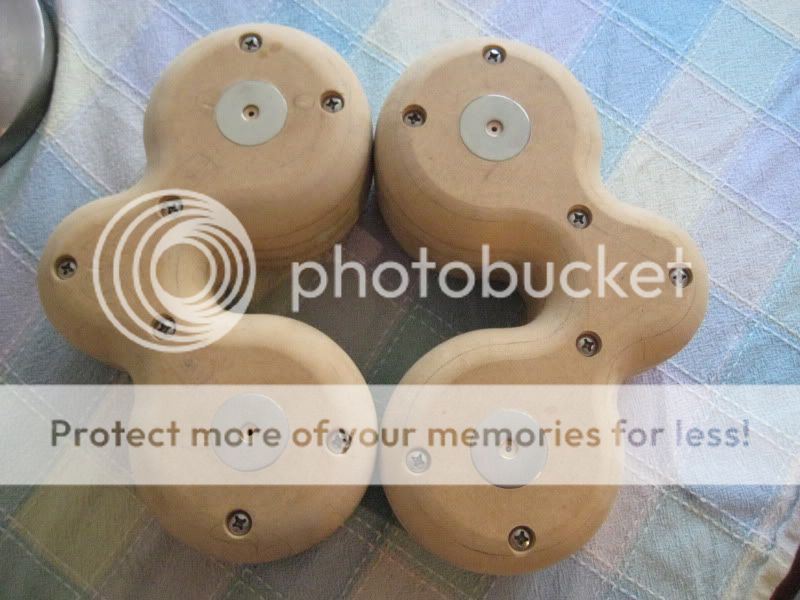
I countersank each hole about 5/16" to accommodate some oversized stainless screws.
Complete with burgerlighter.

I countersank each hole about 5/16" to accommodate some oversized stainless screws.
Complete with burgerlighter.
I think I may have figured out how I'm going to do the mounting bracket. I've been pricing ones out, and I'm not really too excited about paying out the *** for good wall mounts.
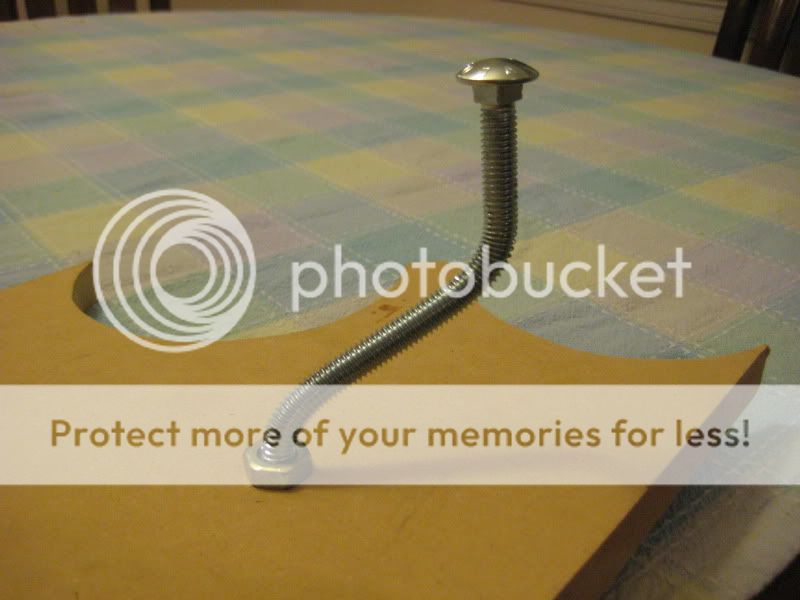
I started out looking in the cabinet harware, but nothig really caught my eye. But when I went by the metal stock, I noticed the threaded rod and got an idea.
I got a short 3/8" piece and used a vice, a big *** socket, and a rubber mallet to bend it into the shape I wanted. I'm not sure if I'll stick with carriage bolts or just use threaded rod, but I think I'm going to use two pieces for each speaker, centered behind the woofers, which leaves the area behind the tweeter free for binding posts.
THIS.
Is DIY.
Enthusiastic applause from this side of the room, sir.
Well thank you very much.
")
I found exactly what I wanted while browsing around at Home Depot. I found stainless threaded rod, and although it was pretty expensive ($8/3ft) , it was exactly the kind of thing I was looking for.
Someone suggested that I use the rods themselves for my binding posts, which I think I'm definitely going to do.
I'm trying to find some stainless steel fender washers, but the ones at Lowes are in packs of 5 and cost like $5. I'm going to try and find some singles somewhere. I plan on getting a 5/16" washer for the 3/8" rod, then drill the center out a bit and thread the washer, so I can thread it onto the rod and have it welded, instead of having a washer and nut on the back of the speaker.
I think I'm going to make the wall plate out of MDF or something, as it's what I have laying around. I was going to originally go with some steel or aluminum plates for the wall, but if I'm going to use them for conductors I need them isolated.
If you're referring to a jig saw, I've always got one of those. What I'm referring to is a proper scroll saw, like one of these dealies:An externally hosted image should be here but it was not working when we last tested it.
And yes, nothing beats the router for doing precise circles. I don't have the benefit of a router table, though..
I can vouch for how nice those can be.
You know those really cool older Dremel scroll saws? They were nice and solid, made out of steel. Good stuff for cheap.
Except that they're not strong enough to cut lignum vitae, lol.
Seriously. Brand new 15 tooth blade, and the lignum just laughs at it. I mean, I suppose I could stand there for a couple of hours and pretty much burn the blade through it.
Thats a YAMAHA remote!
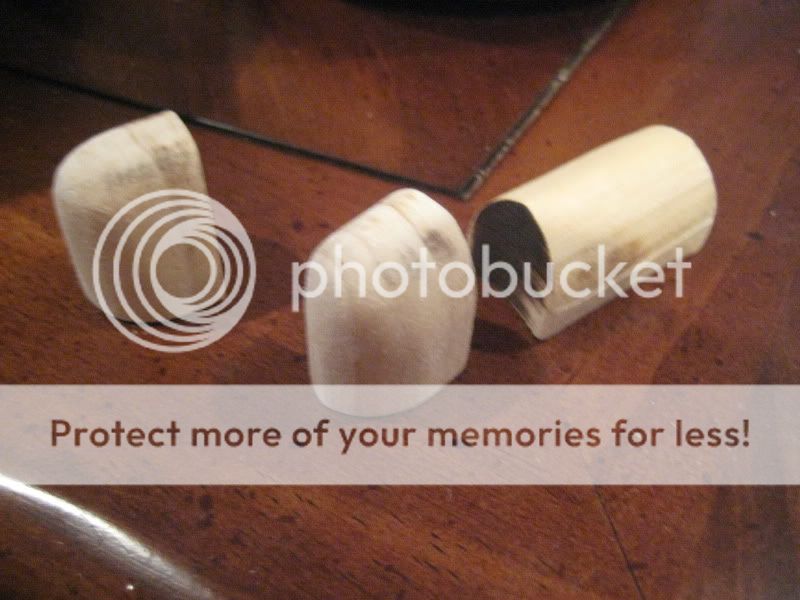
I used a 3/4" square poplar dowel to make blocks for the screws to go in through the back panel. I ran them on the router to match the inside contour.

And cut them into 1" blocks.

The original layout, which would eventually get changed.
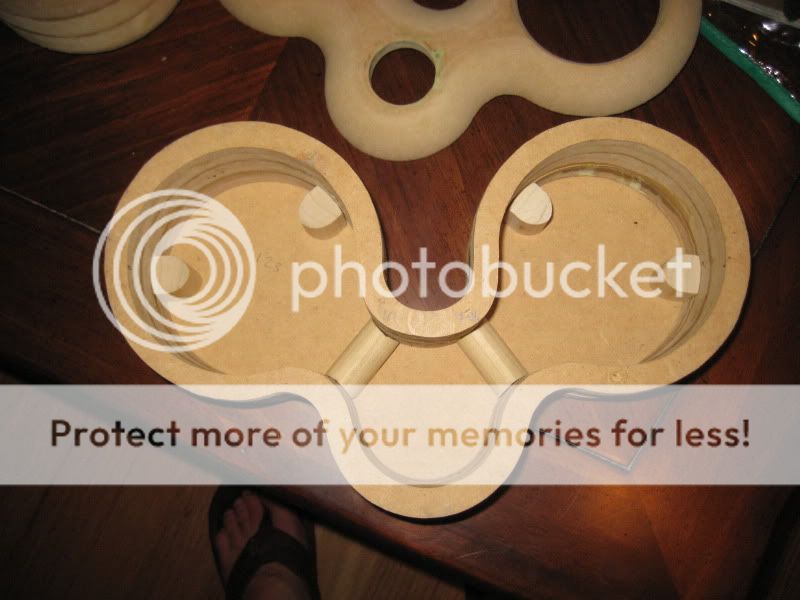
I ran the blocks on the router with a sanding drum, just to clean them up a bit.
And clamped them in
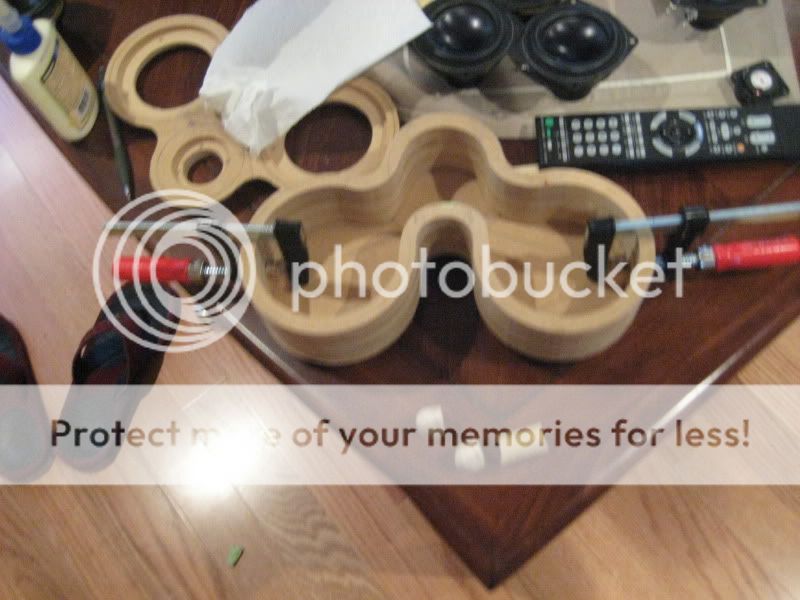
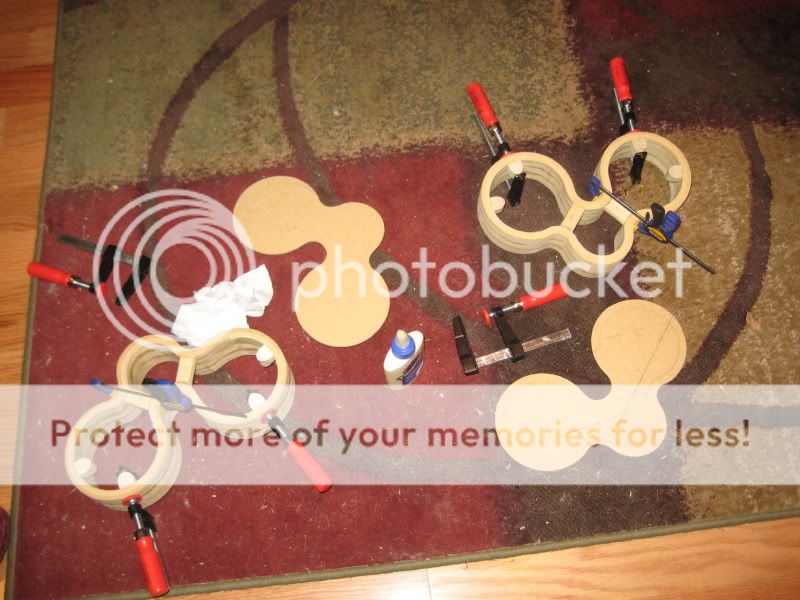
Once I was done with that, I glued the baffles on each speaker. I had to be cautious not to mess up that clean edge around the woofers.


Thats a YAMAHA remote!
Actually, it's a Sony. =)
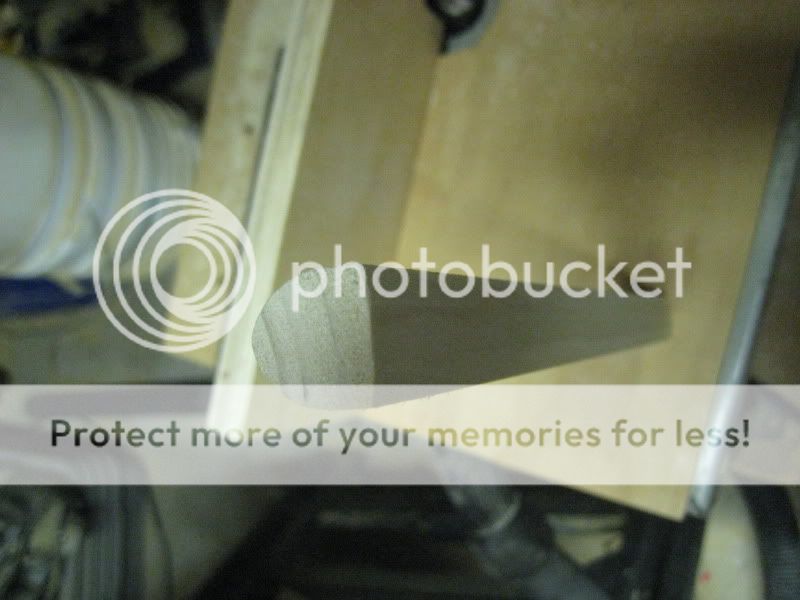
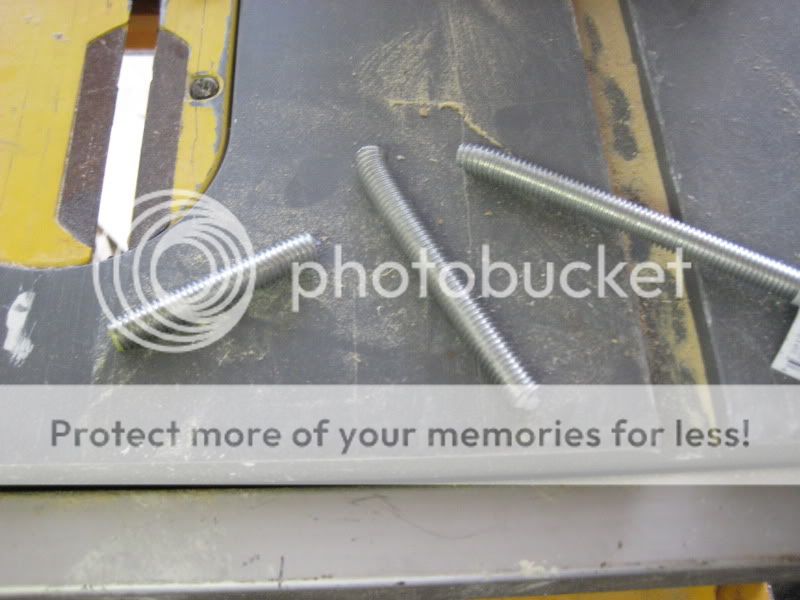
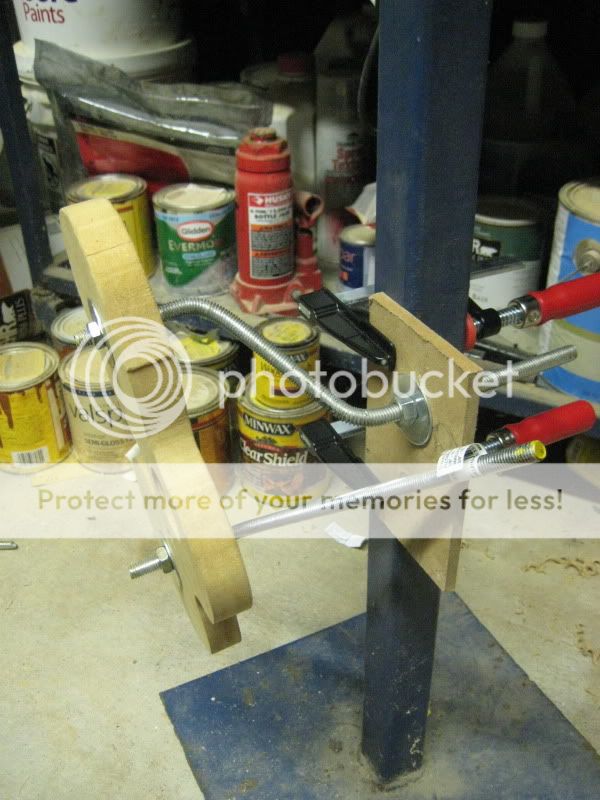
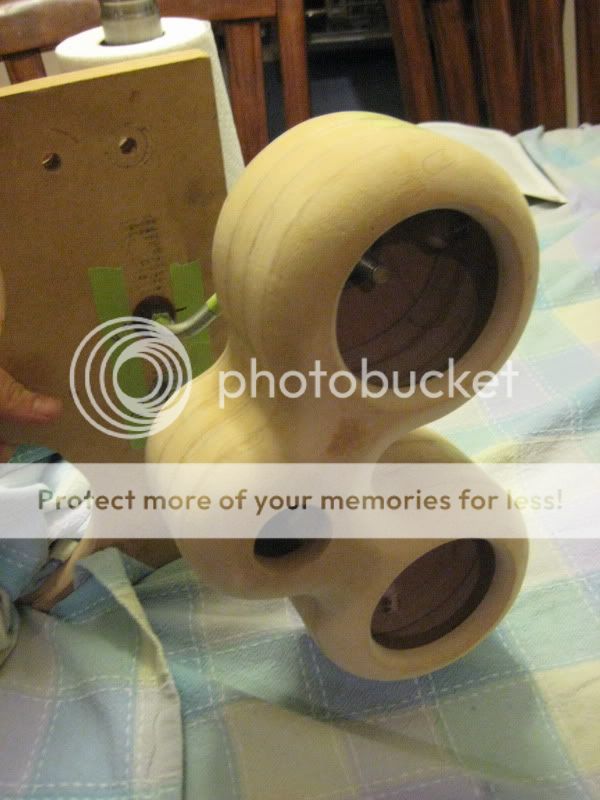
I bought some cheaper regular steel threaded rod to get right before bending the stainless. The first one I bent came out pretty well, although my method of bending was pretty crude... beating it with a rubber mallet while in a vice next to a big socket. The second I put in and tried to bend broke, I tried again a few inches up and it broke again. So, I went and got more rods, and picked up some pipes to slide over the rod whie bending.

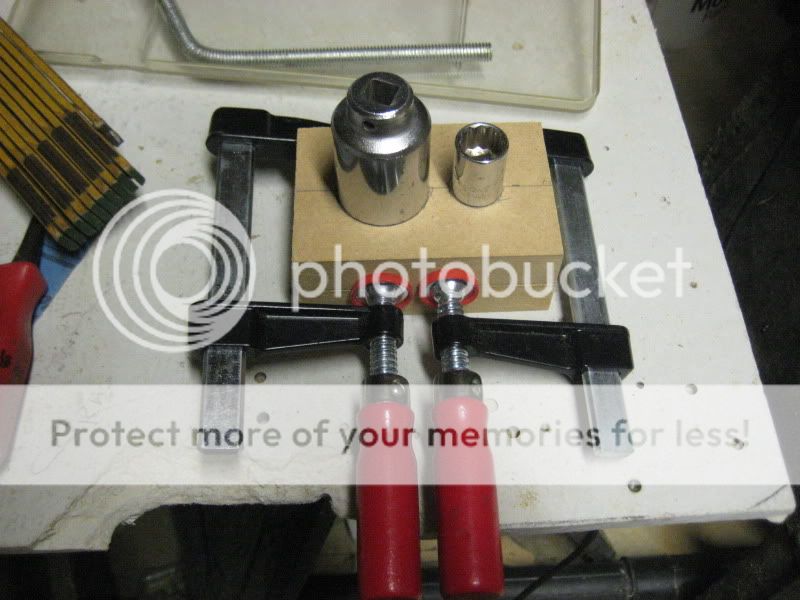
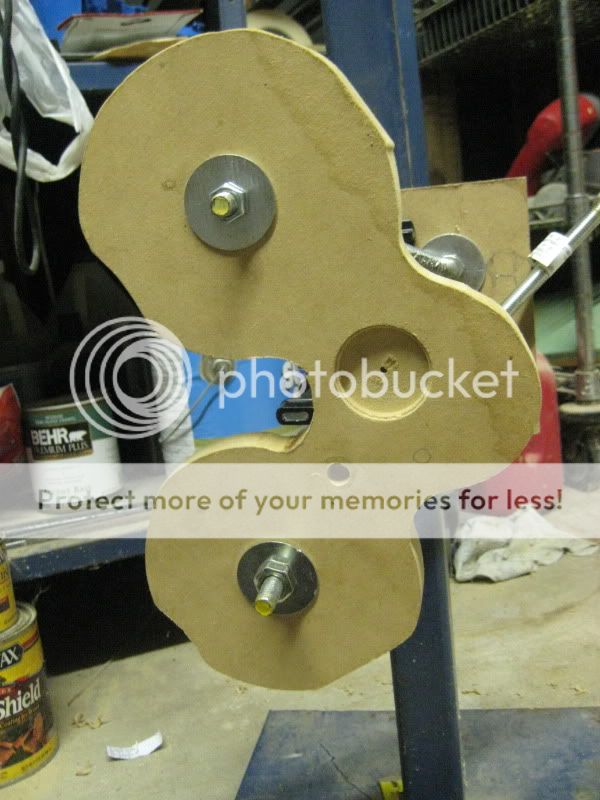
I then decided to make a bending jig for it, and just bend with the pipe. I routed holes for the bits to sit in, and the whole thing is bolted together using the broken threaded rods. I put that whole thing in the vice and bent it, resulting in a much nicer looking radius, and no marring from the hammering or the vice.


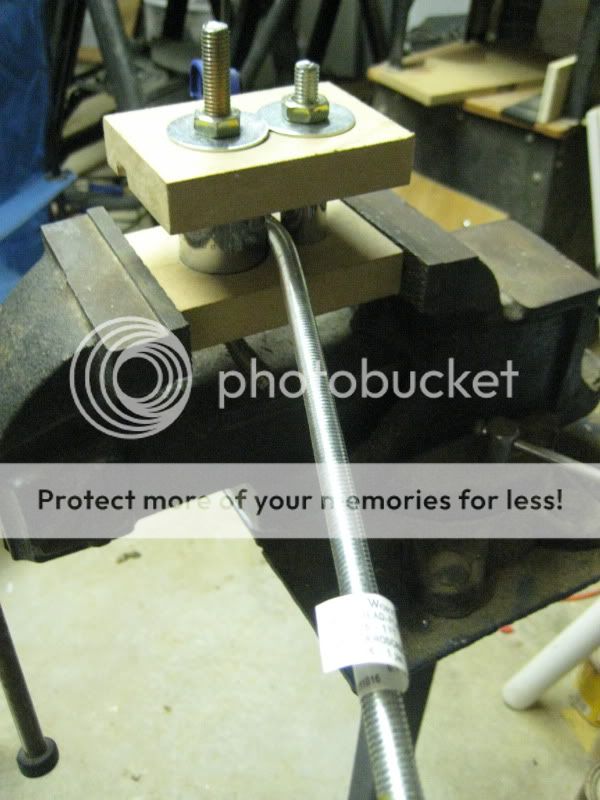
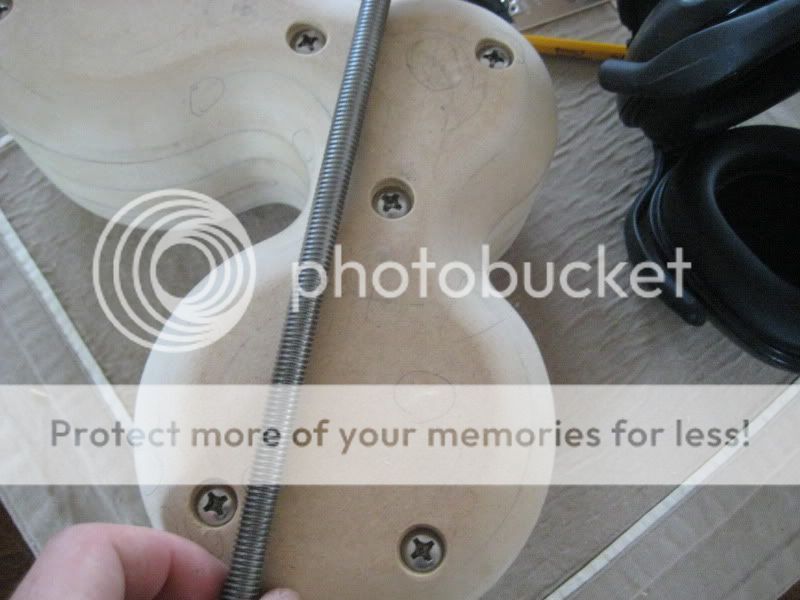
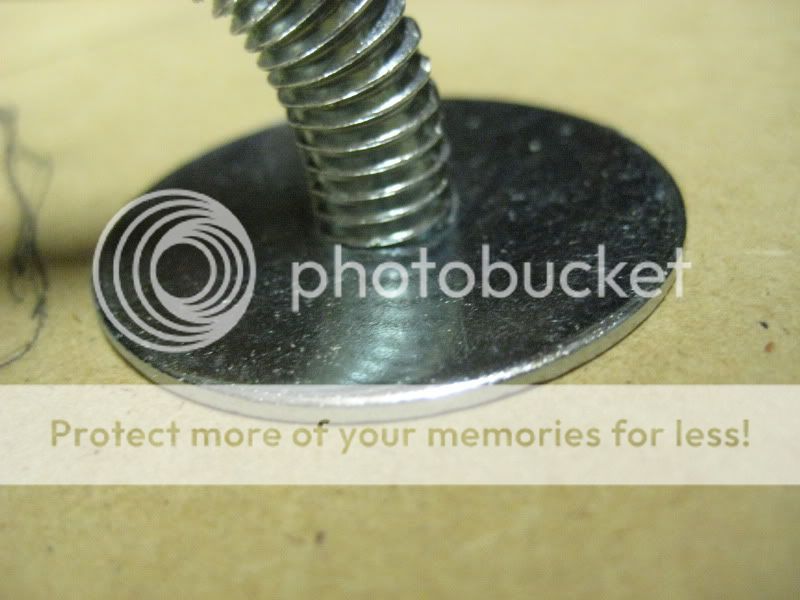
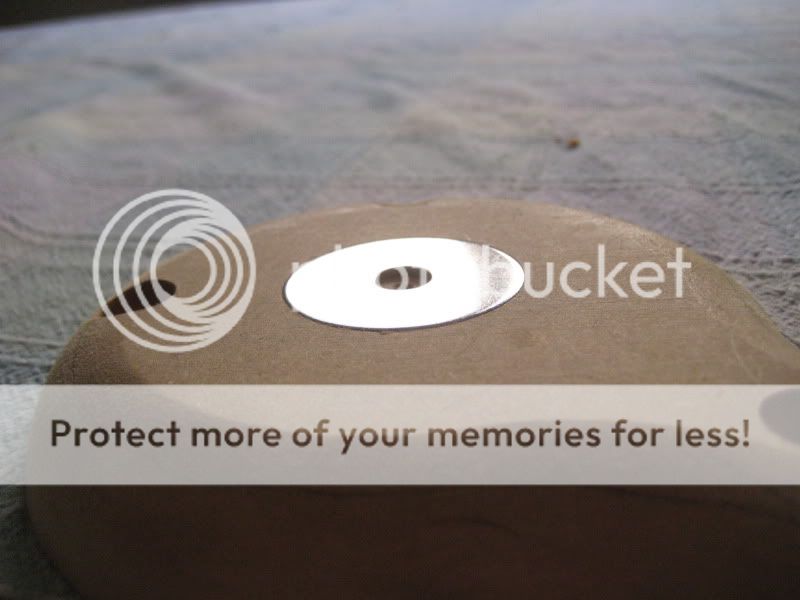
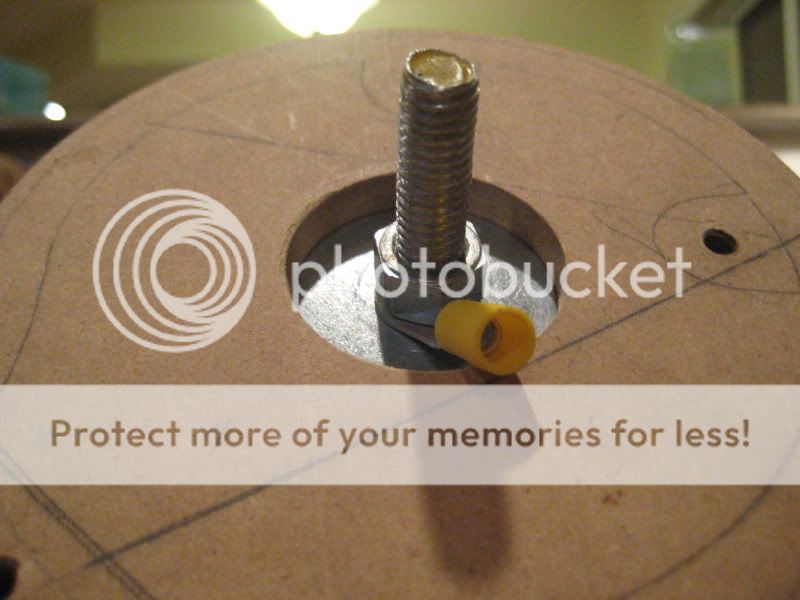
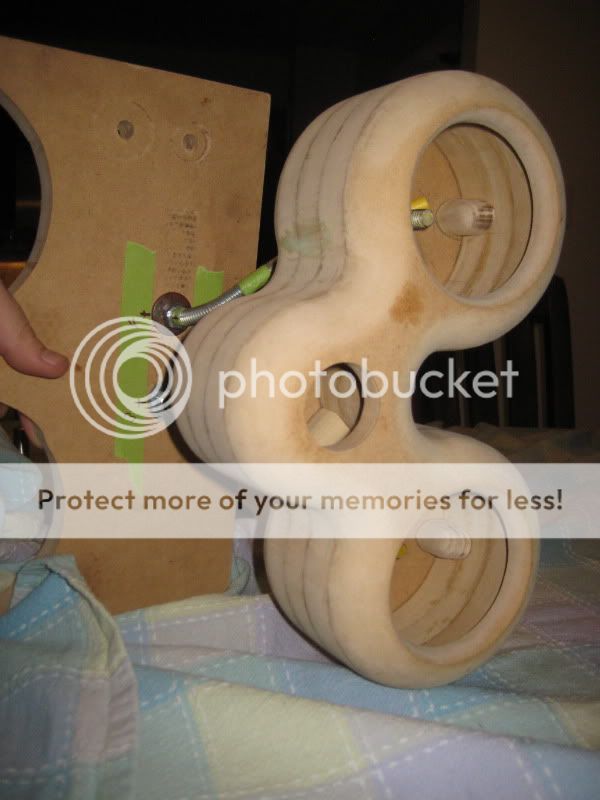
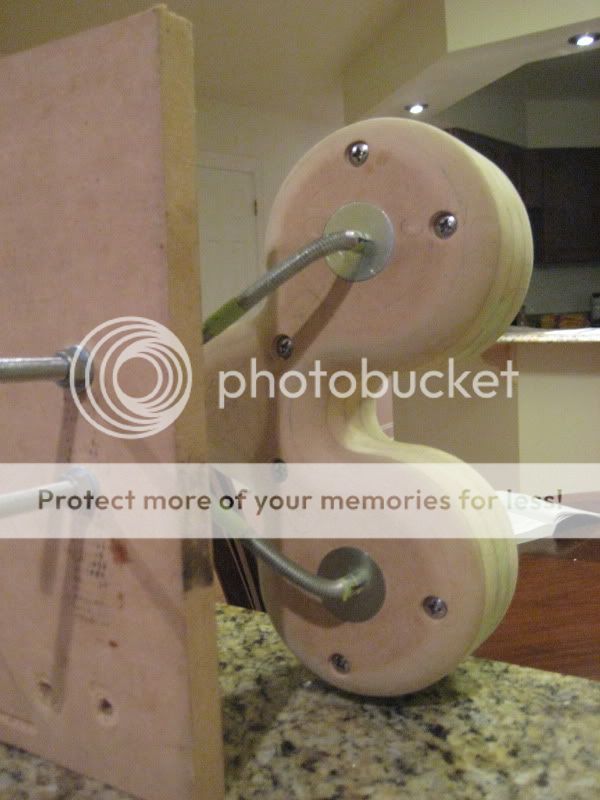
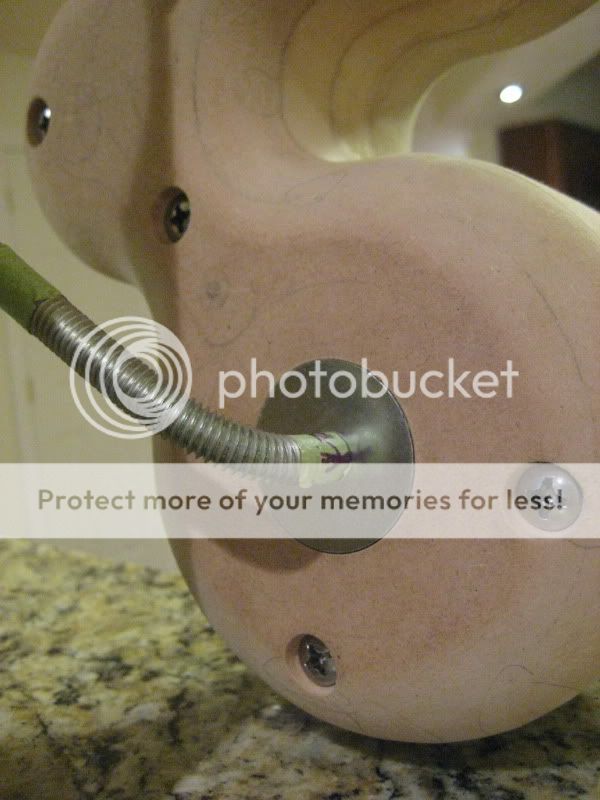
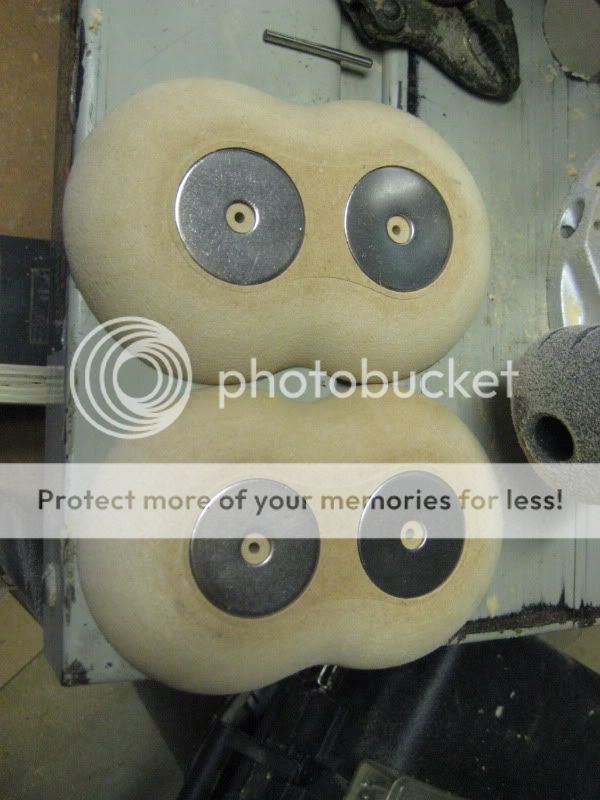
I think I will be able to use just the washers on the rod without welding, which would be expensive and may screw up the finish. I used 5/16" fender washers and threaded them, so they hold when bolted from behind. The washers will be flush with the surface on the speakers and wall plates.
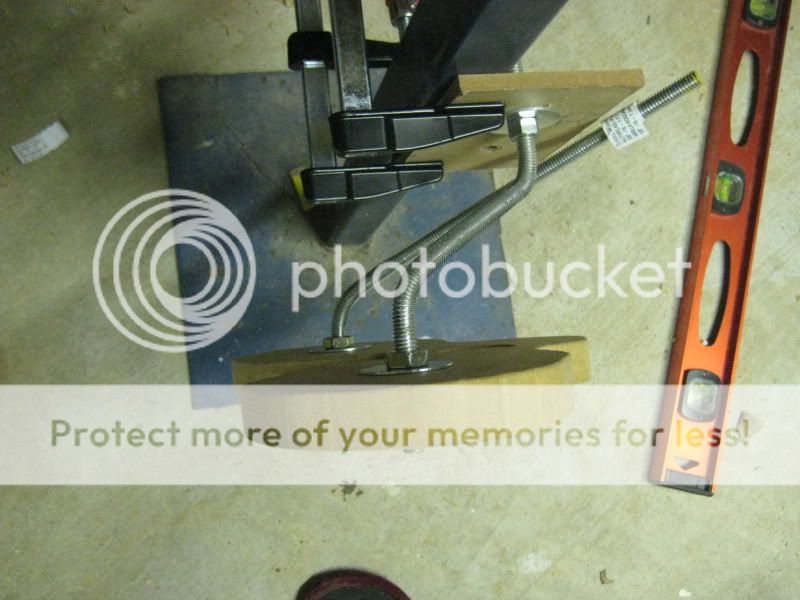
I think I will still rebend the top bar, as the one bent with the jig has much smoother bends, and I'd like them to match when starting with the stainless steel.
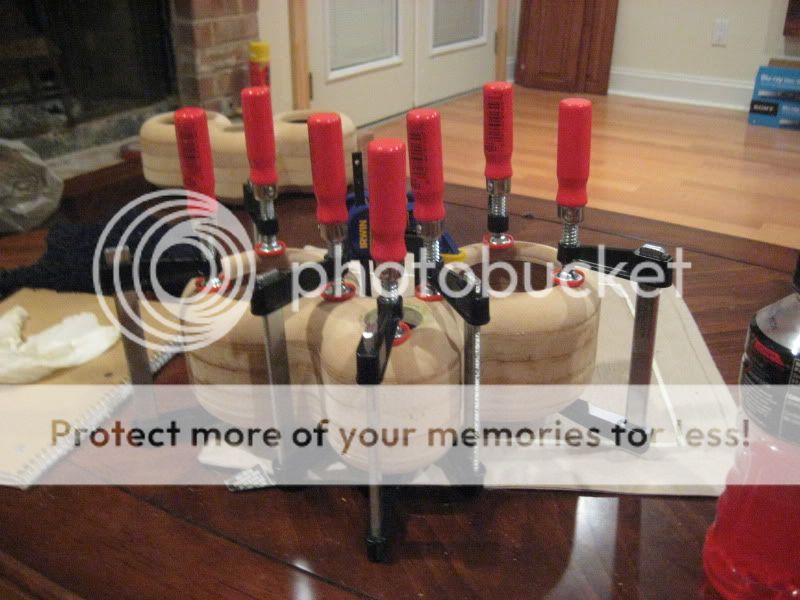
I routed out recesses for the stainless washers and used the clamps to force them in, as I left them tight. It looks and feels really good.


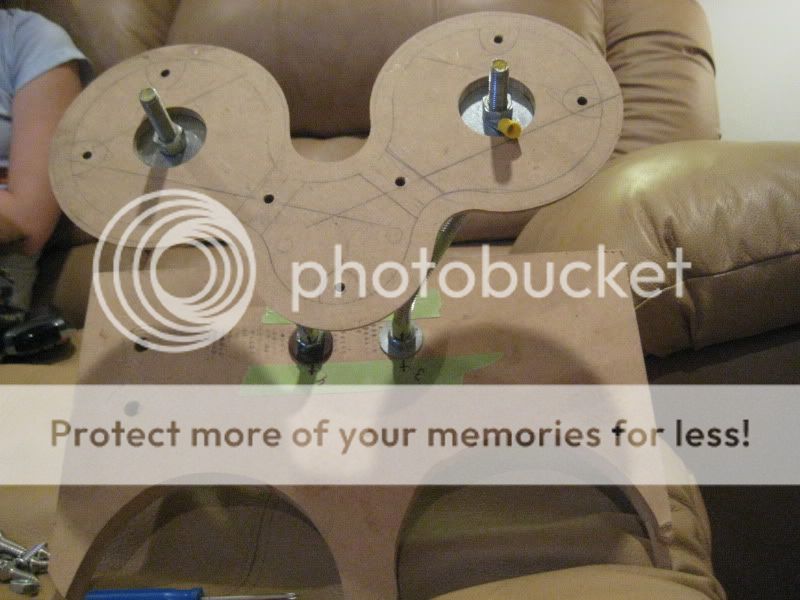
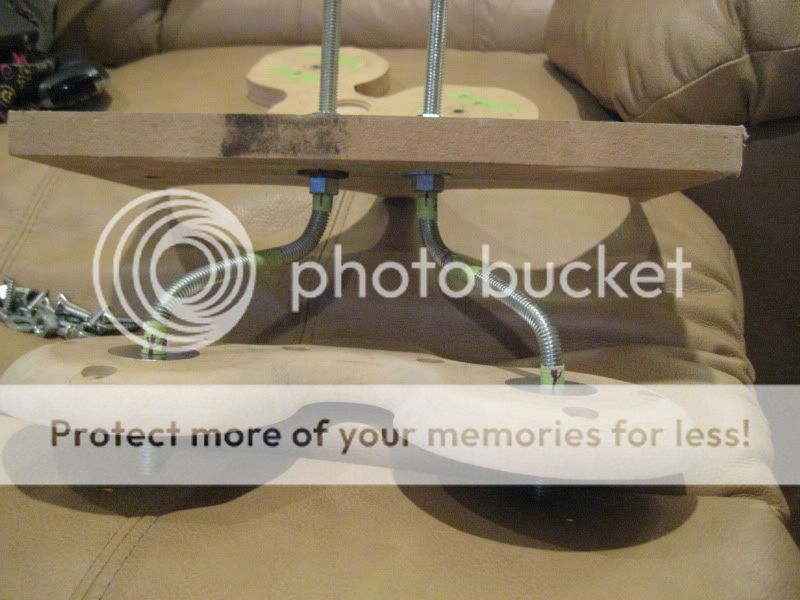
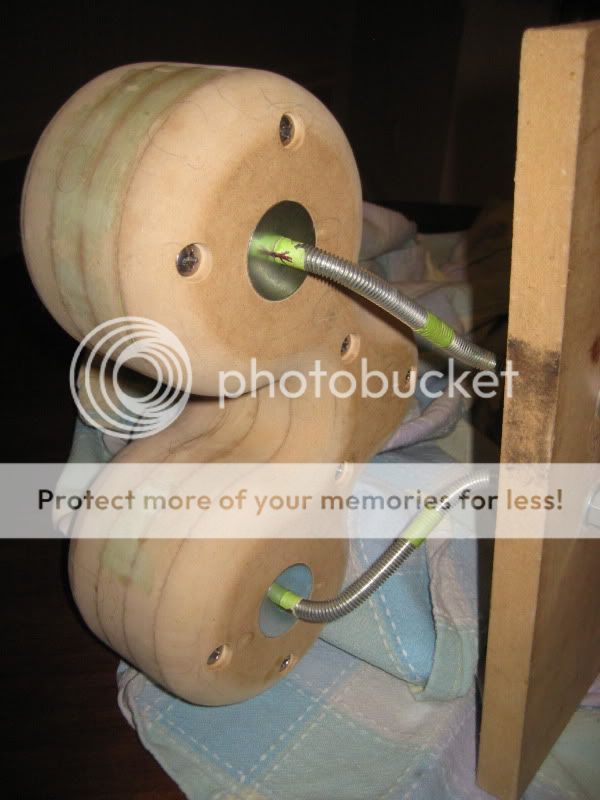
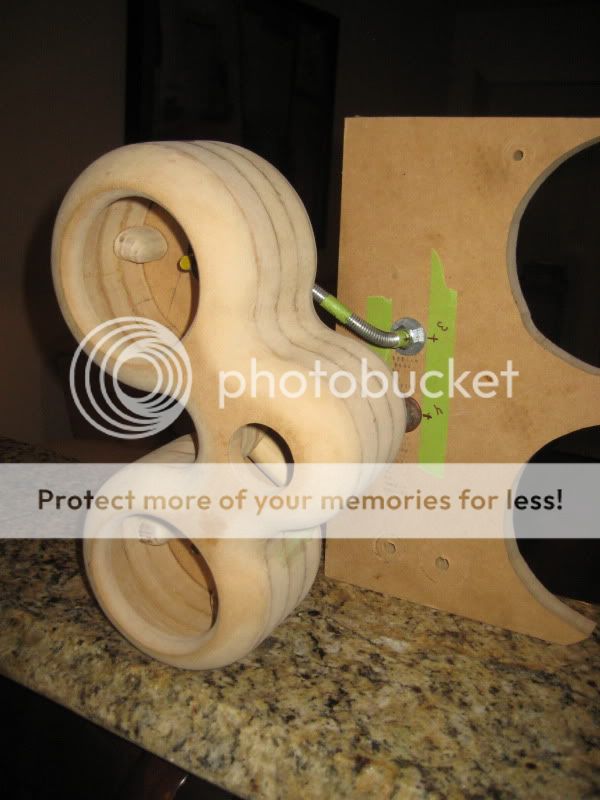
I also finally figured out how I'm going to get all four rods bent correctly. I"m going to make all four with identical bends, then simply bolt it together, and torque with clamps until it is in the right position.
I also finally figured out how I'm going to get all four rods bent correctly. I"m going to make all four with identical bends, then simply bolt it together, and torque with clamps until it is in the right position.
Just came across this thread. Really nice wor.k. Very much DIY. I have to ask. What thickness MDF where you using? Some of those slices look pretty thick?
Cheers,
shambala
All of it is 3/4" mdf that I had left over from other builds.
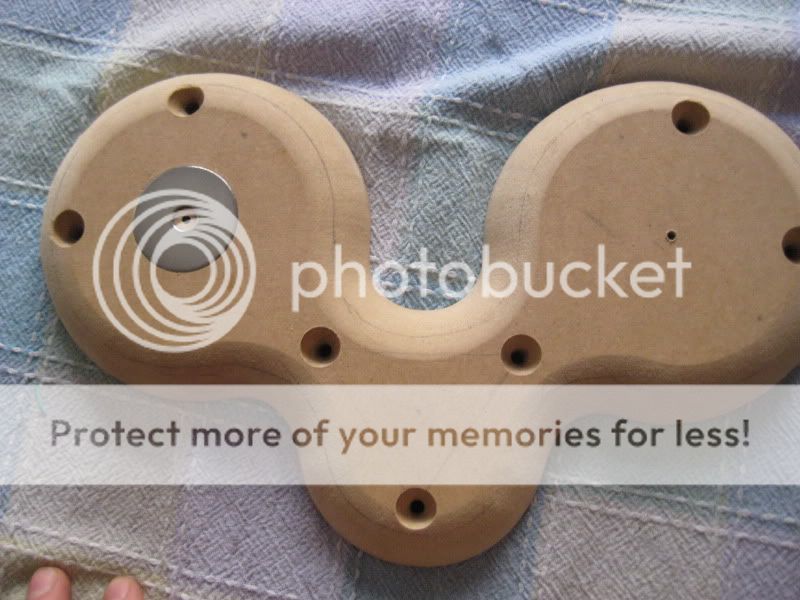
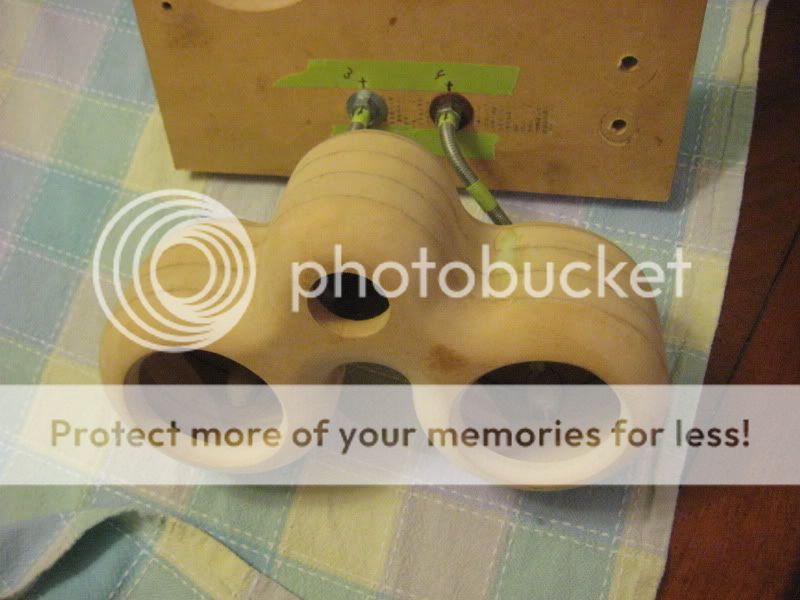
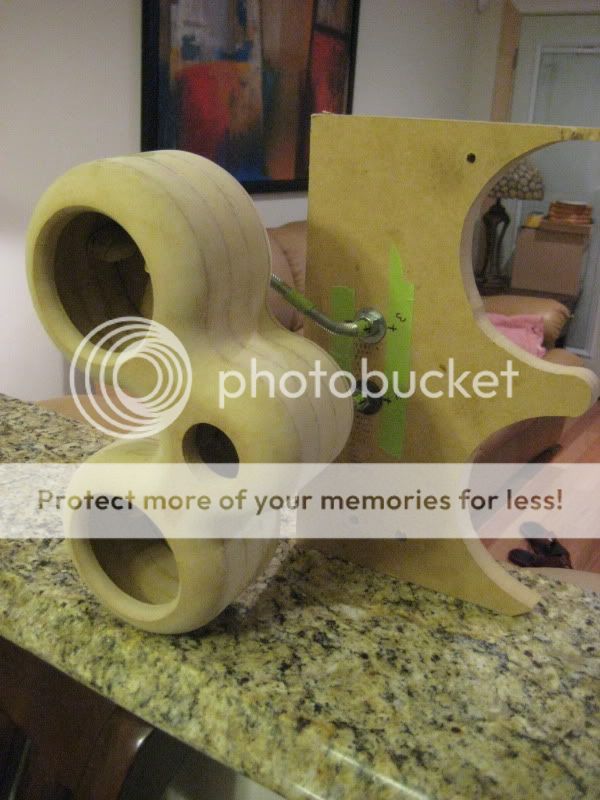
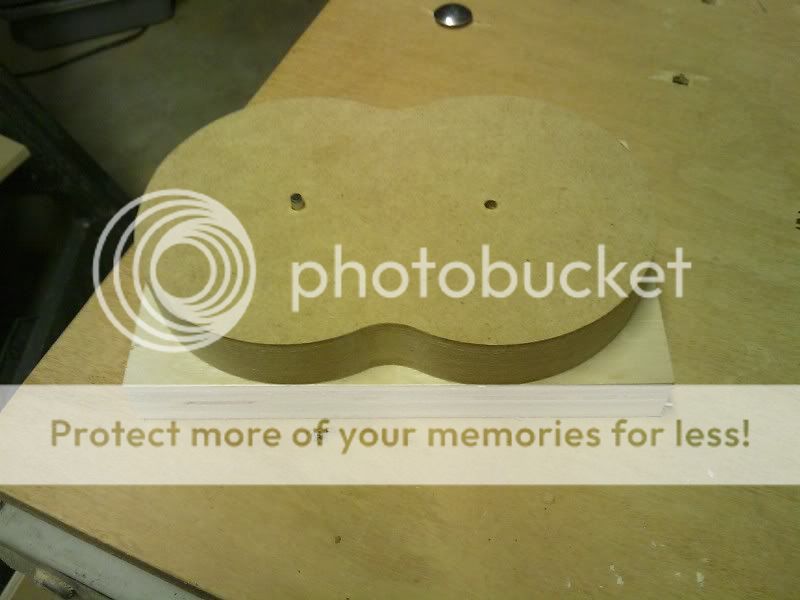
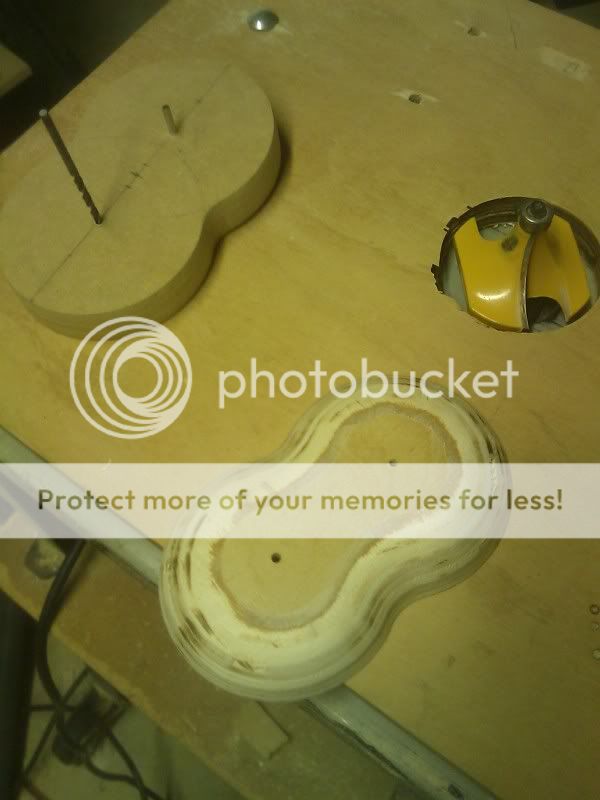
I'm starting on the wall plates now, and I figured I would frist try mimicking the speakers themselves first, so I routed out circles around each hole, and sanded down the "webbing" between them.
I used blocks this time to avoid the router kicking the small piece, which it still did... but the cut was perfect.
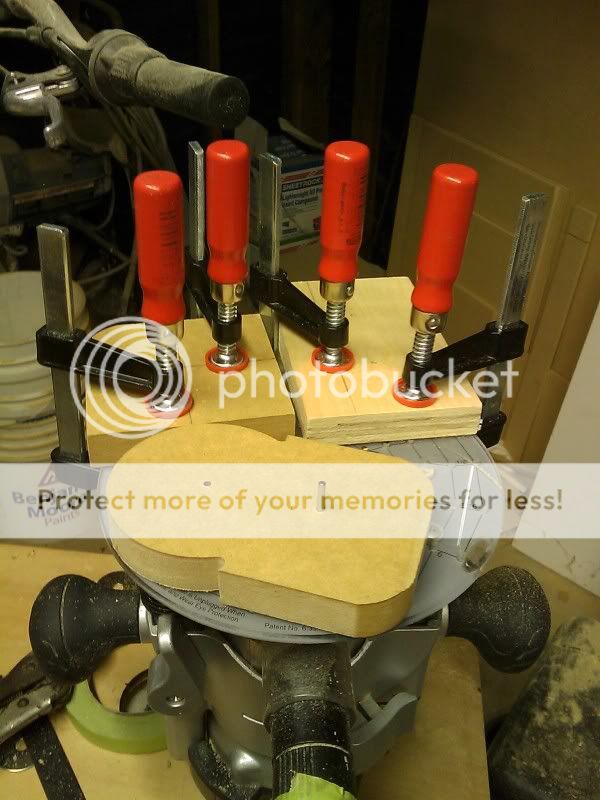

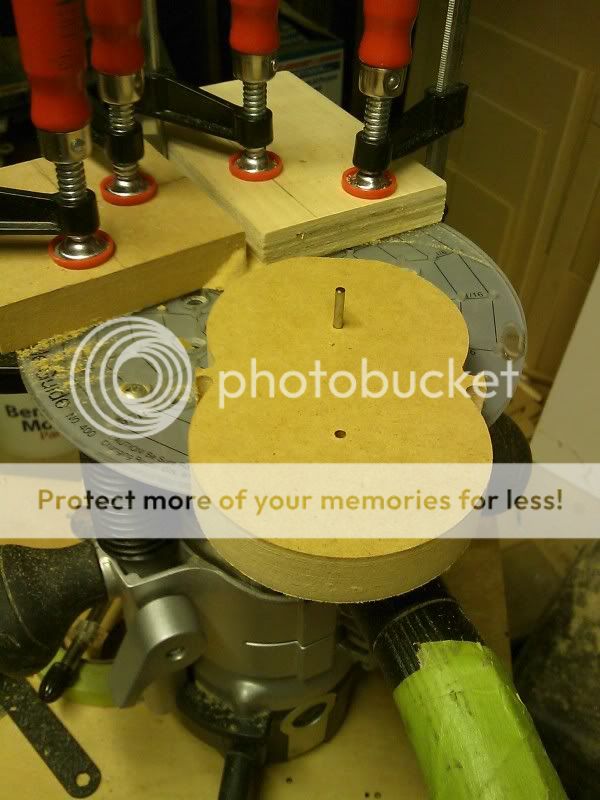
It kind of looks like a peanut. Not sure if this is going to work out.
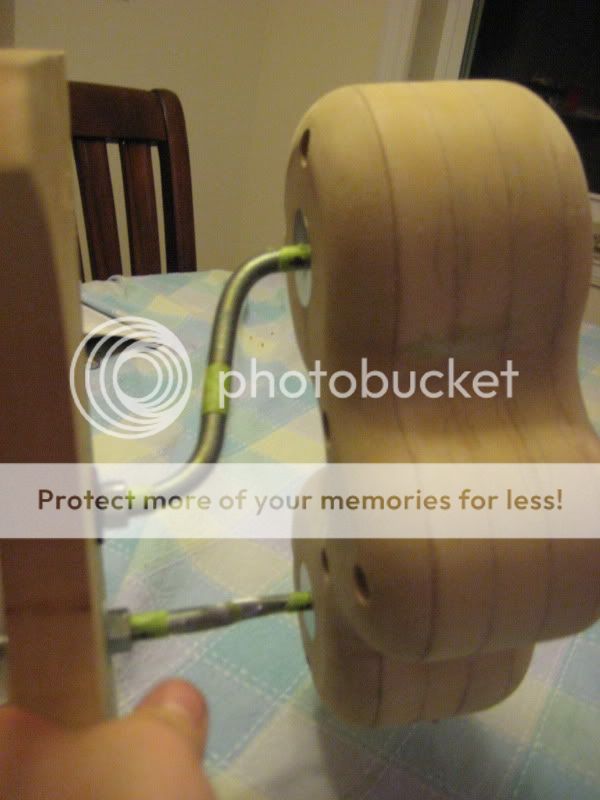
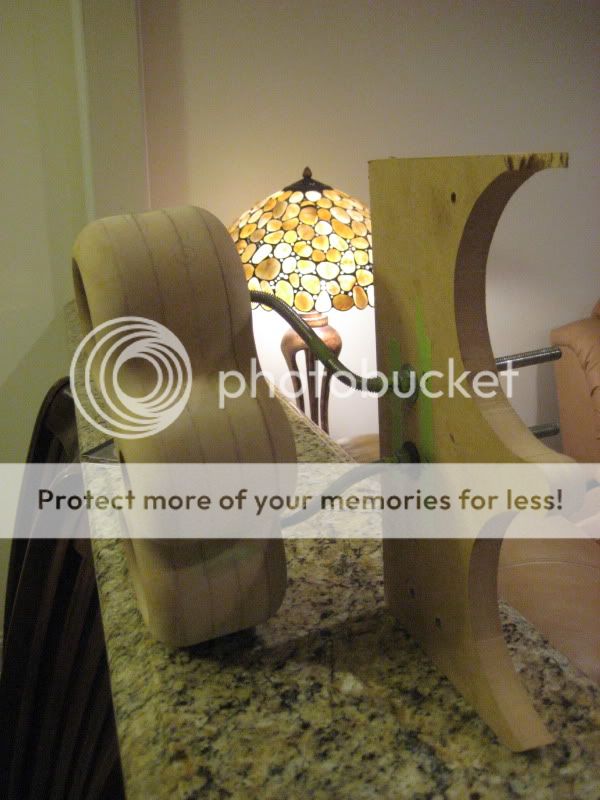
I wanted to try using some birch plywood, since it's much stiffer than the mdf, I figured it was worth a shot.
I don't know if I will use either the shape or the ply. I don't think it's worth the amount of work I'd have to put into making it paintable.
I might just go with a square plate with rounded edges, or without the webbing, or I may keep the shape and do a 45* chamfer instead. Thoughts?
I used blocks this time to avoid the router kicking the small piece, which it still did... but the cut was perfect.
It kind of looks like a peanut. Not sure if this is going to work out.
I wanted to try using some birch plywood, since it's much stiffer than the mdf, I figured it was worth a shot.
I don't know if I will use either the shape or the ply. I don't think it's worth the amount of work I'd have to put into making it paintable.
I might just go with a square plate with rounded edges, or without the webbing, or I may keep the shape and do a 45* chamfer instead. Thoughts?
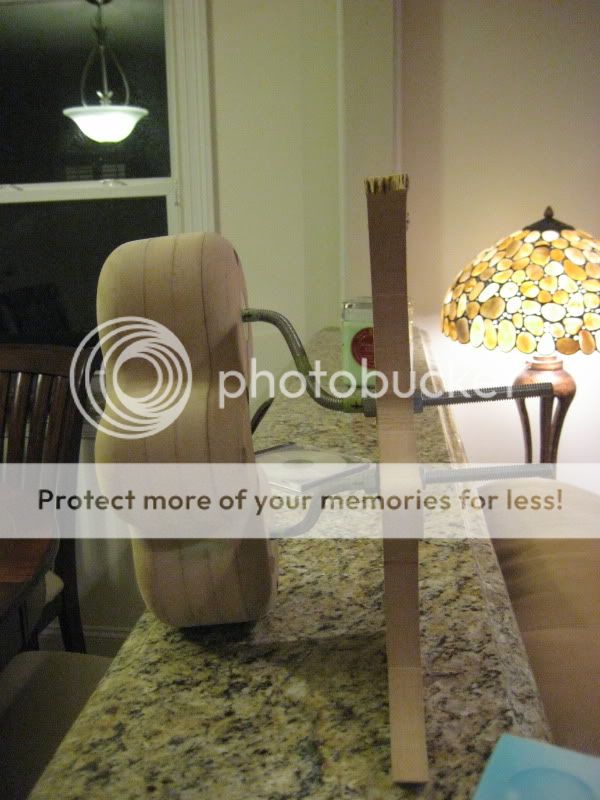
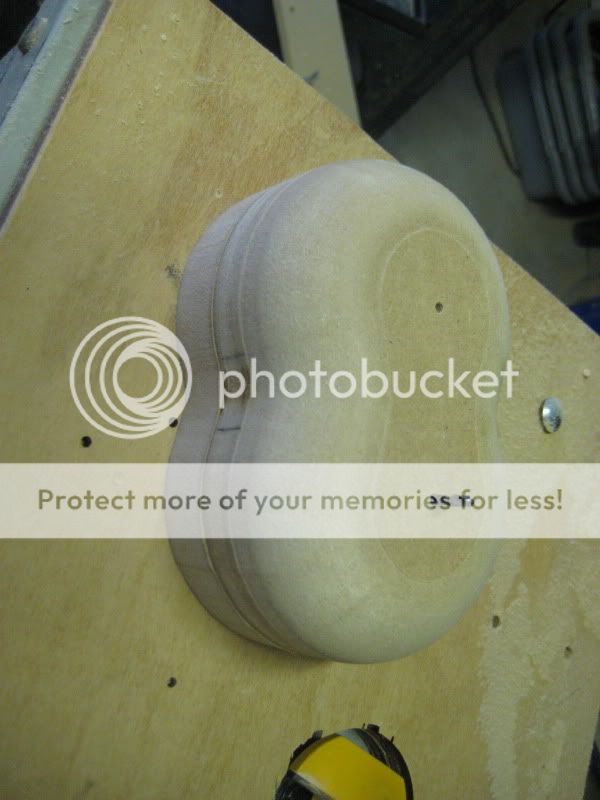
I rerouted the wall plate stencil piece, a little bigger this time, and out of mdf. Im going to start using pins to hold things that I have to layer up to route. Double sided tape is a pain in the ***.


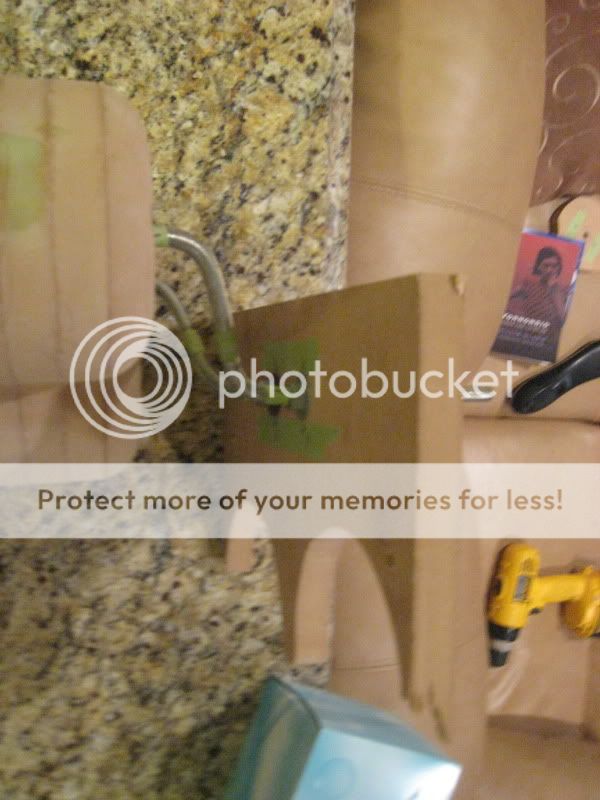
Then I stacked them on top of each other, with the stencil in the middle, to run on the big roundover.


I decided to empty the shopvac because it had started feeling heavy and I wasn't sure the suction was as strong as it should be.
This is how much sawdust I had...
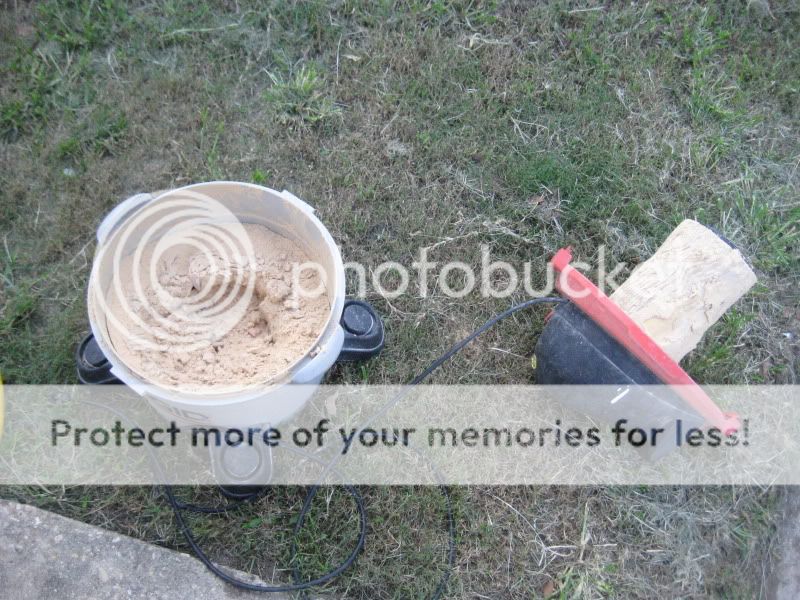
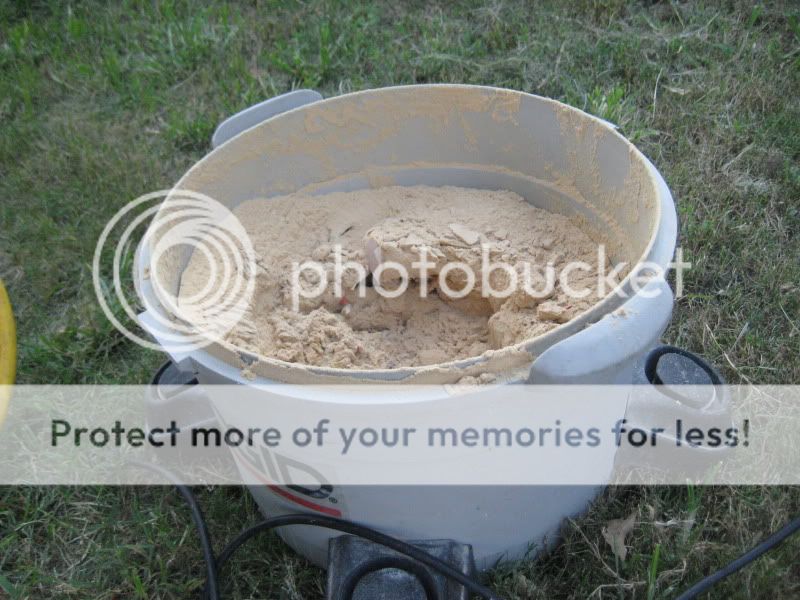
This bag is what came out of it.

Then I stacked them on top of each other, with the stencil in the middle, to run on the big roundover.
I decided to empty the shopvac because it had started feeling heavy and I wasn't sure the suction was as strong as it should be.
This is how much sawdust I had...
This bag is what came out of it.

- Status
- This old topic is closed. If you want to reopen this topic, contact a moderator using the "Report Post" button.
- Home
- Loudspeakers
- Multi-Way
- Funky NS3 MTM Build