I am not quite sure how you would label this 'thing' I am making. So contraption will do for now. I have a few options available before I finish the CHRontraption and I don't know what is the right choice. So I thought I might put in a bit of a back story in how I got to where I am now with some photos that I have taken during the build. There are quite a few lessons learnt through this process and I figure someone else might benefit from my mistakes.
In exchange for the story perhaps I could get some advice from the experts that frequent this forum?
The questions will come later, after I have earned some brownie-points...
In exchange for the story perhaps I could get some advice from the experts that frequent this forum?
The questions will come later, after I have earned some brownie-points...
I will link all the relevant pages...
So here is all the MDF cut and ready to go. 18mm MDF. The contraption is going to be 30cm tall so I cut it all from one long piece of MDF 30cm wide.
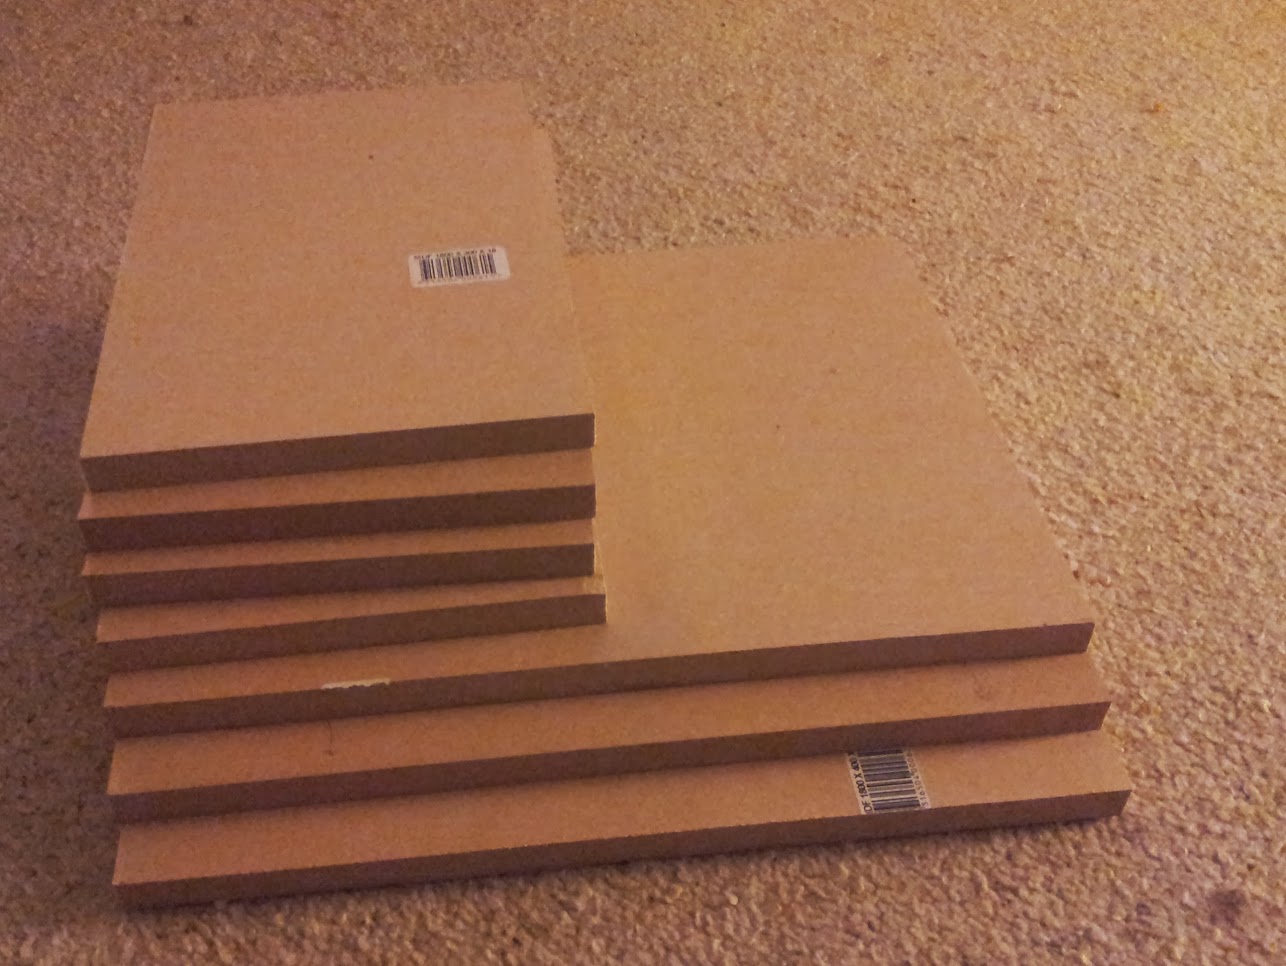
I am useless at cutting the wood exactly and as usual it was not very square. More about that later.
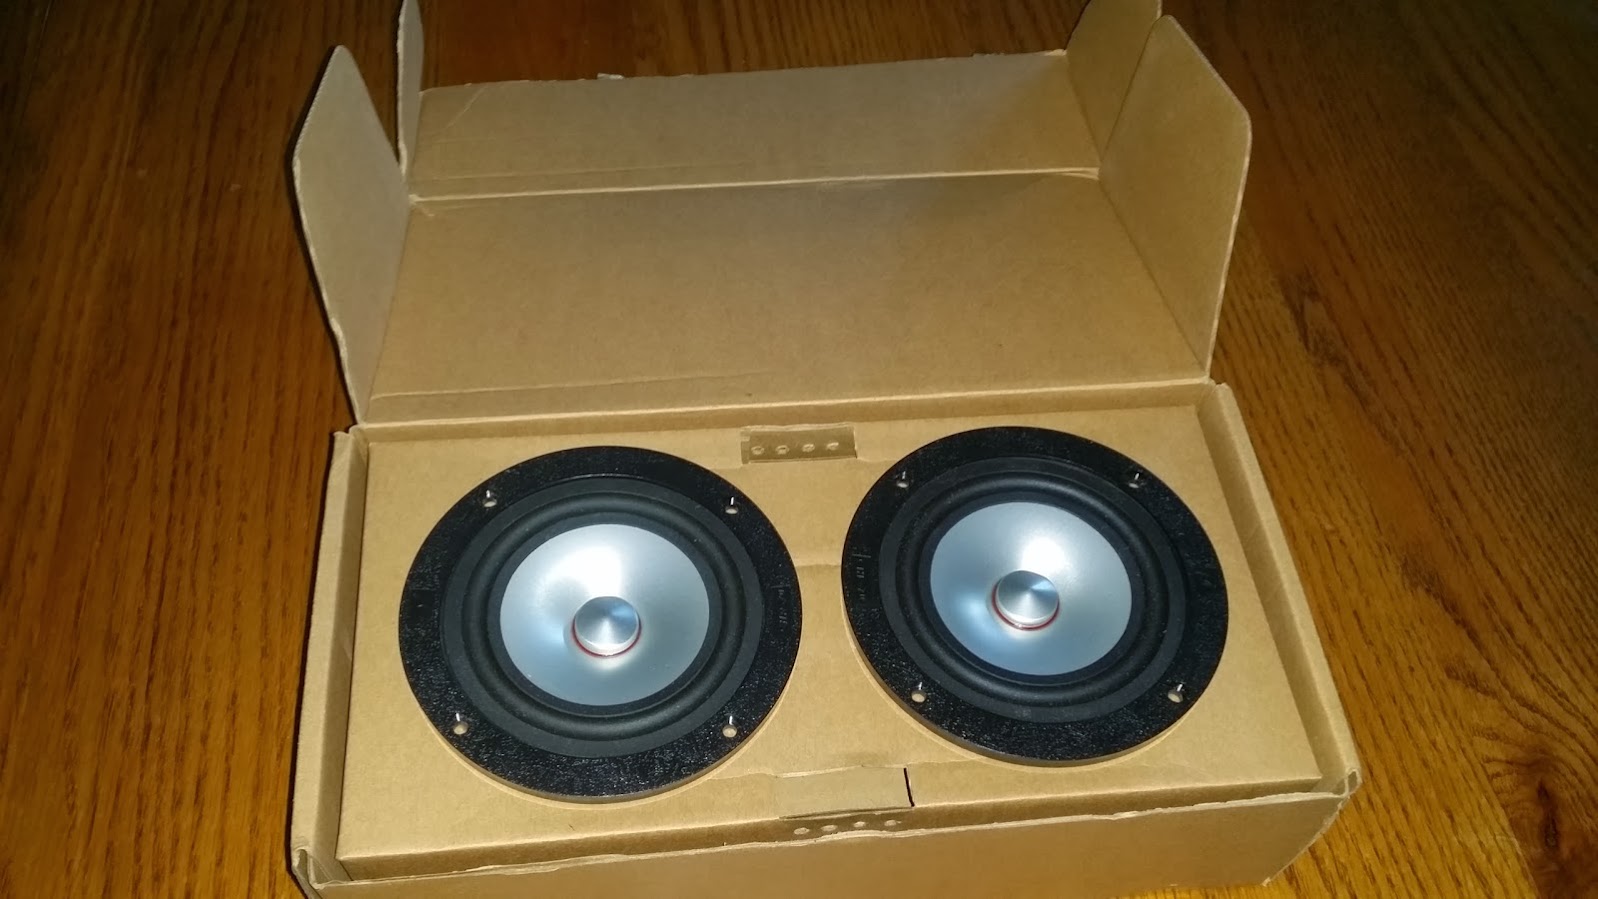
And then a wonderful package arrived. Ordered from MOD-Loudspeakers - Shop in NZ . Thanks guys.
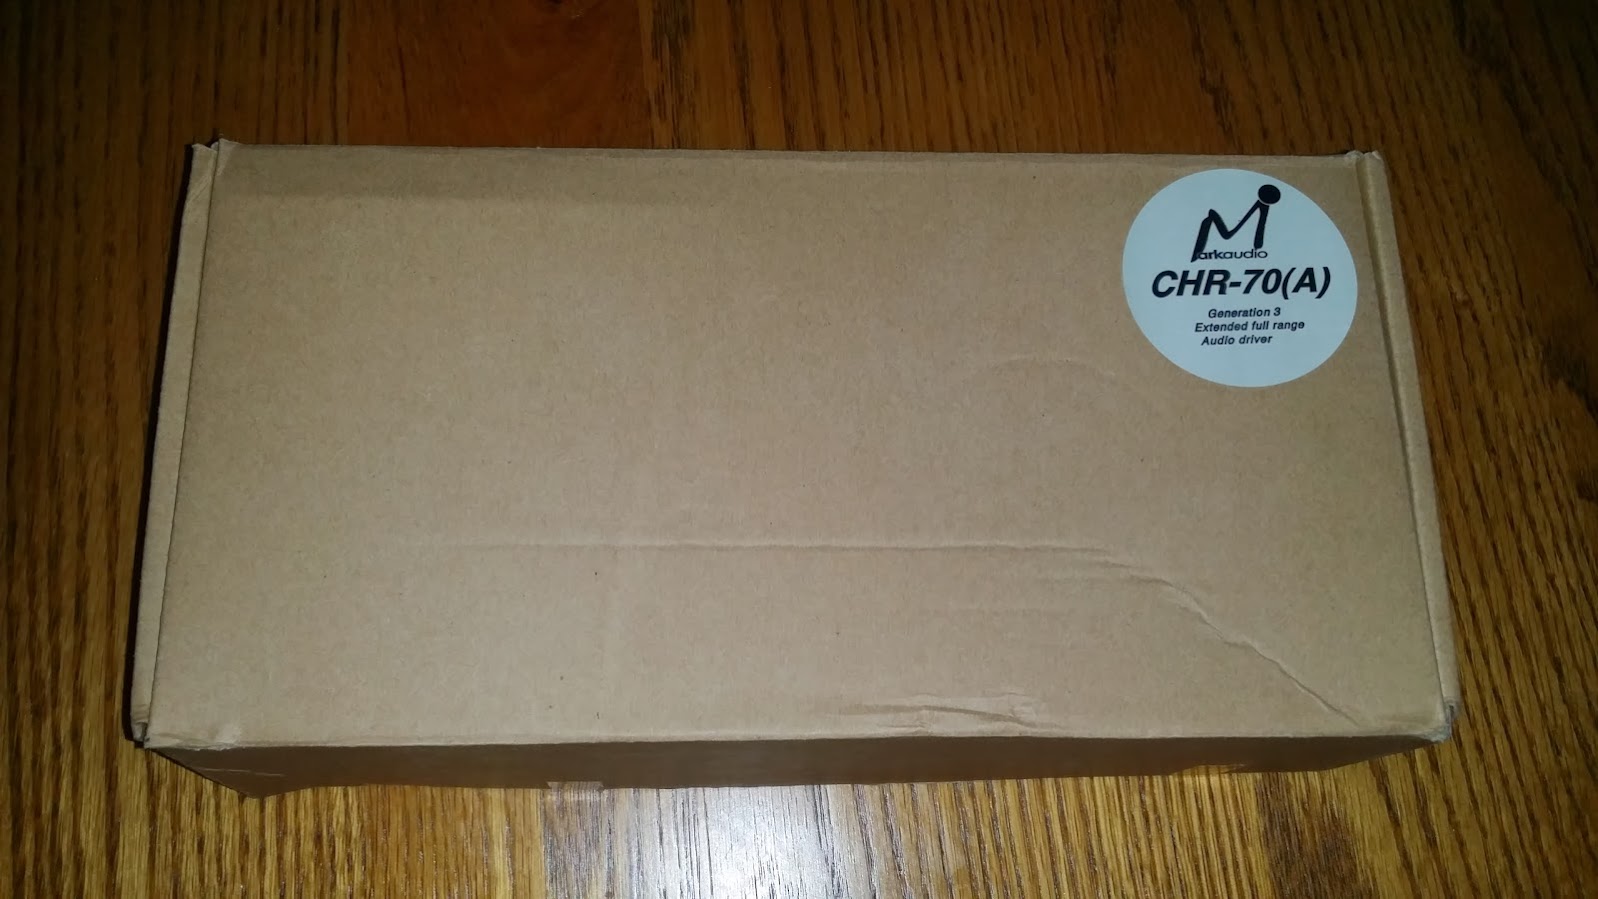
Don't they look wonderful...
The contraption also includes an amp (left) and power supply (right).

These came from HiFimeDIY Store . I have used them a few times and I like the quality and service.
The amp is this: Hifimediy T4 mcap. More than enough grunt if needed, but the contraption is not really about volume, more quality.
So here is all the MDF cut and ready to go. 18mm MDF. The contraption is going to be 30cm tall so I cut it all from one long piece of MDF 30cm wide.
I am useless at cutting the wood exactly and as usual it was not very square. More about that later.
And then a wonderful package arrived. Ordered from MOD-Loudspeakers - Shop in NZ . Thanks guys.
Don't they look wonderful...
The contraption also includes an amp (left) and power supply (right).
These came from HiFimeDIY Store . I have used them a few times and I like the quality and service.
The amp is this: Hifimediy T4 mcap. More than enough grunt if needed, but the contraption is not really about volume, more quality.
The CHRontraption is to be based on Andreas' (Andy17) Shoe Box. MarkAudio provides the links to the design. CHR 70 Metal | Markaudio
However my interpretation aims to join the two speakers together with a space in the middle for the amp and power supply. More photos to come.
However my interpretation aims to join the two speakers together with a space in the middle for the amp and power supply. More photos to come.
<snipped>
However my interpretation aims to join the two speakers together with a space in the middle for the amp and power supply. More photos to come.
Why join them together? Seems to introduce severe built-in limitations of options for relative positioning. But what is the application scenario?
Gootee - yeah. I tend to agree. And it seems rather a waste of some very nice drivers and a not-too-shabby amp.
But I just wanted to set myself the challenge of making a 'portable' sound system. It is to be taken on the road, holidays etc..
As it is coming together I am realising it almost seems to weigh more than one of my children. But it is fun and an interesting challenge. I will share in the story later a moment when i really questioned what I was doing. It remains to be seen how long a life the CHRontraption will have. But it is yet to be born.")
But I just wanted to set myself the challenge of making a 'portable' sound system. It is to be taken on the road, holidays etc..
As it is coming together I am realising it almost seems to weigh more than one of my children. But it is fun and an interesting challenge. I will share in the story later a moment when i really questioned what I was doing. It remains to be seen how long a life the CHRontraption will have. But it is yet to be born.
So the build. I tried to think it all through logically but it sometimes felt like one step forward and two steps back.
Anyway - it started like this...

And then..
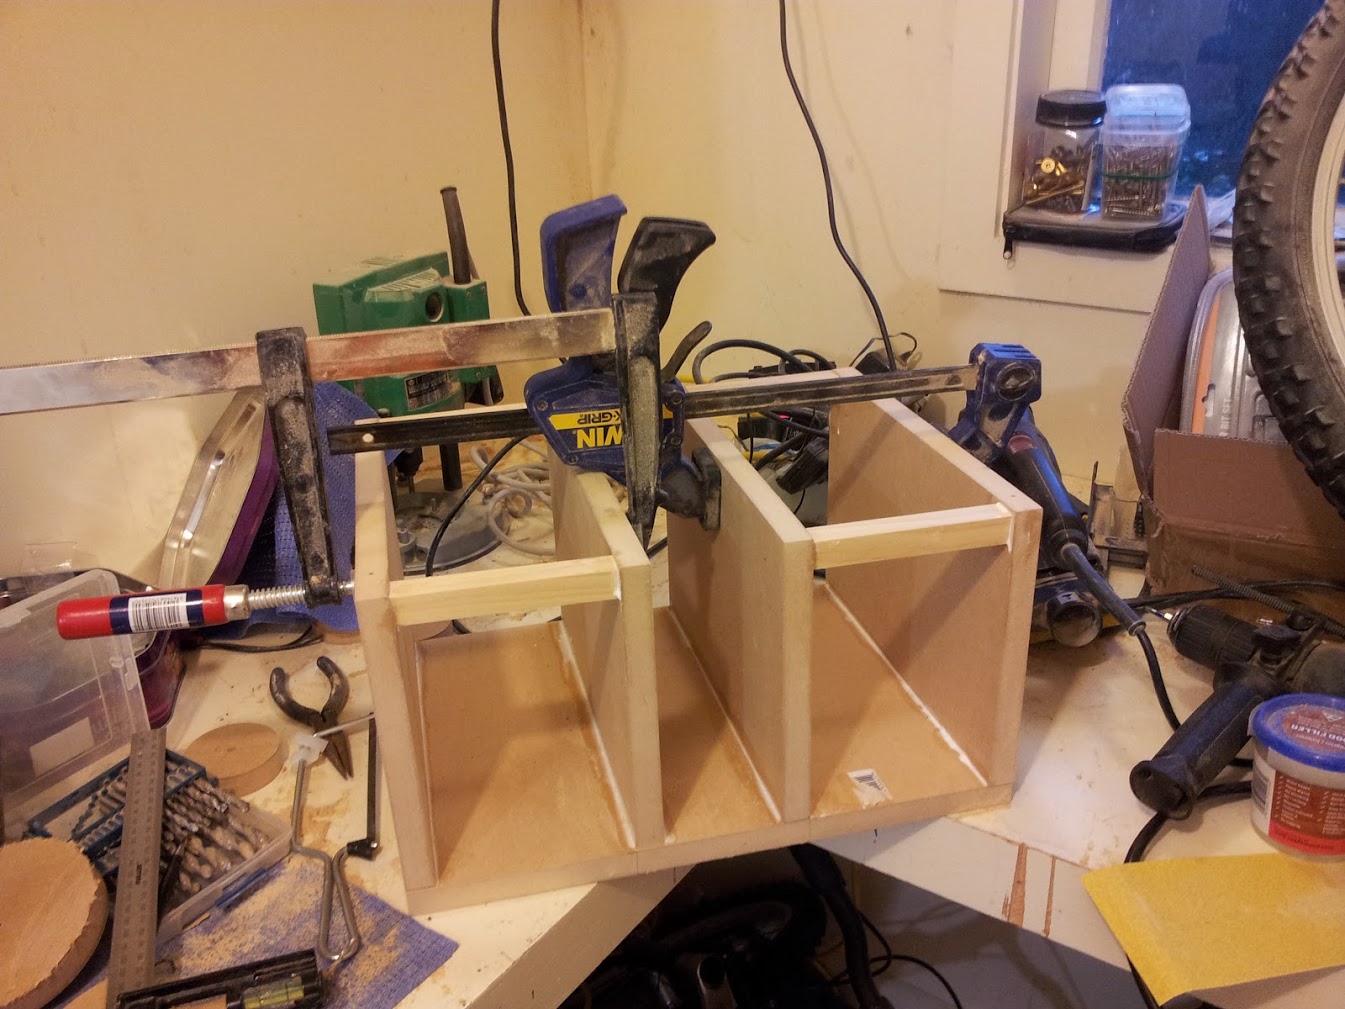
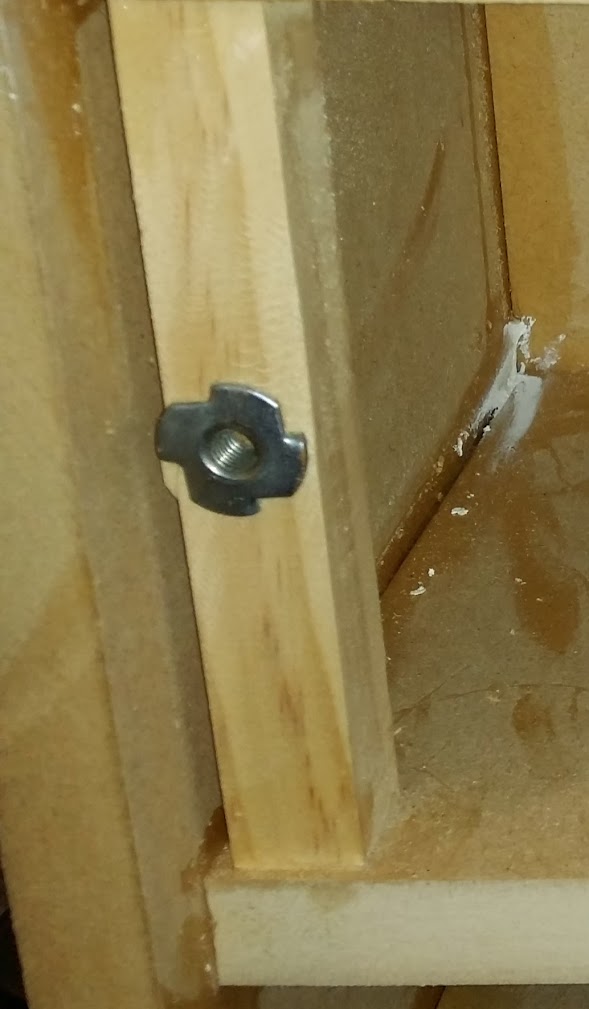
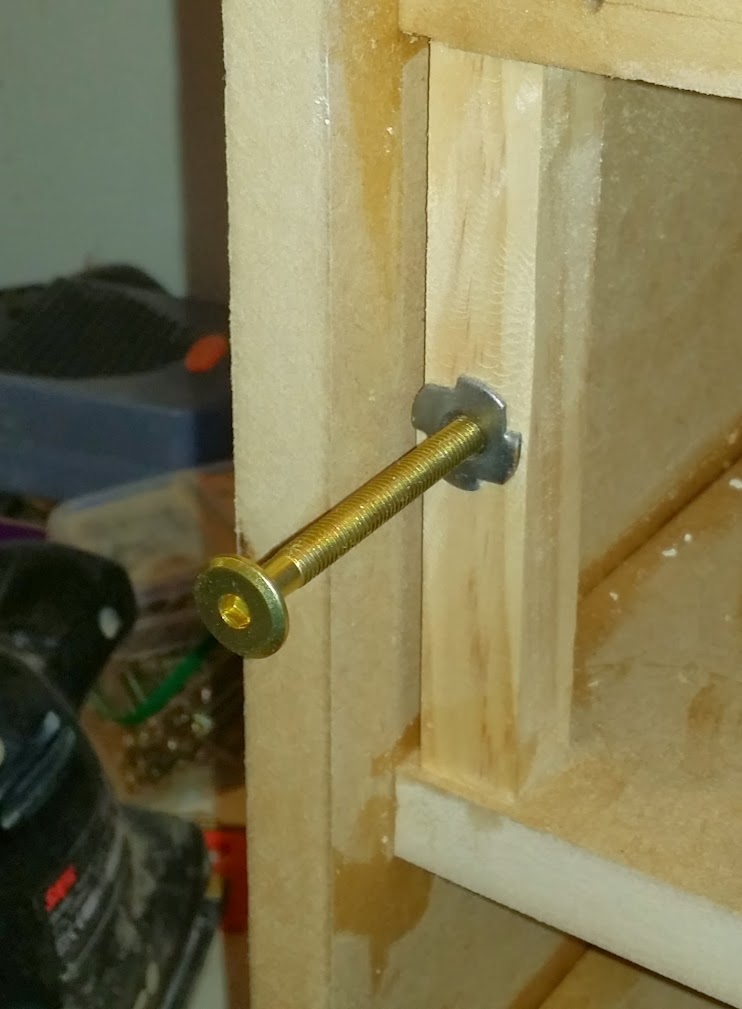
I used some tiny 2cm square pieces of pine top and bottom between the main walls of the speakers. Firstly it helped in the separation but also I want the back wall of this thing to be able to come off. I have some brass screws and some steel bolts that just i just pushed into the pine. They allow for a tight fit and allow me to take the back off when I need to. The idea of the amp shut behind the back wall makes me uncomfortable.
I can also play around with whatever damping I get around to using in the speakers. So the bolt, and then a brass screw to demonstrate how it looks.
Anyway - it started like this...
And then..
I used some tiny 2cm square pieces of pine top and bottom between the main walls of the speakers. Firstly it helped in the separation but also I want the back wall of this thing to be able to come off. I have some brass screws and some steel bolts that just i just pushed into the pine. They allow for a tight fit and allow me to take the back off when I need to. The idea of the amp shut behind the back wall makes me uncomfortable.
I can also play around with whatever damping I get around to using in the speakers. So the bolt, and then a brass screw to demonstrate how it looks.
I suppose there is a better way or even a better sequence to this build? Advice or opinions appreciated....
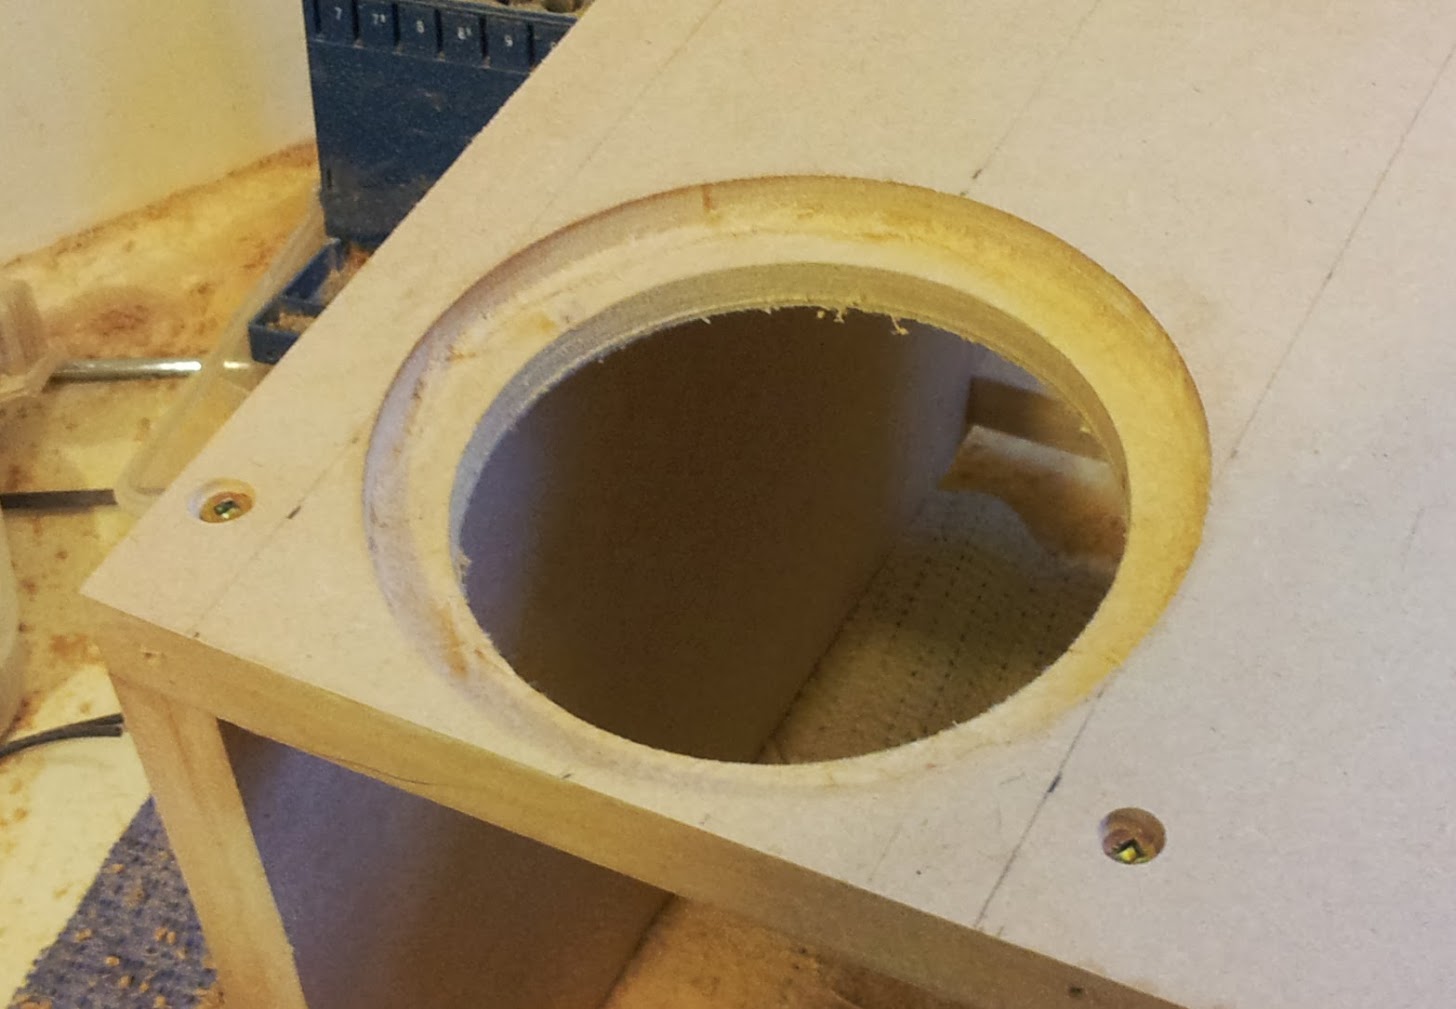
So the next bit was cutting the holes in the front wall for the CHRs. As I said above this is my second speaker build and I am much improved. I don't know how many pieces of MDF i wasted on those first speakers. LOL. I won't bore you with all the different ways I tried and failed. Anyway I ended up getting a Jasper Circle Jig and it has made it a lot easier. Jasper - Router Accessories, Circle Guides, Router Base Plates, Houston, TX Butterfly Template
And some pictures of my beloved Jig and Router and the holes:
Last edited:
And the moment of truth..

Ahh, perfect. Does anyone else breath a sigh of relief at this stage in their projects?
After my many previous failed efforts at cutting these damned holes I am very pleased that I have mastered it. I have a nifty excel spreadsheet that I developed during this process of trial and error that gives me help with which hole to pivot around on the jig. It also does the metric /imperial conversion since Jasper haven't made a metric version (yet).
On the pic with the brass bolt - shouldn't the t-nut be on the other side of the brace?
if used at all - try threaded inserts instead - Hafele certainly has those in their catalog as well
Jimbro. Thanks. I didn't realise. But I can see that makes sense - otherwise I am pulling the t-nut out when I tighten the bolt> Duh! Mistake number 156. Now how do I fix that without tearing out the braces?
Chrisb - What is Hafele? And can you recommend a type of threaded insert for this?
Thanks to both of you for the help...
Chrisb - What is Hafele? And can you recommend a type of threaded insert for this?
Thanks to both of you for the help...
jules - photo in your post #10 - label on "jam jar" of presumed assembly screws
Hafele - international distributor of a cabinet hardware among many products
Hfele Hardware Technology: Furniture fittings, architectural hardware and the electronic locking system Dialock -
I frequently use their threaded insert fitting 030.00.119 as seen on catalog page 294
https://hachol02.hafeleonline.com/O...F32299E85DB1BFC7D7E16A5D4CCEBD7C03C3BE927031#
Last edited:
Not sure I see the problem with moving the t-nut. Can't you just pry it off and stick it on the other side? Draw it in by tightening the bolt. I'd add some epoxy around the flange to make sure it doesn't fall out. Like Chris, I prefer threaded inserts but sometimes it's just easier to work with what you've got.
I recall seeing a commercial speaker with some sort of divider in the middle of the baffle to increase the stereo separation. It was basically a single cabinet stereo speaker with a plate mounted perpendicular to the baffle between the two speakers.
Could this be something to experiment with? There might of course be some more important things to focus on.
Could this be something to experiment with? There might of course be some more important things to focus on.
How tight are your drivers in the hole? I couldn't get my jasper jig to cut a hole that would make them both easily removable and also not have a 1/16" gap around it, so I had to custom make a circle jig that was a metric outer diameter. Yours look pretty good as far as size goes, and I assume the recess is to account for gasket material?
- Status
- This old topic is closed. If you want to reopen this topic, contact a moderator using the "Report Post" button.
- Home
- Loudspeakers
- Full Range
- CHR 70 Contraption