For my part I thought people needed to see what a clumsy DIY noob could accomplish and not only these slick professional looking projects others have postedLots of pics here lately, that's great")
Speaking of which, since my PSU can put out up to 4A on the 5V output I should have plenty of power over for powering my Raspberry Pi from the same supply. Unless anyone can think of a reason not to?That's actually pretty easy.
1. Sort out the power for the Amanero. Either USB powered or fed straight from the PSU if it can handle it (probably it can).
Excellent advice that I will follow presently, I think I have some cold beer that would go well with a warm amp and some good music.3. Sit back and listen. Optionally, get yourself a drink
Tomorrow I'll put online the new version with the changes we have discussed lately.
BTW Bengt, what screws have you used for securing the connectors on the rear panel?
Ok, great
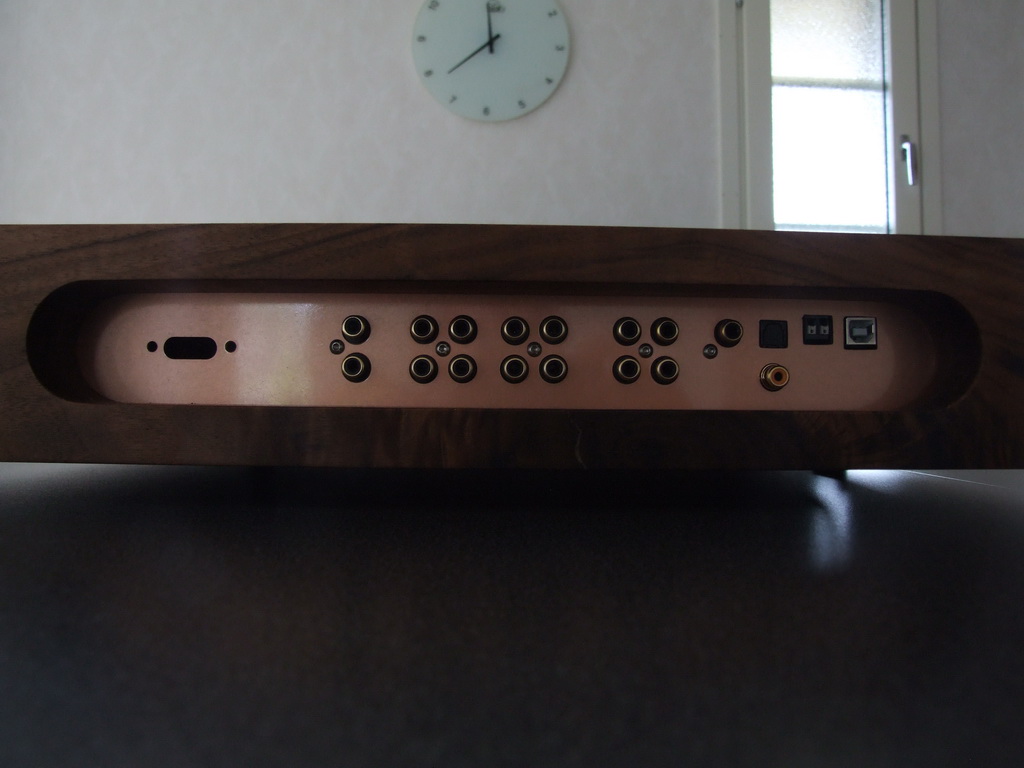
I threaded the holes first (not shure if it's nessesary) and I'm using, "M3 X 10 STAINLESS BUTTON HEAD ALLEN BOLTS".
Edit: The ebay link didn't work but search for it on Ebay using the text above and you will find the shop "Boltbase".
Last edited:
NUC V.1.1.0 released
Thanks Bengt. I'm actually looking for proper self-tapping screws. I'll get in touch with the distributor of those connectors.
I've just posted NUC V.1.1.0.
List of changes:
- Support for remote protocol RC5
- Support for OLED (WS0010) and VFD displays.
- There were complains that it was not always possible to change the volume in dB increments with the remote, so this has been reworked.
- Another complain was that the Najda could sometimes come out of StandBy on its own. So this has also been checked and reworked, should be fine now.
- Documentation updated.
Now a few notes.
- If you install a display which is not of LCD type, you must declare this display in the new Display Options dialogue.

When this is done, the application will recommend you to disconnect, put Najda into StandBy and turn it on again. Don't skip that.
The Apple remote is a bit particular in the sense that one single key press can send 2 successive IR codes. This happens with the big button in the doughnut and with the Play/Pause button. I recommend you don't use any of these keys for turning the Najda ON and OFF. (Use the menu key instead)
Not sure if it's been mentioned here, but it's certainly in the Startup Guide
Pin 1: I2S_EXT1_LINE1 (and ground on eg. pin 2)
Pin23: I2S_EXT1_CKR (ground on eg. pin 24)
Pin 25: I2S_EXT1_FSR (ground on eg. 26)
And pin 13 which is not connected to your source but directly to any DGND (eg. pin 10) to signal the Najda that you have something connected via I2S.
Which should equate to these pins on Expansion port 1 according to the same doc:http://waf-audio.com/doc/Najda/Najda_Startup_Guide.pdf said:In order to connect an external I2S stereo source to Najda, follow these simple steps:
–
Your device's Data Out → I2S_EXT1_LINE1
–
Your device's FSync (or L/R) → I2S_EXT1_FSR
–
Your device's SCLK (or BCLK) → I2S_EXT1_CKR
–
Tie IS_EXT1\ to DGND
–
Don't forget to wire the ground, ideally one separate ground line per signal.
Pin 1: I2S_EXT1_LINE1 (and ground on eg. pin 2)
Pin23: I2S_EXT1_CKR (ground on eg. pin 24)
Pin 25: I2S_EXT1_FSR (ground on eg. 26)
And pin 13 which is not connected to your source but directly to any DGND (eg. pin 10) to signal the Najda that you have something connected via I2S.
Yes this will be added (support for Winstar WS0010), as well as some VFD support.
I have no luck having followed the instructions. I am double checking if my OLED is Winstar WS0010. I remember it being identical to the one Nick showed in this thread way back.
http://www.diyaudio.com/forums/digi...sp-xover-project-part-2-a-41.html#post3892192
It is marked Midas and is discussed here;
". I suspect they are all made by Winstar, using the WS0010 or RS0010 controller, then simply re-badged. "
Run Away Brainz: Midas 1602 OLED Character Display
Sourced here;
OLED 2x16 Green Character Display | Maplin
Have I bought the wrong one perhaps?
Last edited:
MCOB21605G1V-EGP - MIDAS - OLED, 2X16, GREEN ON BLACK | Farnell UK
Perhaps the pins do not match exactly. I see on the datasheet above that 1,2,3, 15, and 16 do not match. Any pointers please?
Najda
1 DGND
2 +5VD
3 Contrast adjust
15 Backlight +5V
16 Backlight DGND
Midas
1 Vss
2 Vdd
3 NC
15 NC
16 NC
Perhaps the pins do not match exactly. I see on the datasheet above that 1,2,3, 15, and 16 do not match. Any pointers please?
Najda
1 DGND
2 +5VD
3 Contrast adjust
15 Backlight +5V
16 Backlight DGND
Midas
1 Vss
2 Vdd
3 NC
15 NC
16 NC
I have no luck having followed the instructions.
....
Have I bought the wrong one perhaps?
My first and second attempts were unsuccessful. The third time I made sure I followed the instructions precisely to the T and it worked (I don't know what I did wrong the first two times). What is different this time around is that you will actually see the display working on the default (LCD) setting. Prior to this software release my OLED was just dead. This (seeing the characters) fooled me into thinking that the display had been set up correctly, when in fact it was still configured for LCD. I only picked it up when I scrolled through the setup menu, where the display got a bit jumbled.
Perhaps the pins do not match exactly. I see on the datasheet above that 1,2,3, 15, and 16 do not match. Any pointers please?
Yes. Do not match them by pin number, but rather by pin label.
Najda -> Midas
1 DGND = 1 Vss
2 +5VD = 2 Vdd
3 Contrast adjust = don't connect
15 Backlight +5V = don't connect
16 Backlight DGND = don't connect
Last edited:
RC5 is good, volume increas by 1 db instead 3 is even better.
Tested, working.
Thanks for your input Meelis, and glad you're happy with the changes.
I have no luck having followed the instructions. I am double checking if my OLED is Winstar WS0010.
[...]
Have I bought the wrong one perhaps?
Hi Sean, check your wiring is correct and there's no loose contact - this is the key to success
Although I can't be sure, I believe your display indeed embeds a Winstar driver chip. Configure the display routines appropriately in NUC (don't expect any sign of life as long as the display hasn't been set up in NUC).It seems the newest bios/software doesn´t save the settings ,when rebooting the computer I have to set the output voltage and uncheck the bass/treble..
Hm why are you rebooting the computer? This is not clear to me
Anyway, I just made the test with checking/unchecking bass/treble and setting various output levels and it looks fine to me.
Remember: you must put Najda in StandBy in order to have the settings saved in the EEPROM.
Yes. Do not match them by pin number, but rather by pin label.
Najda -> Midas
1 DGND = 1 Vss
2 +5VD = 2 Vdd
3 Contrast adjust = don't connect
15 Backlight +5V = don't connect
16 Backlight DGND = don't connect
So the only change I would make is disconnect 3,15, and 16. 1 and 2 are already in the right place then. I suspect it should work even though those are connected. Come tomorrow, I'll disconnect and see what happens.
If anyone has successfully used the exact display I have, please let me know.
Thats what I forgott..you must put Najda in StandBy in order to have the settings saved in the EEPROM.
If I later wanna use a I2s source,how do I make it appear in the source settings?
That's the reason you connect IS_EXT1\ to DGND, for the Najda to know you're using I2S and to show it as an input.Thats what I forgott..
If I later wanna use a I2s source,how do I make it appear in the source settings?
- Home
- Source & Line
- Digital Line Level
- DSP Xover project (part 2)