Hi all,
If I've put this in the wrong place, please accept my apologies and move it to the correct place.
I recently had to change the drive gear for the cd tray mechanism in my Audiolab 8000CDM as the gear had stripped all of it's teeth off!
Thankfully, I found a replacement on ebay and it arrived a few days ago.
Ebay auction
I figured that I would take some photos and do a short write up to help anyone else in a similar position.
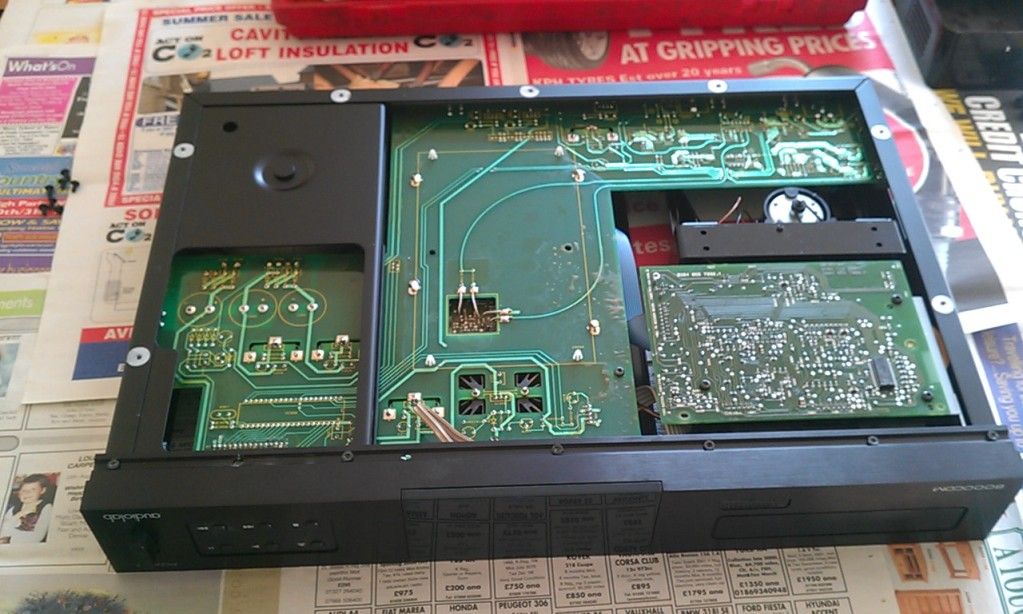
One Audiolab 8000CDM
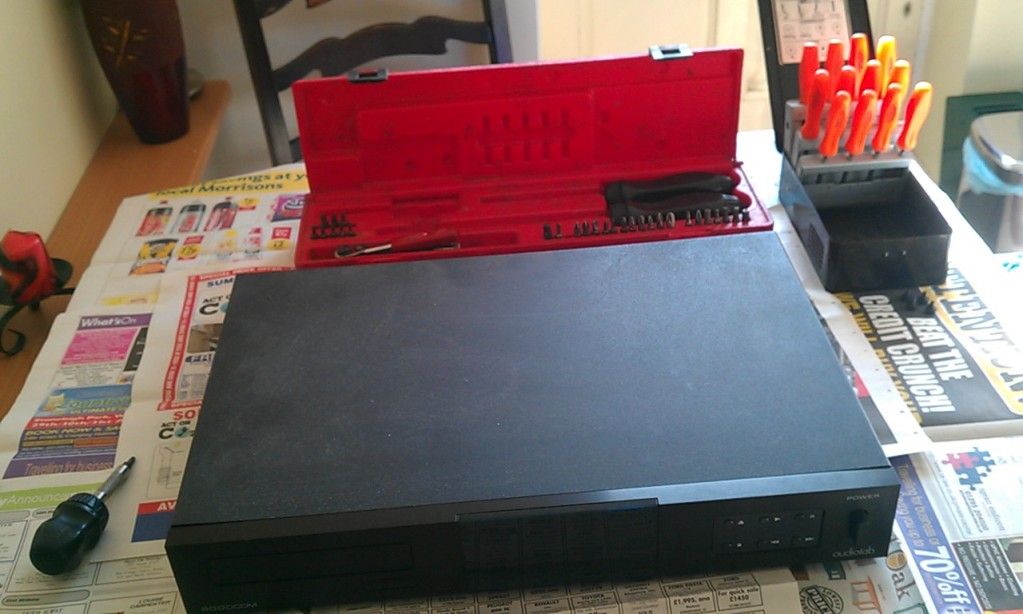
Remove the cover by unscrewing the 4 torx screws on the sides.
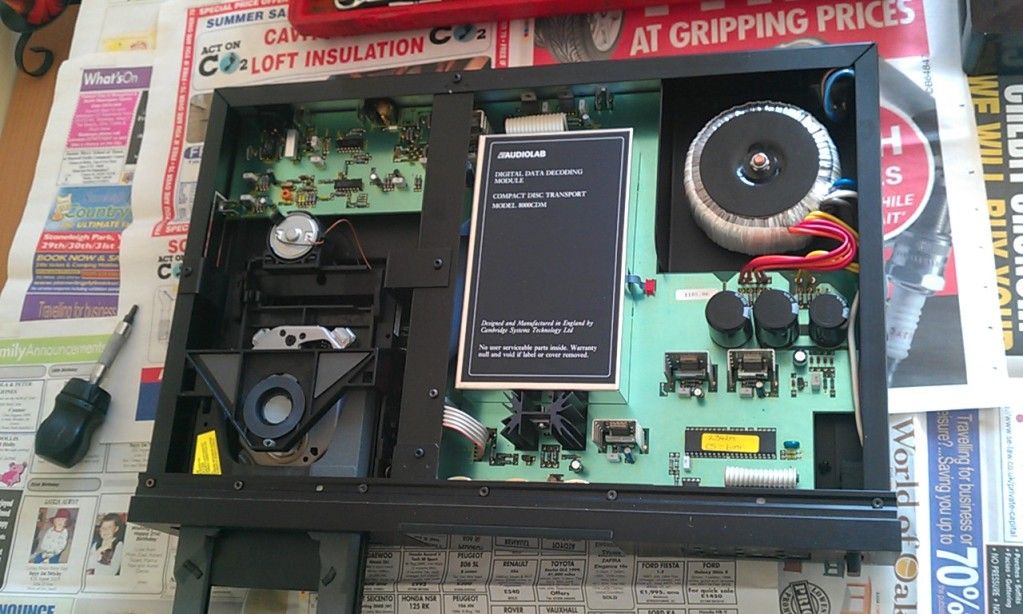
You don't need to do this to get to the drive gear but I did it to make sure that I had removed all of the remains of the gear... i.e. teeth! You don't want one of those getting trapping inbetween the new gear and the rack!
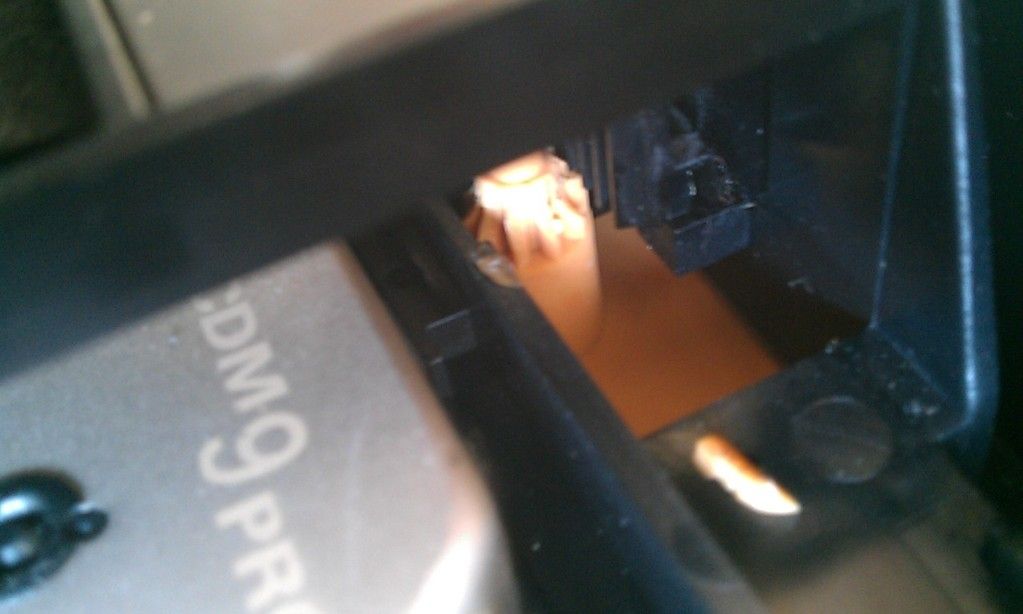
Here's the guilty party... you need to have the tray all the way out to see this.
Turning the unit over
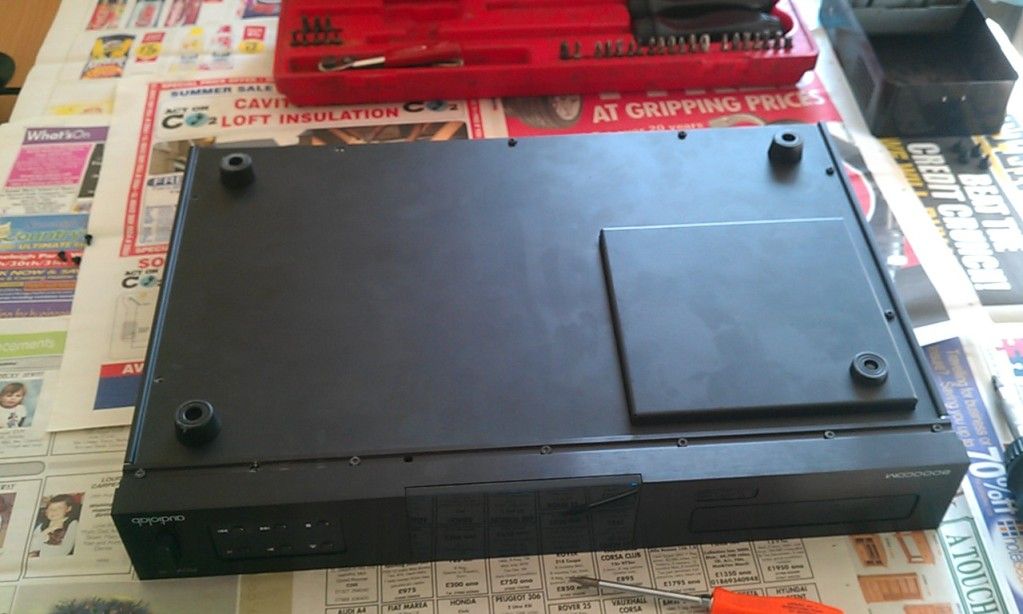
and removing the bottom cover panel (you'll need to slacken the screws which hold on the front panel here as well to allow the cover plate to come away)...
You can just see the edge of the drive gear underneath this circuit board.
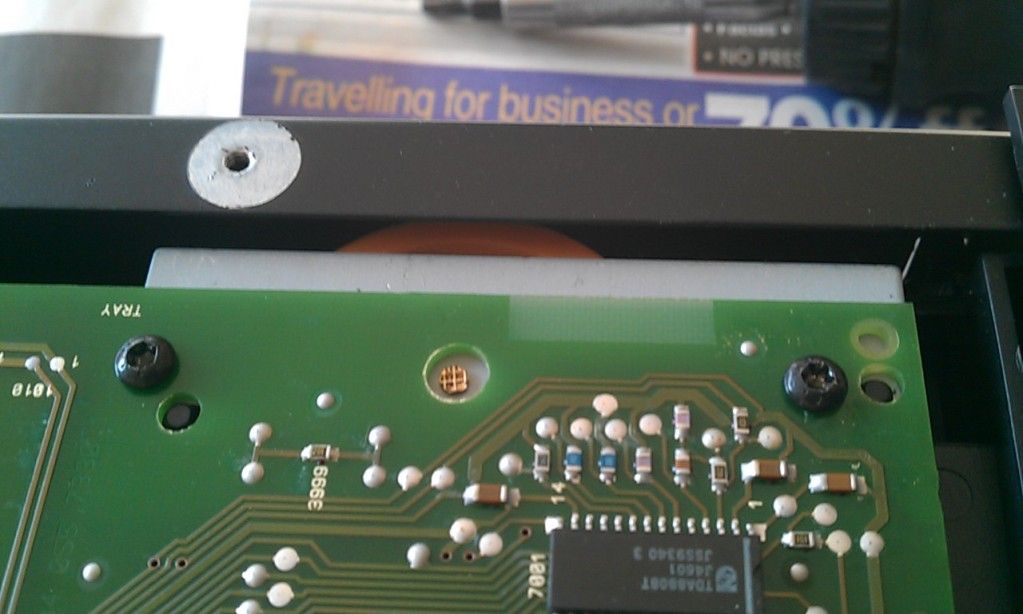
Remove the three torx screws which hold the circuit board down and carefully lift it up. It will only move a short distance as it is attached to the rest of the unit in several places.
Remove the drive band from the motor at this point. Just unloop it from the pulley so that there is no stress on the drive gear.
You should now be able to see the drive gear base plate. Either get someone else to hold the circuit board up our of the way or prop it up at this point and remove the drive gear base plate.


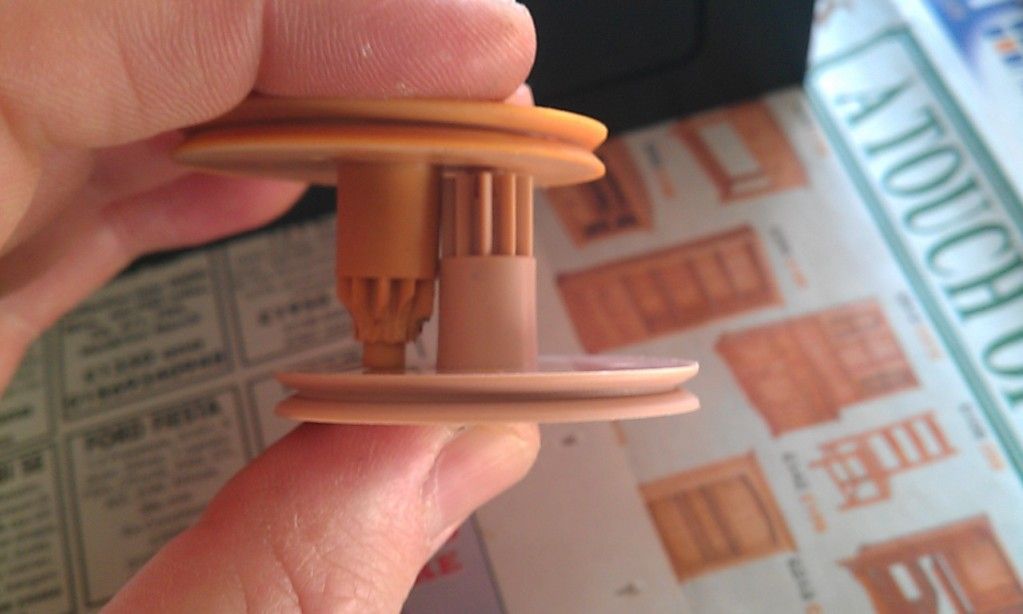
One dead drive gear...
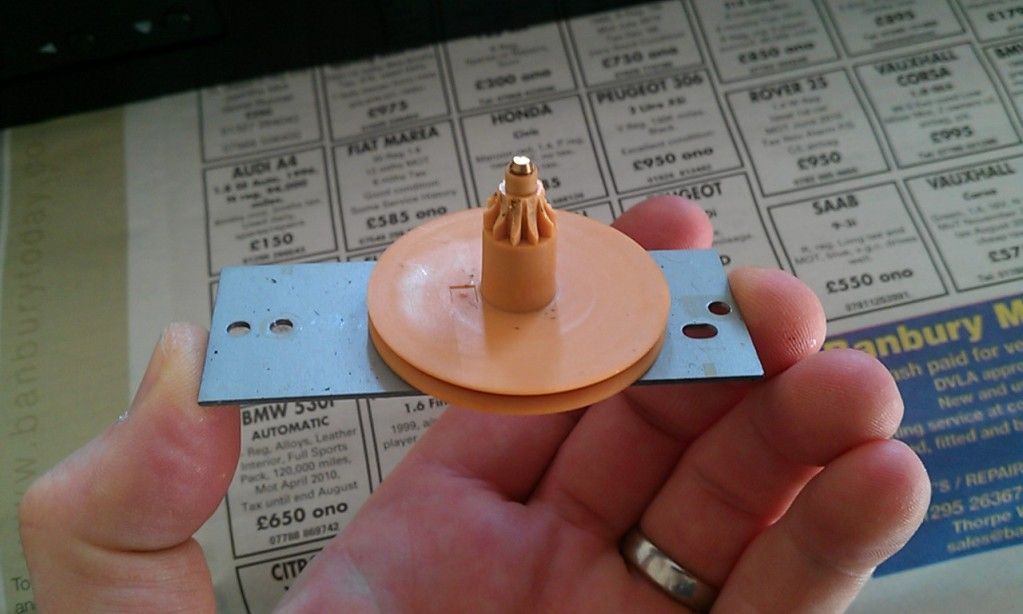
The shaft that it sits on has a slightly larger diameter section at the top to stop the gear from falling off so a bit of force is required to pull the gear off the shaft.
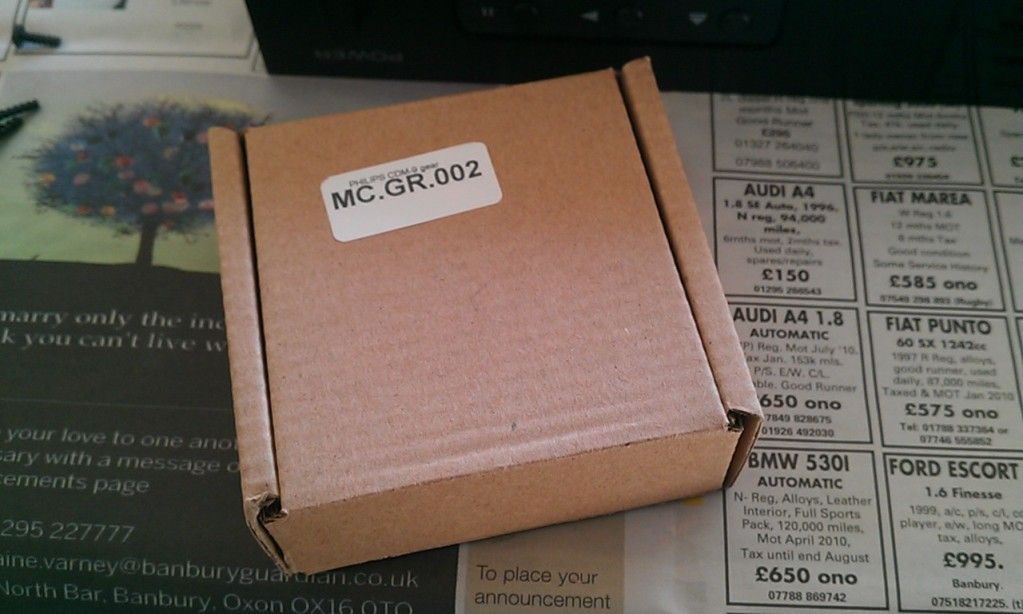
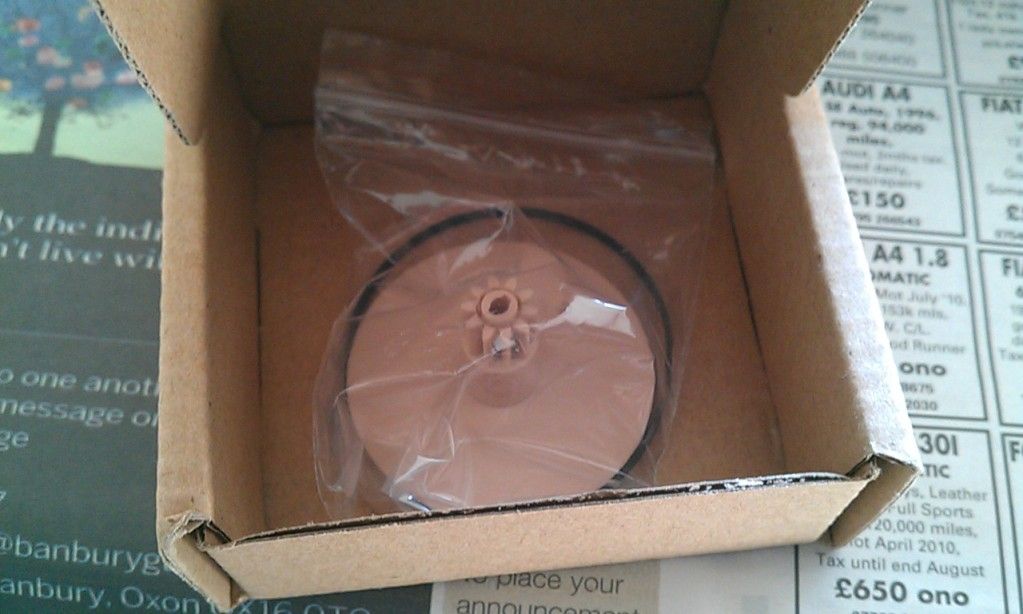
Your new gear comes in a small box
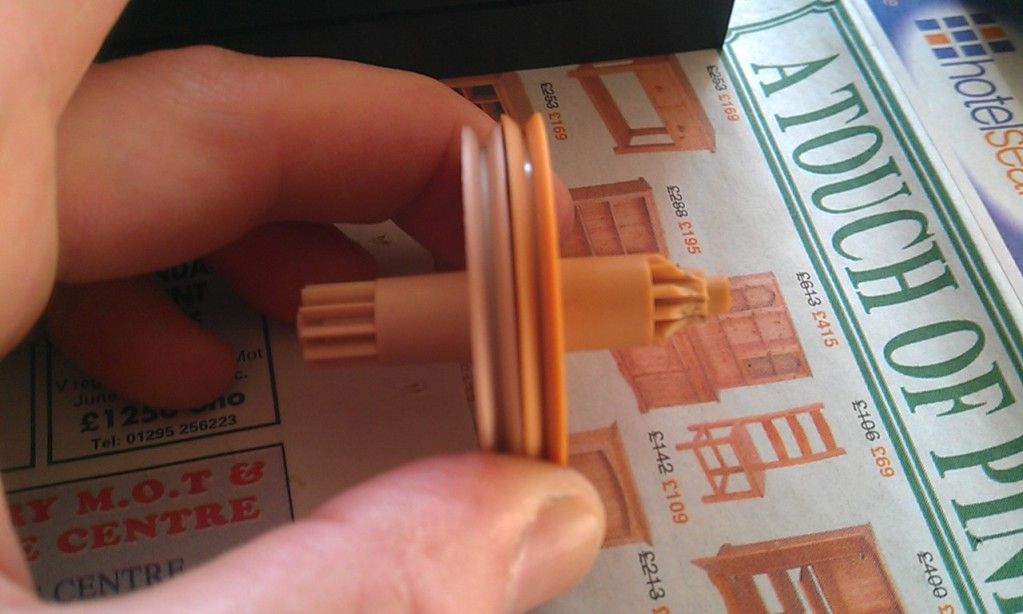
Old and new
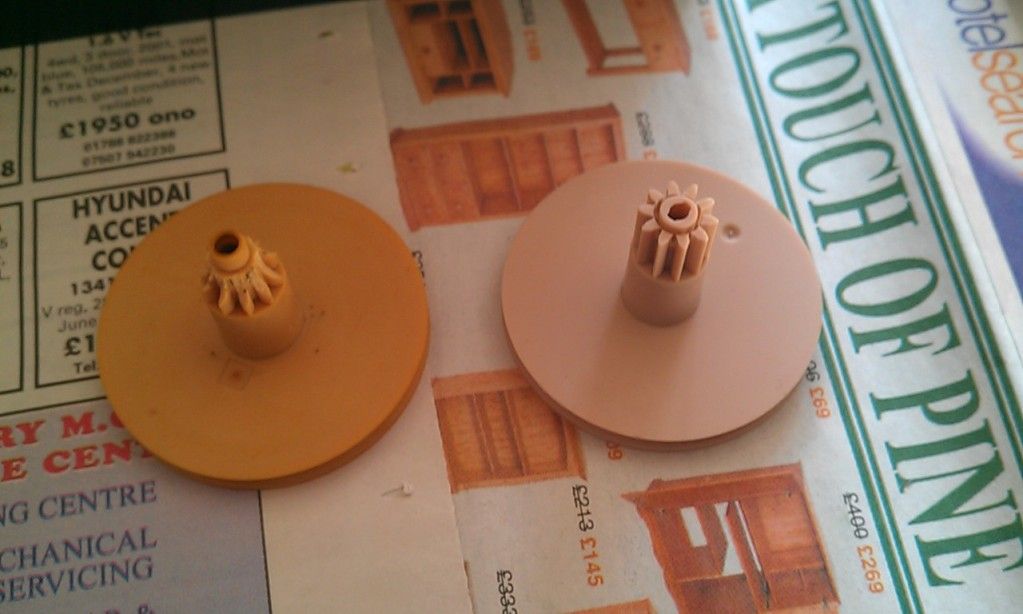
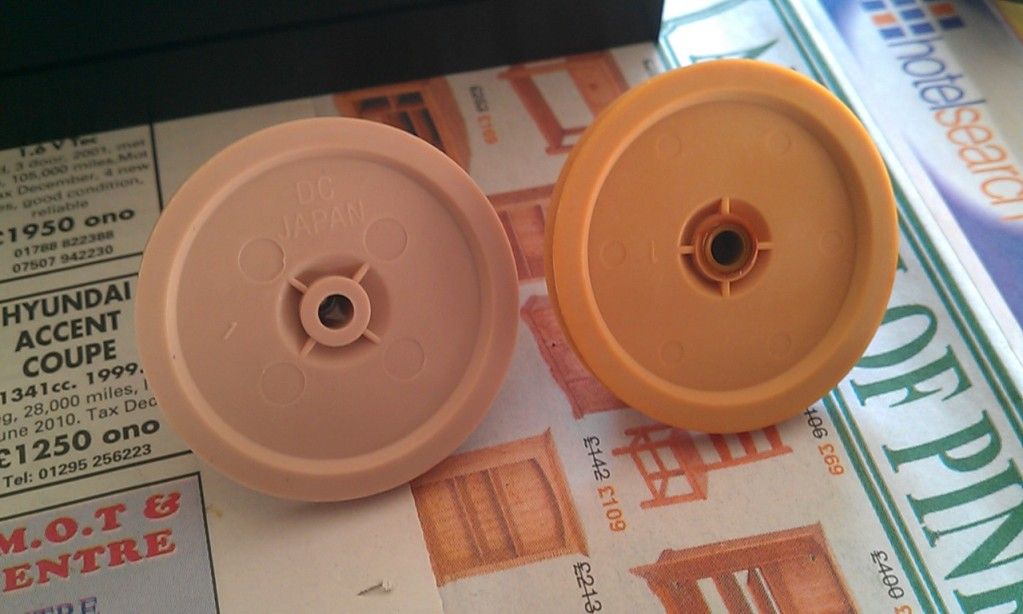
There is a small difference in overall diameter but it doesn't cause any problems.
Put it all back together...
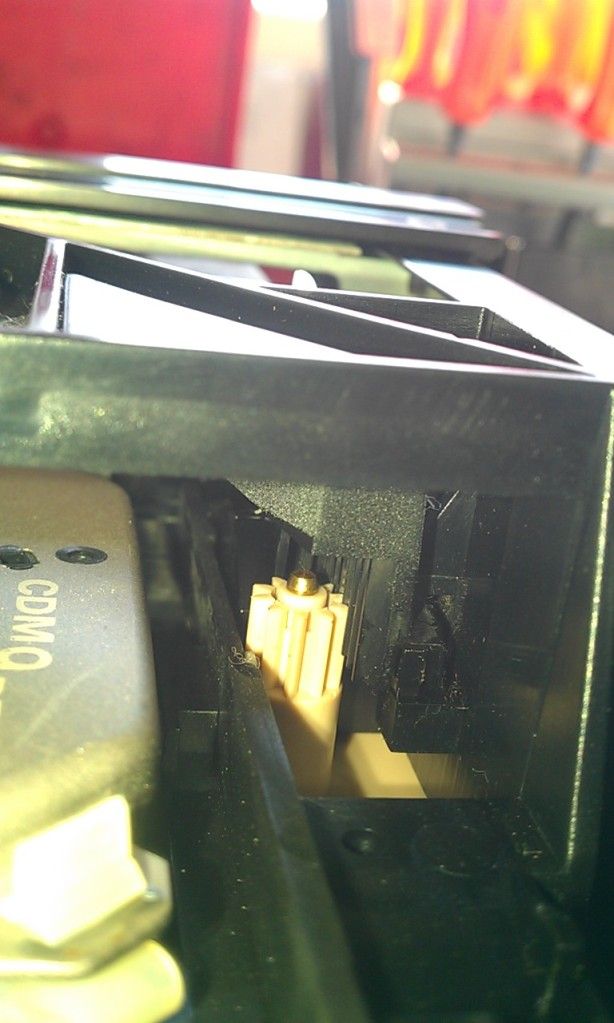
Here it is in position and working well.
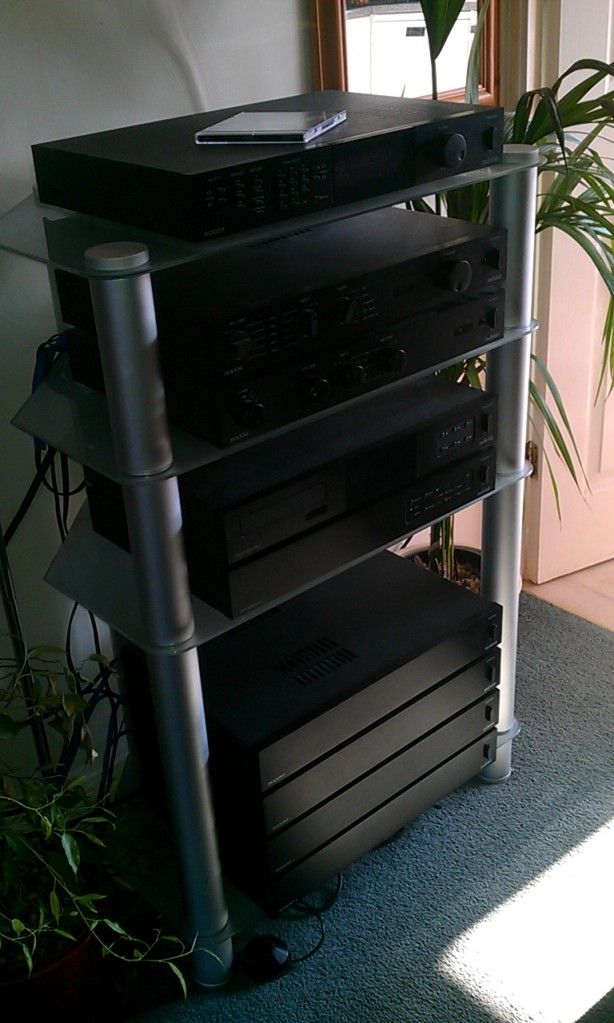
And a small shot of my setup.
All in, it shouldn't take you more than 20 minutes to swap over.
After looked around, there was very little grease on the parts and I'm keeping it that way. From what I've read and in my experience, adding grease to these parts attracts crap into the mechanism.
I bought two gears so I have a spare.
Happy listening")
MG
If I've put this in the wrong place, please accept my apologies and move it to the correct place.
I recently had to change the drive gear for the cd tray mechanism in my Audiolab 8000CDM as the gear had stripped all of it's teeth off!
Thankfully, I found a replacement on ebay and it arrived a few days ago.
Ebay auction
I figured that I would take some photos and do a short write up to help anyone else in a similar position.
One Audiolab 8000CDM
Remove the cover by unscrewing the 4 torx screws on the sides.
You don't need to do this to get to the drive gear but I did it to make sure that I had removed all of the remains of the gear... i.e. teeth! You don't want one of those getting trapping inbetween the new gear and the rack!
Here's the guilty party... you need to have the tray all the way out to see this.
Turning the unit over
and removing the bottom cover panel (you'll need to slacken the screws which hold on the front panel here as well to allow the cover plate to come away)...
You can just see the edge of the drive gear underneath this circuit board.
Remove the three torx screws which hold the circuit board down and carefully lift it up. It will only move a short distance as it is attached to the rest of the unit in several places.
Remove the drive band from the motor at this point. Just unloop it from the pulley so that there is no stress on the drive gear.
You should now be able to see the drive gear base plate. Either get someone else to hold the circuit board up our of the way or prop it up at this point and remove the drive gear base plate.
One dead drive gear...
The shaft that it sits on has a slightly larger diameter section at the top to stop the gear from falling off so a bit of force is required to pull the gear off the shaft.
Your new gear comes in a small box
Old and new
There is a small difference in overall diameter but it doesn't cause any problems.
Put it all back together...
Here it is in position and working well.
And a small shot of my setup.
All in, it shouldn't take you more than 20 minutes to swap over.
After looked around, there was very little grease on the parts and I'm keeping it that way. From what I've read and in my experience, adding grease to these parts attracts crap into the mechanism.
I bought two gears so I have a spare.
Happy listening
MG
Hi,
very nice and informational post, thank you. I'm going to take a chance and say that the gear stripped because something was blocking the tray door?...
who makes audiolab? (jee whiz I've been out of audio for about twelve years, I actually thought you meant California Audio Labs)
cheers
ps: very nice pictures!
Standard error in Philips mechs. Either it is the grease they used that weakens the plastic or it is the plastic itself that becomes brittle. Anyhow, all these brown gears have the same problems until you replace them. After replacing the new gear lasts way longer (never had to change them again after replacing).
Do not apply grease on plastic gears !
Do not apply grease on plastic gears !
- Status
- This old topic is closed. If you want to reopen this topic, contact a moderator using the "Report Post" button.