Go Back   Home > Forums > Blogs

Old

Some more progress on my Baby Huey PP EL84

Posted 4th May 2010 at 09:24 PM by Bas Horneman (Bas Horneman's diyAudio.com blog)

Unfortunately the paintjob is slowly chipping away on the edges...
Attached Thumbnails
Click image for larger version

Name:	subchassis.jpg
Views:	4075
Size:	104.4 KB
ID:	148   Click image for larger version

Name:	top.jpg
Views:	3407
Size:	109.8 KB
ID:	149   Click image for larger version

Name:	messier.jpg
Views:	3468
Size:	120.6 KB
ID:	150  
Bas Horneman's Avatar
diyAudio Moderator Emeritus
Posted in Building
Views 7033 Comments 0 Bas Horneman is offline
Old

After being freed of having a cast

Posted 15th April 2010 at 07:19 PM by Bas Horneman (Bas Horneman's diyAudio.com blog)
Updated 15th April 2010 at 09:44 PM by Bas Horneman

on my hand for the past 3 weeks. It (the cast) finally was removed today. So I was itching to go.

Here is the result:
Attached Thumbnails
Click image for larger version

Name:	spider2.jpg
Views:	1538
Size:	82.6 KB
ID:	145   Click image for larger version

Name:	subchassis.jpg
Views:	1519
Size:	183.6 KB
ID:	146   Click image for larger version

Name:	subchassis2.jpg
Views:	811
Size:	80.4 KB
ID:	147  
Bas Horneman's Avatar
diyAudio Moderator Emeritus
Posted in Building
Views 1628 Comments 0 Bas Horneman is offline
Old

First spider done.

Posted 27th March 2010 at 06:40 PM by Bas Horneman (Bas Horneman's diyAudio.com blog)
Updated 14th February 2011 at 07:51 PM by Bas Horneman

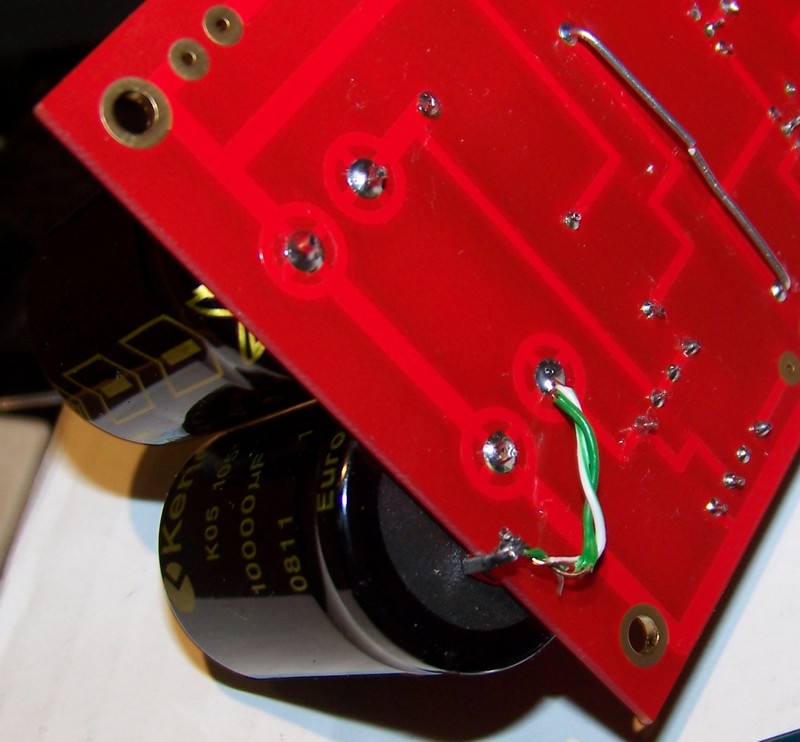
The Takman resistors have thick copper wires. This makes for wonderfully strong little spiders.

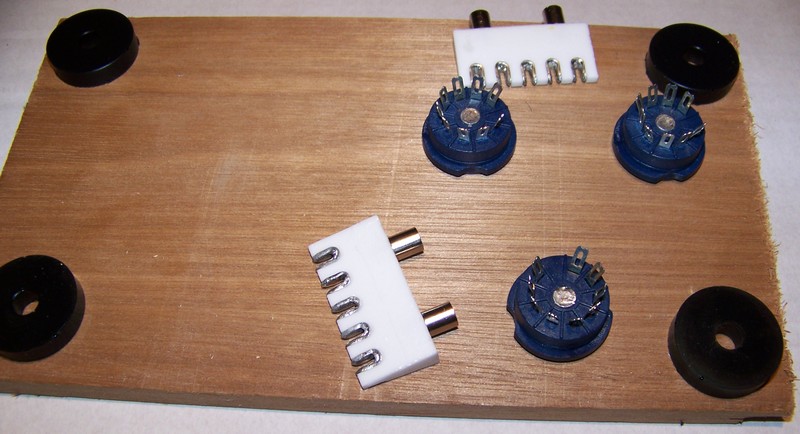
I've also used ceramic terminals strips for the first time and it makes for a nice strong construction.

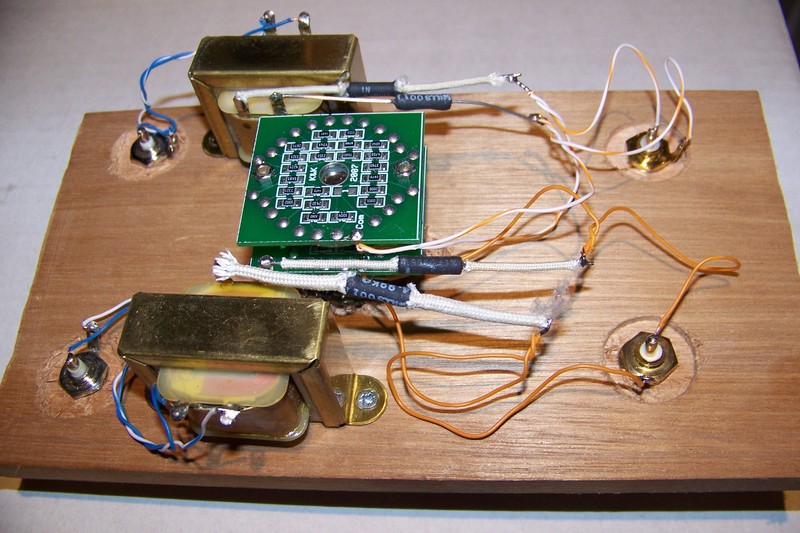
And I did the ccs for the phase splitter a while ago.

[edit] I used silver solder. But found out that it is NOT necessary with these fakes. Fake or not it make for a great construction.

"TEKTRONIX CERAMIC STRIPS, HISTORY and GENERAL INFORMATION
Tektronix first developed and used ceramic strips in their oscilloscopes in 1952. During the manufacturing process, silver in liquid form is painted in and on the notches of the strips prior to the application of the final glaze and final firing. The silver is then firmly bonded to the ceramic and wires can be soldered directly to the ceramic.

Special silver-bearing solder should be used when soldering to ceramic strips so the silver bonded to the strip does not...
Attached Thumbnails
Click image for larger version

Name:	spider.jpg
Views:	1111
Size:	175.4 KB
ID:	130   Click image for larger version

Name:	ccs_phase.jpg
Views:	1183
Size:	95.9 KB
ID:	131  
Bas Horneman's Avatar
diyAudio Moderator Emeritus
Posted in Building
Views 2876 Comments 2 Bas Horneman is offline
Old

Some progress

Posted 4th February 2010 at 08:15 PM by Bas Horneman (Bas Horneman's diyAudio.com blog)

.
Attached Thumbnails
Click image for larger version

Name:	paint1.jpg
Views:	807
Size:	55.0 KB
ID:	104   Click image for larger version

Name:	paint2.jpg
Views:	650
Size:	57.3 KB
ID:	105   Click image for larger version

Name:	paint3.jpg
Views:	633
Size:	62.1 KB
ID:	106   Click image for larger version

Name:	paint4.jpg
Views:	567
Size:	43.5 KB
ID:	107  
Bas Horneman's Avatar
diyAudio Moderator Emeritus
Posted in Building
Views 1778 Comments 0 Bas Horneman is offline
Old

Top plate finished...

Posted 1st January 2010 at 01:58 PM by Bas Horneman (Bas Horneman's diyAudio.com blog)

finally..

Just a little sanding. And hopefully I will be able to put a layer of primer down.
Attached Thumbnails
Click image for larger version

Name:	holesfinished.jpg
Views:	1244
Size:	65.0 KB
ID:	81  
Bas Horneman's Avatar
diyAudio Moderator Emeritus
Posted in Building
Views 1599 Comments 0 Bas Horneman is offline
Old

A few pcb's more...

Posted 7th December 2009 at 09:40 PM by Bas Horneman (Bas Horneman's diyAudio.com blog)
Updated 7th December 2009 at 09:58 PM by Bas Horneman

With a dayjob and other "stuff" in my life. I don't always feel like conquering the cold and messy shed to go do some drilling. But I usually have other projects running parallel that I can do something on. Pictured here is the Pass B1 and the lightspeed pcb's. Stuffed...primarily because..... that way I won't loose parts in my messy hobby room.
Click the image to open in full size.

The Kendeill caps were too big for the B1 board. So I soldered the neg terminal to the neg hole in the pcb and wired the plus to the positive rail.

The wires of the 10uF cap I bent to go beneath the pcb and almost touch. I did this on purpose because I have some 0,22uF smd caps that will act as bypass for the Audyn polyprops. They will go between them wires there.
Click the image to open in full size....
Attached Thumbnails
Click image for larger version

Name:	b1lspcbs.jpg
Views:	21722
Size:	127.0 KB
ID:	77   Click image for larger version

Name:	b1err.jpg
Views:	21498
Size:	92.9 KB
ID:	78   Click image for larger version

Name:	thin.jpg
Views:	1722
Size:	88.6 KB
ID:	79  
Bas Horneman's Avatar
diyAudio Moderator Emeritus
Views 1576 Comments 0 Bas Horneman is offline
Old

A few holes more...

Posted 1st December 2009 at 10:28 PM by Bas Horneman (Bas Horneman's diyAudio.com blog)

It's funny but one does not realize how much time goes into a project like this. In my case anyway.
Taking the time to find the correct spacing etc.
And after you've drilled the hole you realize that it is just not big enough. Out comes the metal file and you have to use some elbow grease to enlarge it just enough so it will fit. Then you can't find the other cap. Thus the decision is made to pull the ASC's from an old project. Etc. Etc. And all I have to show for this is one little picture.
Attached Thumbnails
Click image for larger version

Name:	summore.jpg
Views:	574
Size:	158.0 KB
ID:	74  
Bas Horneman's Avatar
diyAudio Moderator Emeritus
Posted in Uncategorized
Views 2040 Comments 1 Bas Horneman is offline
Old

Other channel...

Posted 30th November 2009 at 10:53 PM by Bas Horneman (Bas Horneman's diyAudio.com blog)
Updated 30th November 2009 at 10:59 PM by Bas Horneman

starting to look like it...

Actually wanted to continue on the Baby Huey but it was late. And did not want to keep everyone awake while drilling.
Attached Thumbnails
Click image for larger version

Name:	insidefins.jpg
Views:	3866
Size:	100.8 KB
ID:	70   Click image for larger version

Name:	fins.jpg
Views:	3820
Size:	131.6 KB
ID:	71   Click image for larger version

Name:	fins2.jpg
Views:	3870
Size:	56.3 KB
ID:	72  
Bas Horneman's Avatar
diyAudio Moderator Emeritus
Posted in Building, Gainclones
Views 1322 Comments 0 Bas Horneman is offline
Old

Some more parts arrived for the BH

Posted 26th November 2009 at 10:10 PM by Bas Horneman (Bas Horneman's diyAudio.com blog)
Updated 27th November 2009 at 09:40 AM by Bas Horneman

specifically I wanted to show the deflex washers that I'm planning on using.

Click the image to open in full size.

The deflex washers will probably look ugly. But I'm planning on putting them on top of the aluminium top plate. And having a bolt with separate brass washer "hang" on them. This bolt will then pass through a larger hole in the alu chassis plate to the wooden sub chassis that houses the tubes.

Also got the 470uF/100V caps for the bias blocks.
Attached Thumbnails
Click image for larger version

Name:	deflex.jpg
Views:	21290
Size:	88.3 KB
ID:	66   Click image for larger version

Name:	bpcss.jpg
Views:	505
Size:	164.9 KB
ID:	67  
Bas Horneman's Avatar
diyAudio Moderator Emeritus
Posted in Building, Buying
Views 1333 Comments 0 Bas Horneman is offline
Old

It'll take a while to build the gainclone ;). And I'm going

Posted 25th November 2009 at 09:02 PM by Bas Horneman (Bas Horneman's diyAudio.com blog)
Updated 26th November 2009 at 03:13 PM by Bas Horneman

to need an attenuator as well. Because the Gainclone will be set up as a power amplifier only. I put together a makeshift attenuator of parts I have. And of parts I want to use in a full blown tube preamp.

That way I can ...dare I say it...burn-in the transformer. Even if burn-in does not exist...it won't hurt.

Click the image to open in full size.

Click the image to open in full size.

Also some mock up shots of the GC. "Enclosure" is some Ikea DVD storage system that was on a sale. Something like 2 euro's or so.

Click the image to open in full size.
Attached Thumbnails
Click image for larger version

Name:	att_top.jpg
Views:	1228
Size:	82.3 KB
ID:	61   Click image for larger version

Name:	att_bottom.jpg
Views:	24223
Size:	141.7 KB
ID:	62   Click image for larger version

Name:	ikeagcmu.jpg
Views:	444
Size:	37.6 KB
ID:	63   Click image for larger version

Name:	ikeycgmu2.jpg
Views:	24372
Size:	167.9 KB
ID:	64   Click image for larger version

Name:	attenuator.jpg
Views:	21802
Size:	62.1 KB
ID:	65  

Bas Horneman's Avatar
diyAudio Moderator Emeritus
Posted in Building
Views 2907 Comments 0 Bas Horneman is offline

New To Site? Need Help?
Copyright ©1999-2017 diyAudio